Citrix Cloud
Every month it seems more and more organizations are embracing modern passwordless strong authentication in their end-user computing environments. Just in the last 3...
Hi, what are you looking for?
Every month it seems more and more organizations are embracing modern passwordless strong authentication in their end-user computing environments. Just in the last 3...
A few months ago I was invited to speak at the FIDO Alliance‘s inaugural Authenticate conference by Citrix and the FIDO Alliance. A big...
FIDO2 is as groundbreaking for the Internet as HTTP going to HTTPS many years ago in my opinion. Right now there is a consortium...
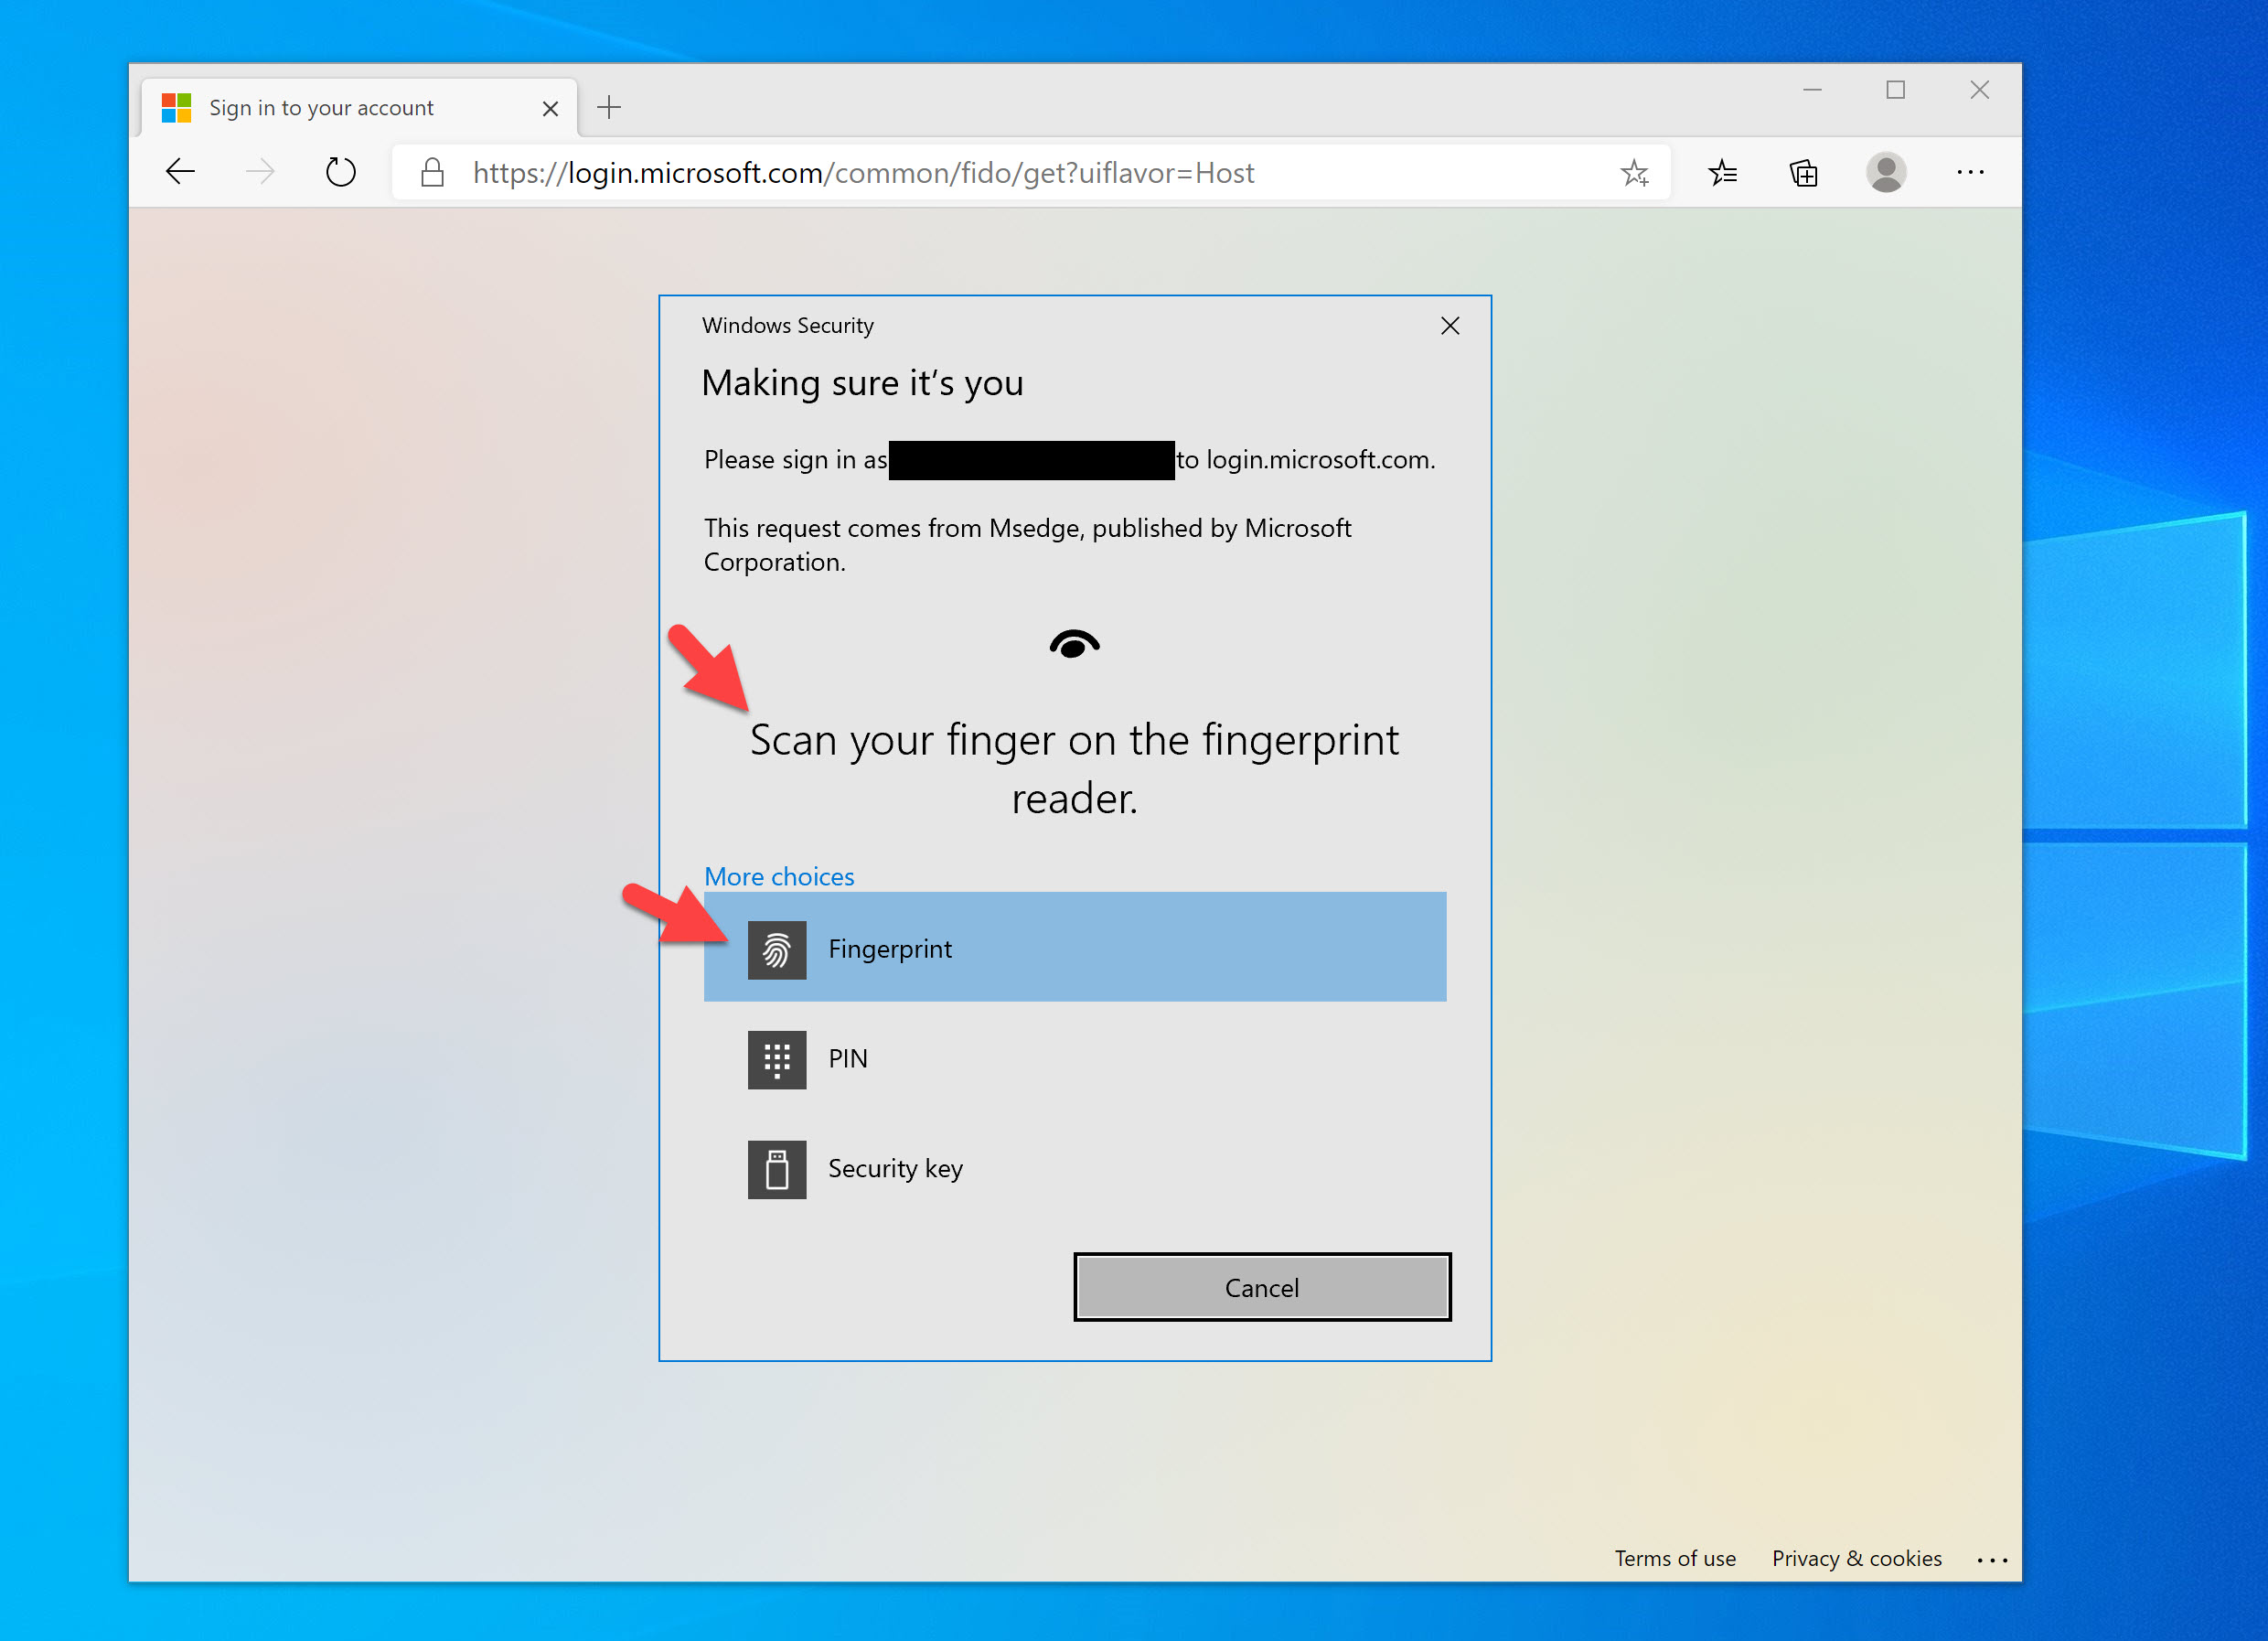
Why haven’t you gone passwordless yet? I stopped using passwords with my virtual desktop environments, physical machines, Microsoft 365 (Office 365), and anything protected...

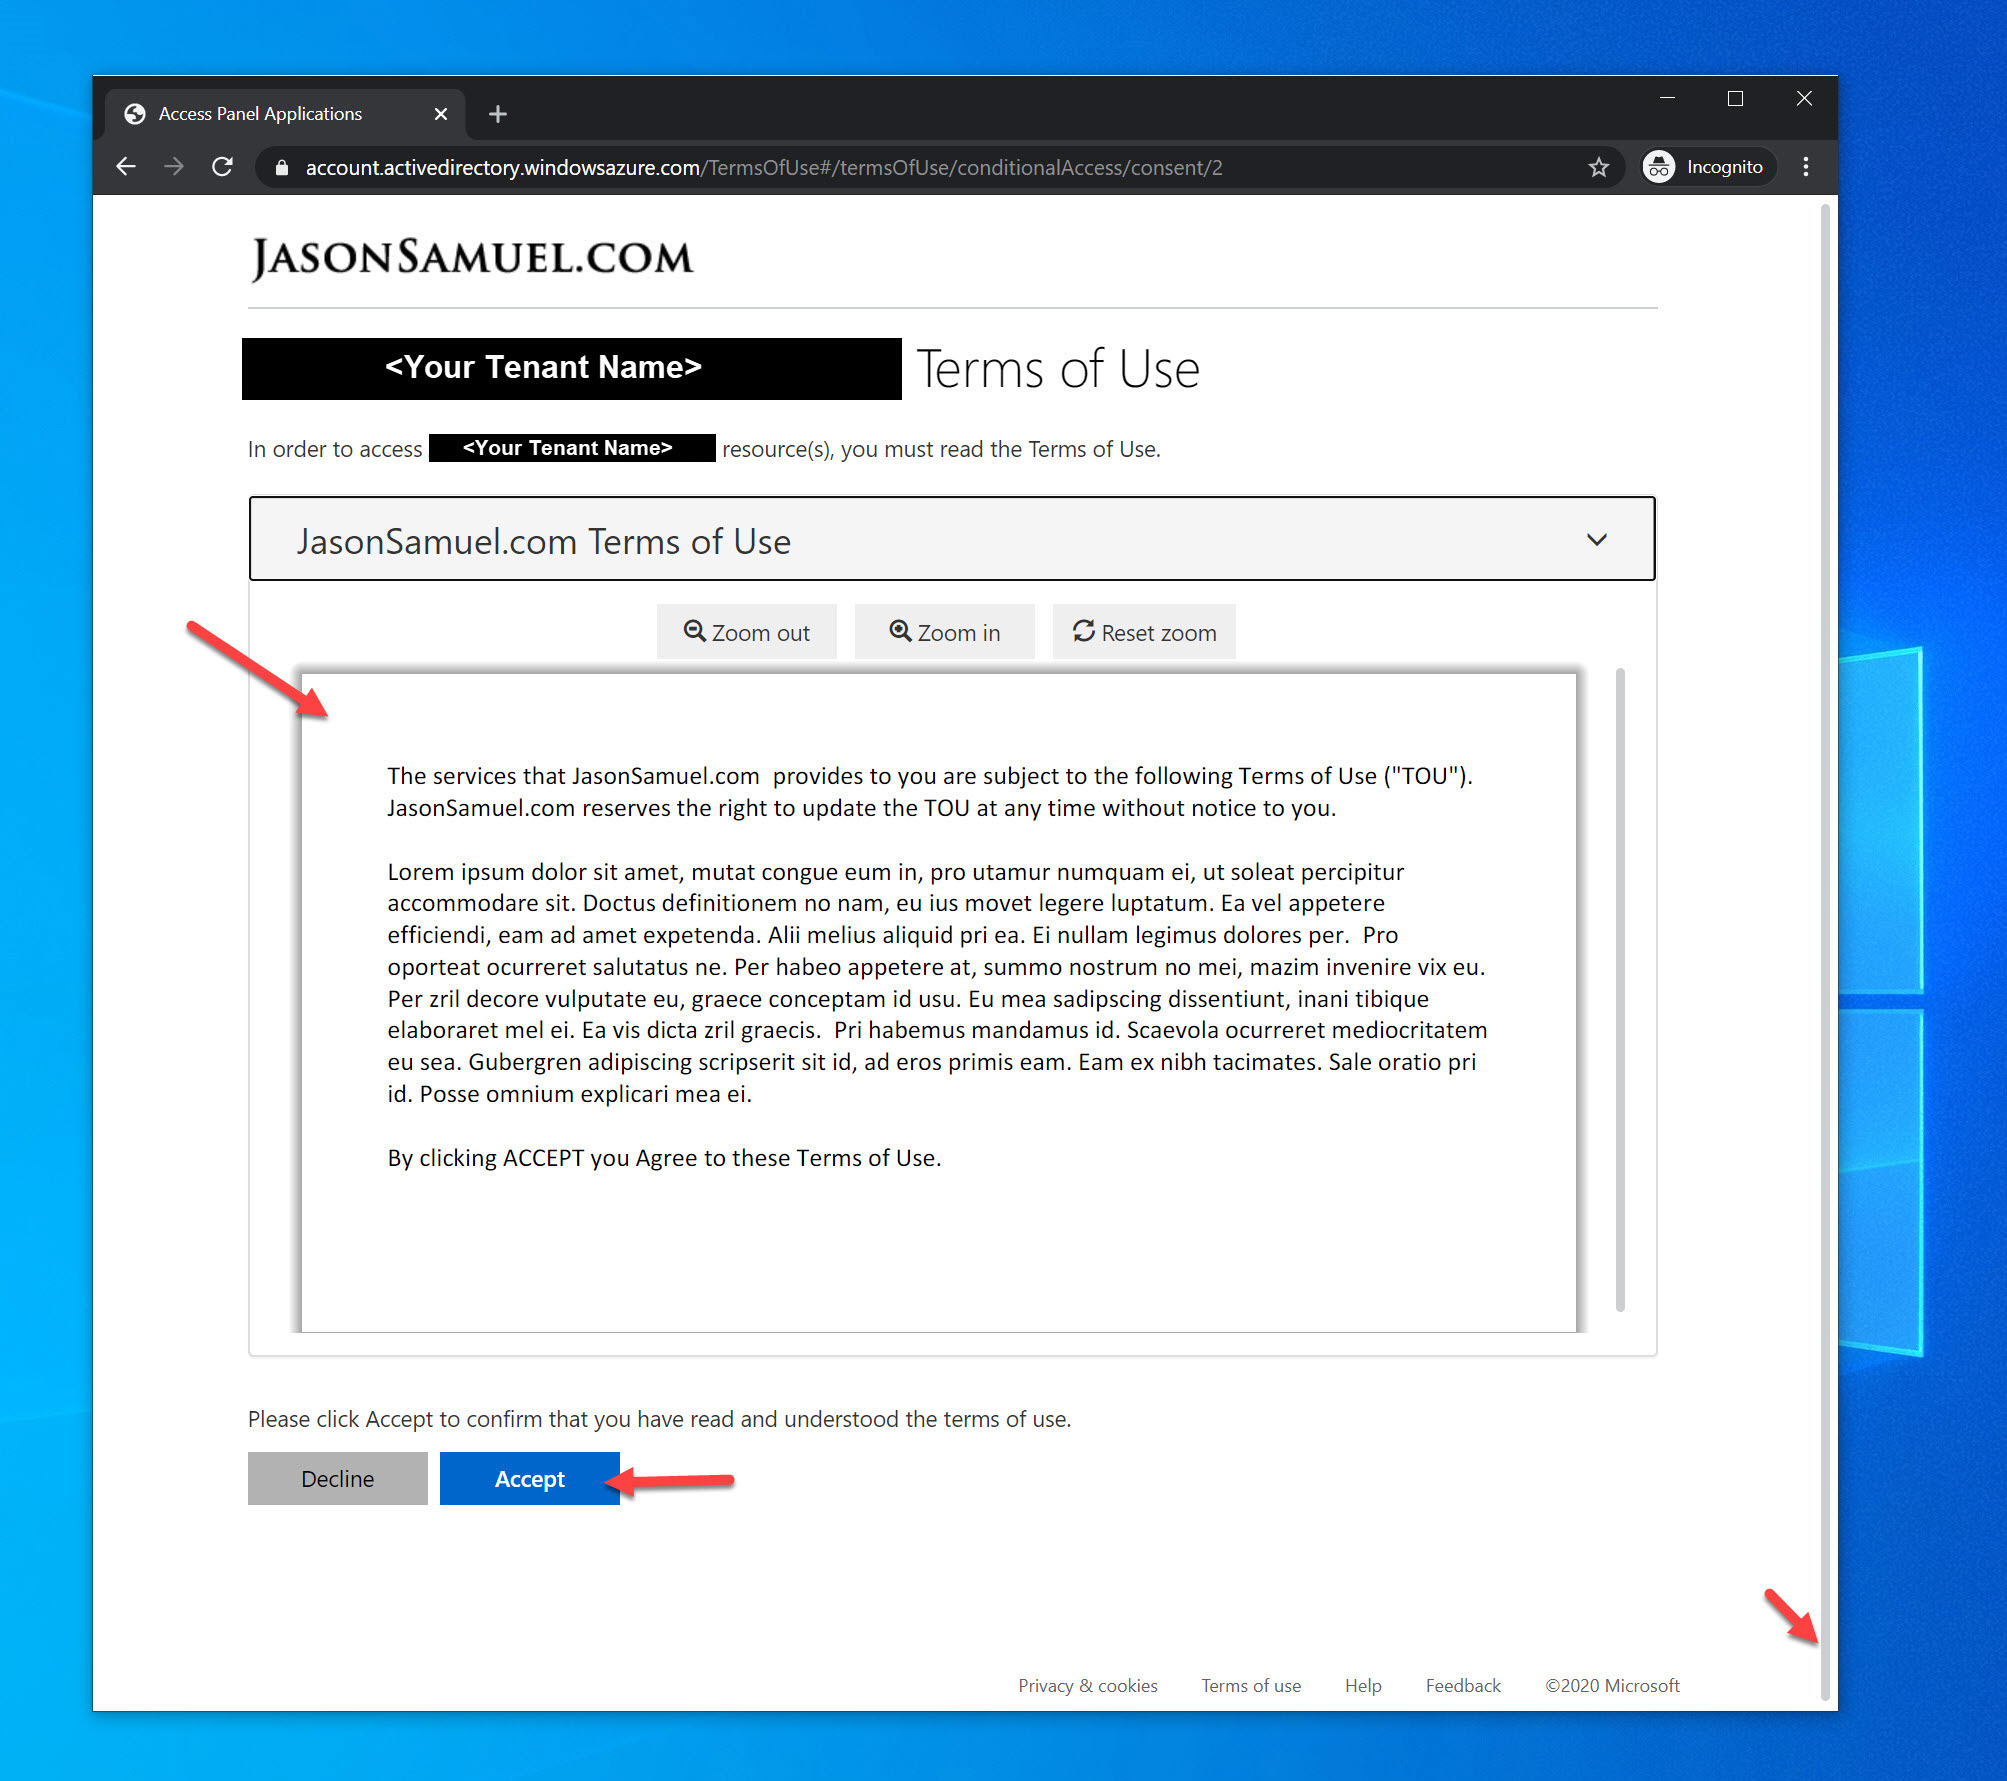
EUC and Security Engineers have always had the capability to add a EULA to Citrix StoreFront and/or Citrix NetScaler Gateway (aka Citrix Gateway) for...
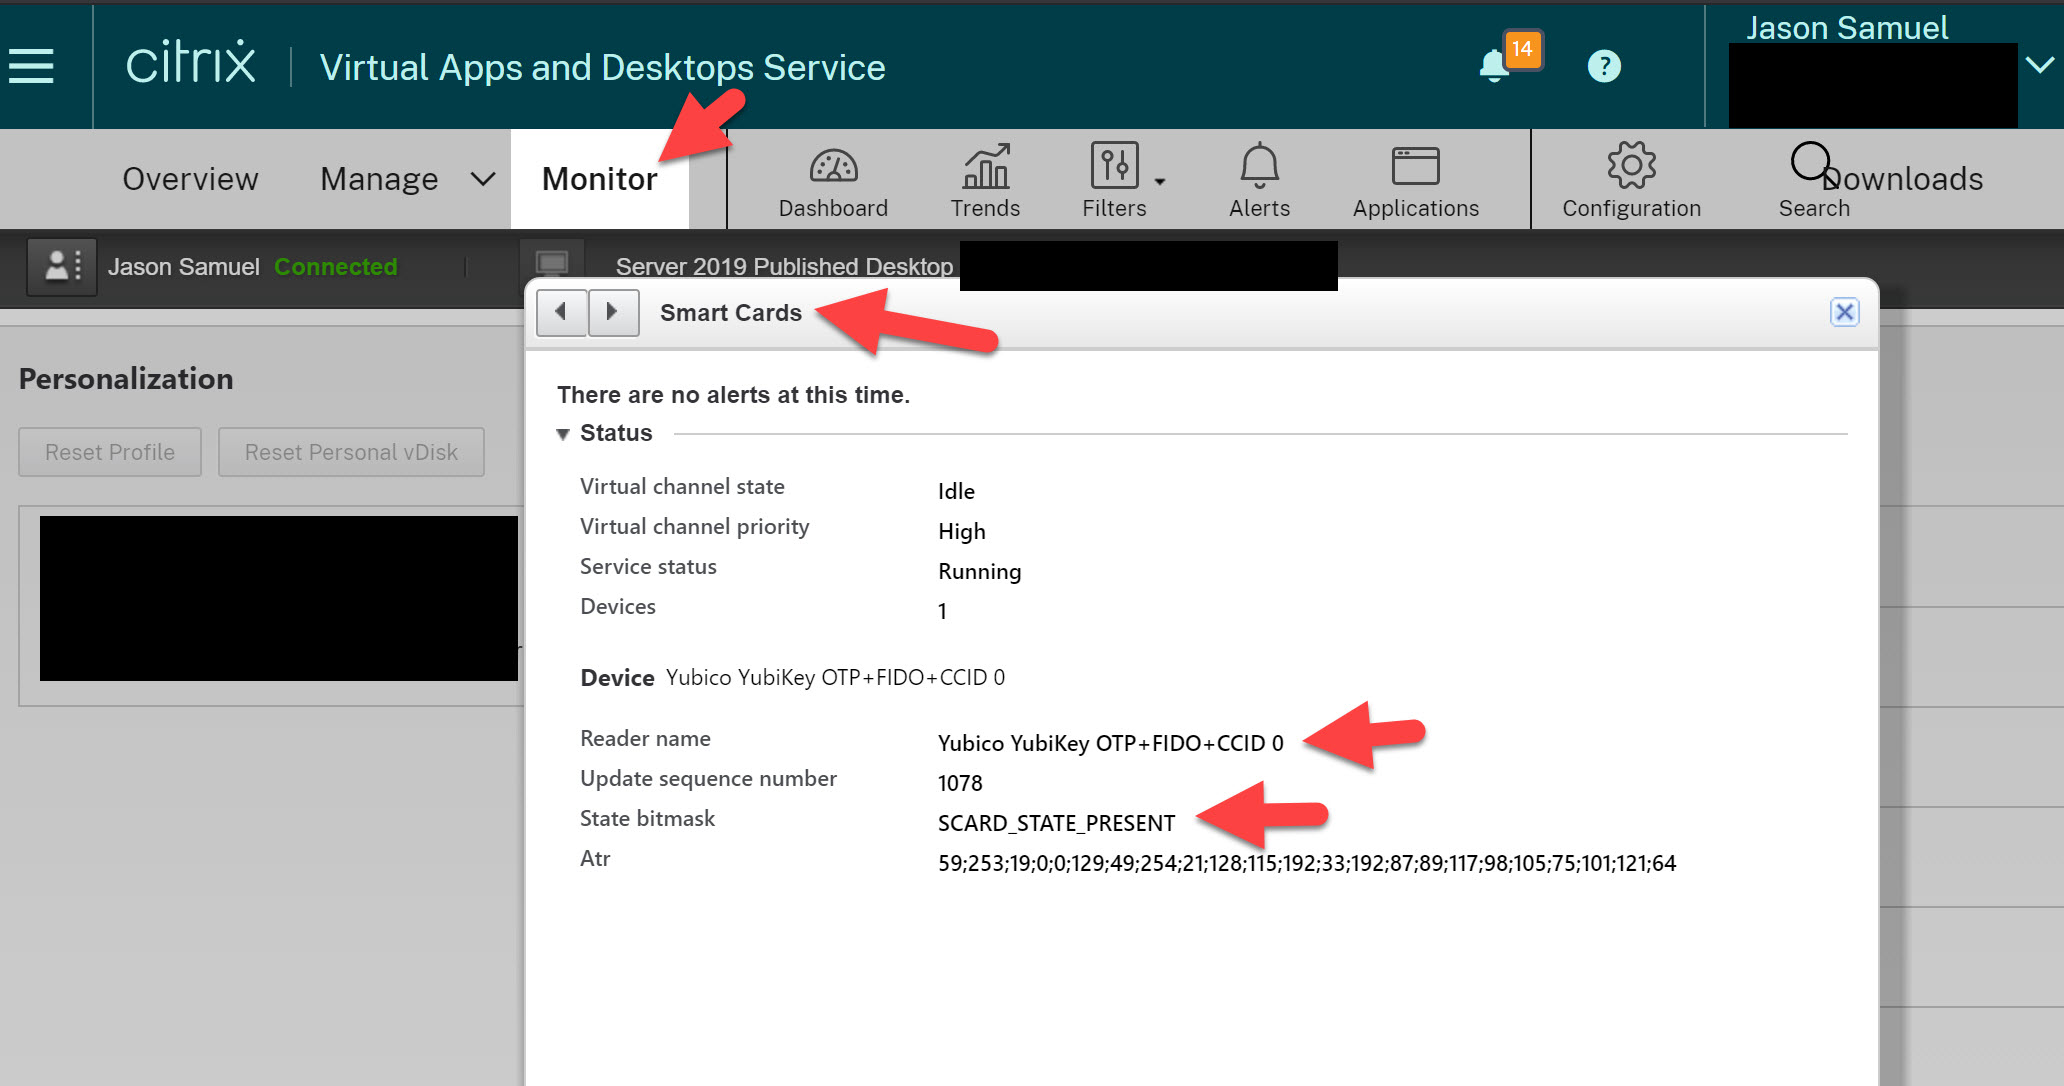
Implementing password-less authentication methods at your organization also requires you to pull metrics on usage of these methods to gauge user adoption. Anything end-user...

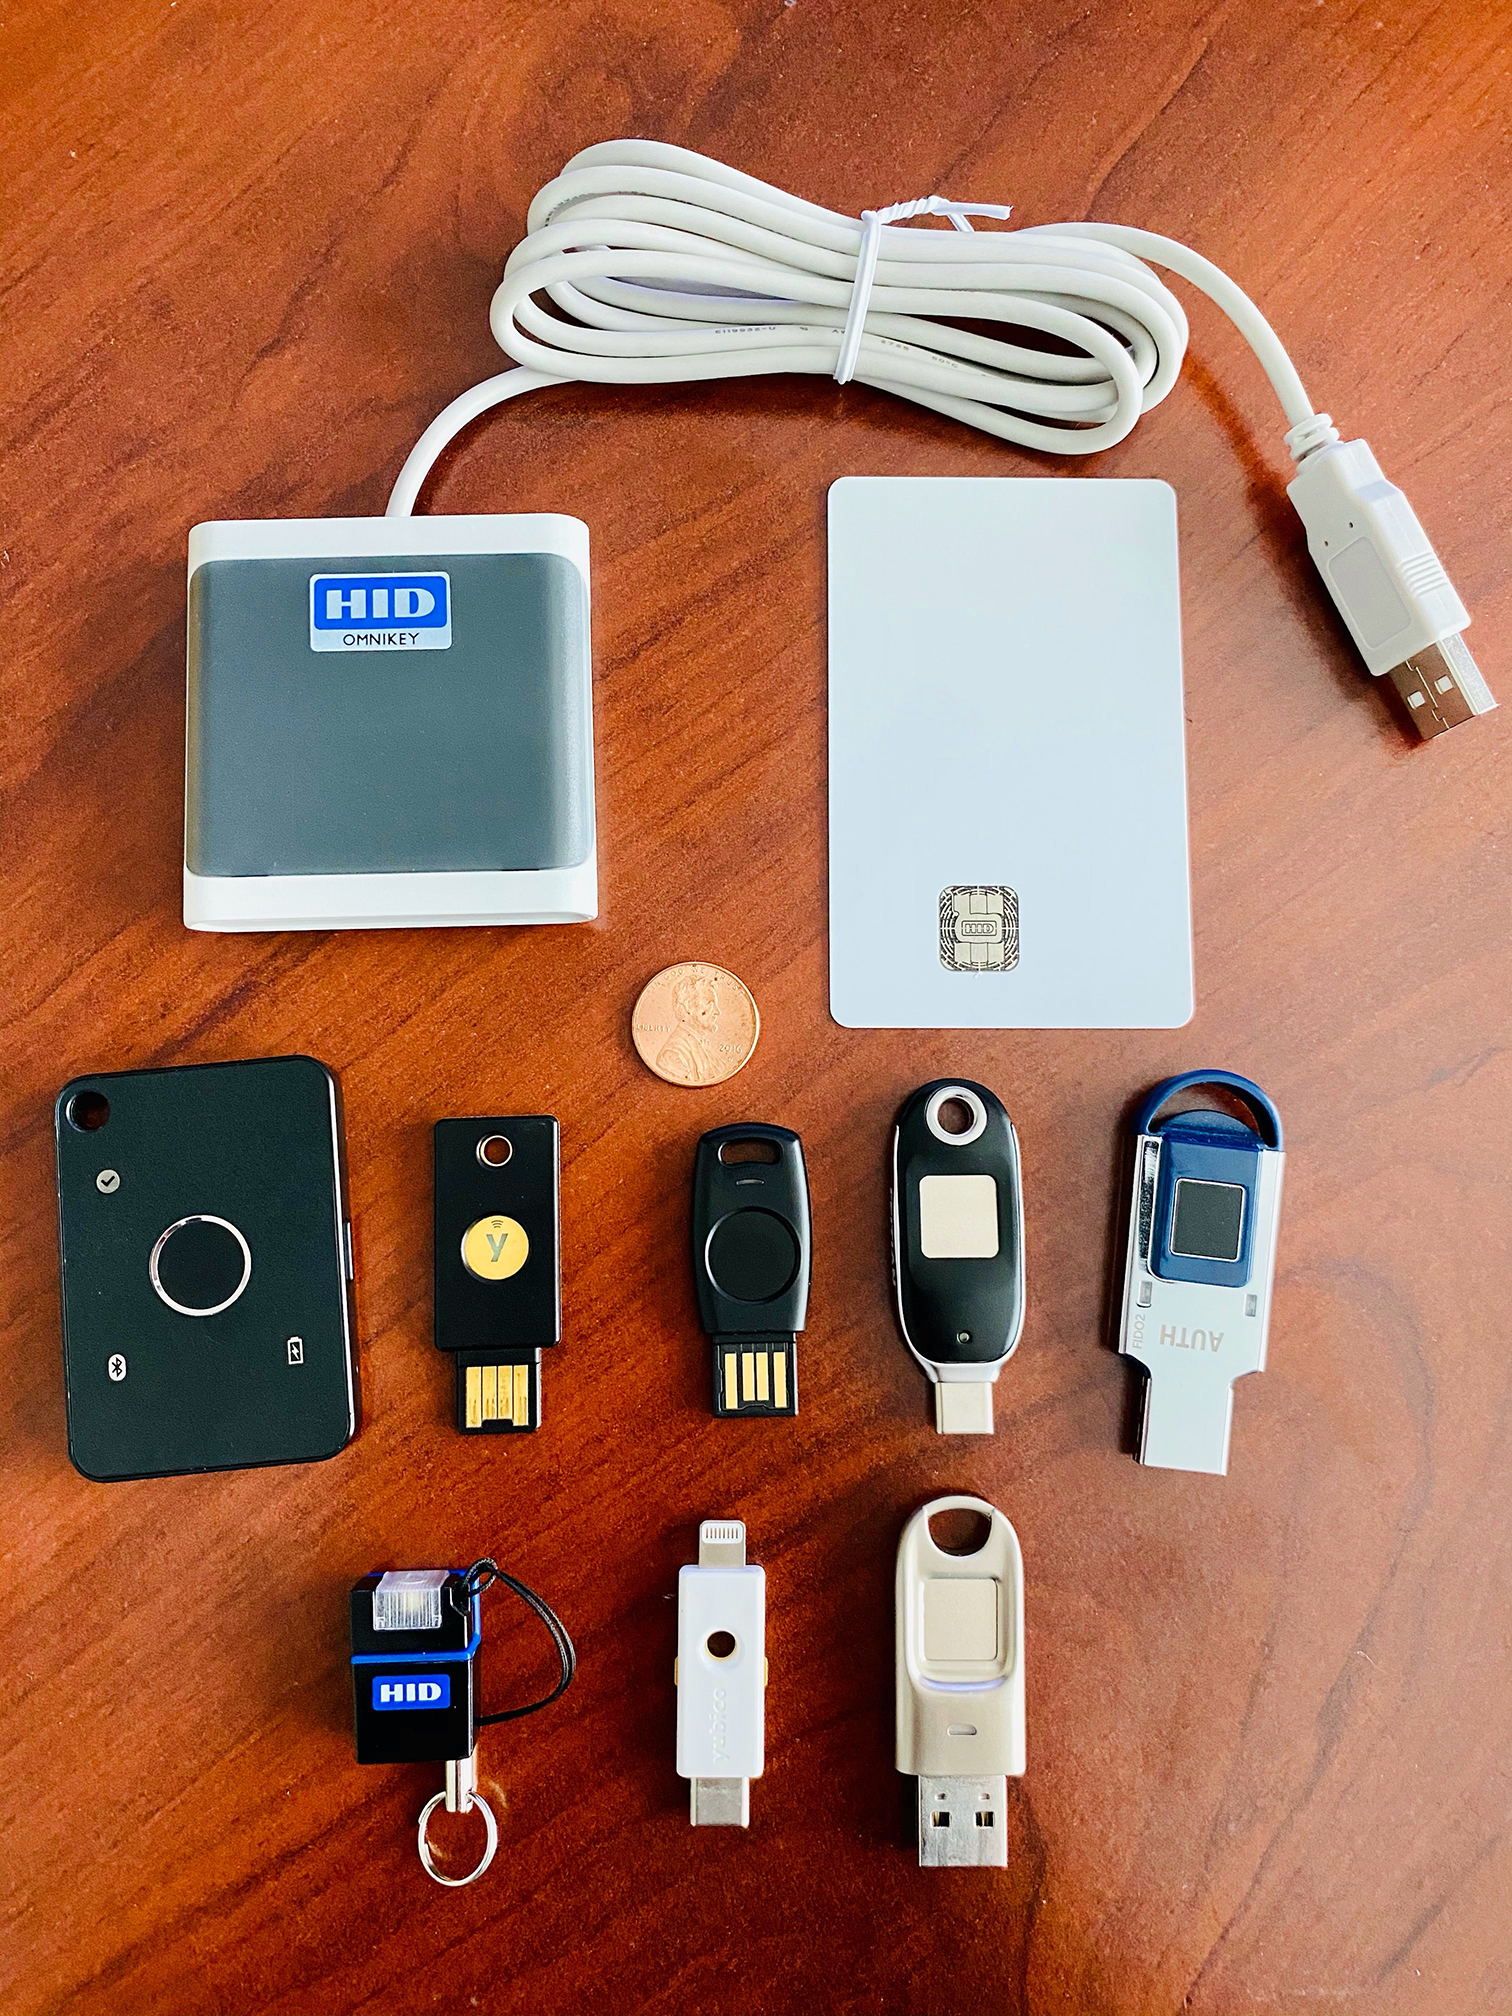
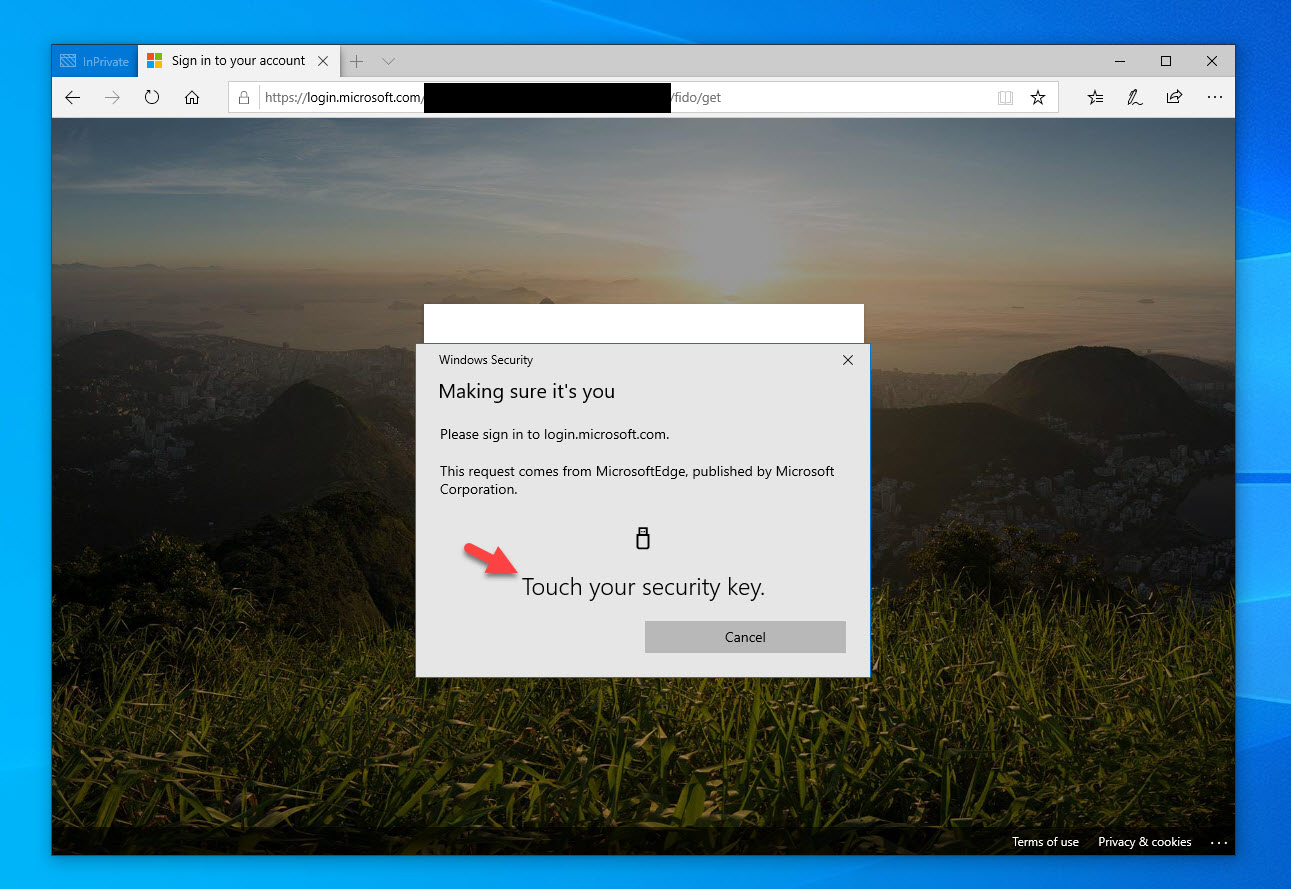
You can use FIDO2 hardware security keys plugged into your physical desktop over the Citrix HDX remoting protocol for use with virtualized Windows Desktop...

Let’s buy more licenses for VPN! Let’s open up RDP port 3389 from anywhere to office PCs! Let’s turn off multi-factor authentication so we...

It was an especially beautiful November week in 2017 when I visited Microsoft’s Redmond campus. Autumn in Redmond is such an amazing time. I’ve...
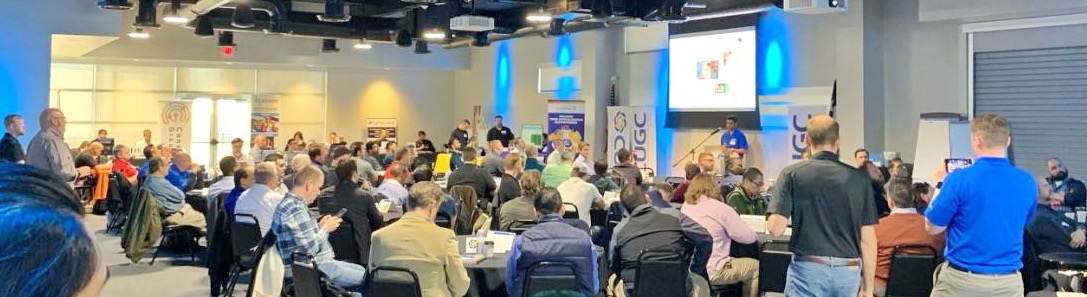
A full day sharing info about some of my favorite topics! I had a great time presenting at the CUGC Texas XL 2020 regional...
If your environment is a Microsoft Active Directory-based environment and leverages Microsoft Azure Active Directory (Azure AD or AAD for short) to extend your...

renaissancea period of high artistic or cultural development At the cusp of a new decade, we are now firmly in the renaissance of passwordless...
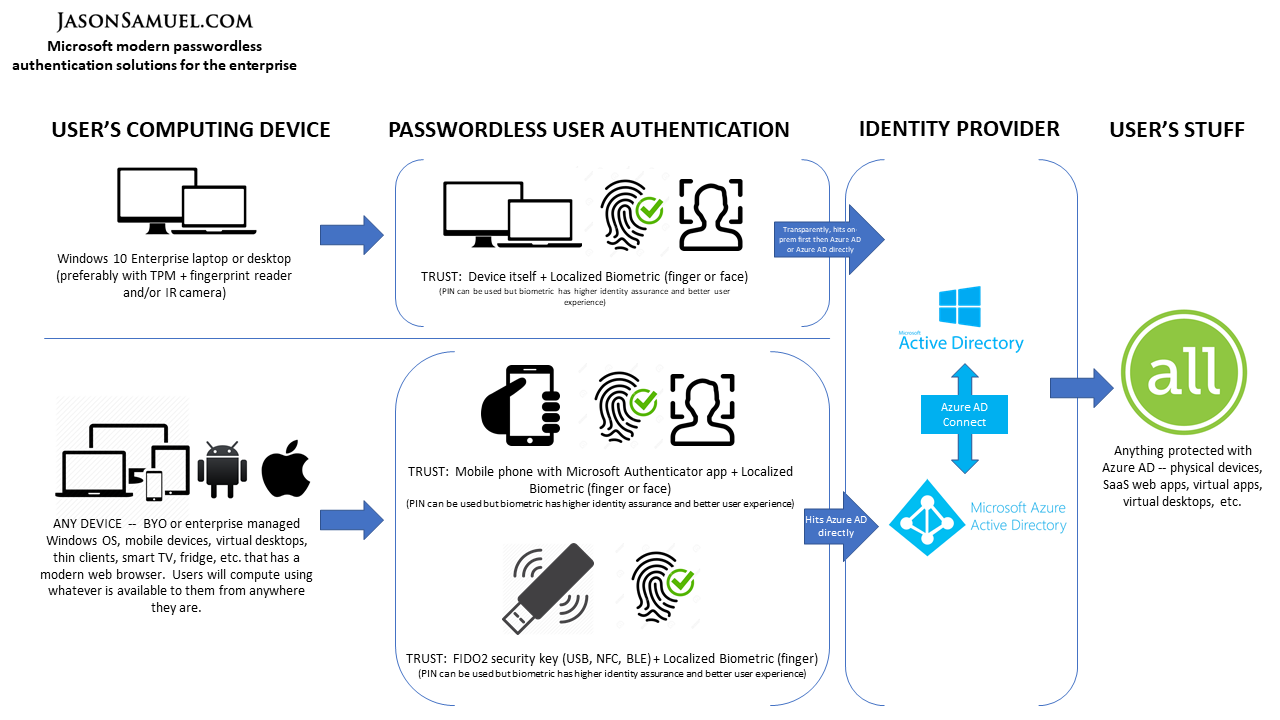
The future state of password-less authentication for Microsoft Windows enterprise environments will be a combination of 3 options: Windows Hello for Business Microsoft Authenticator...
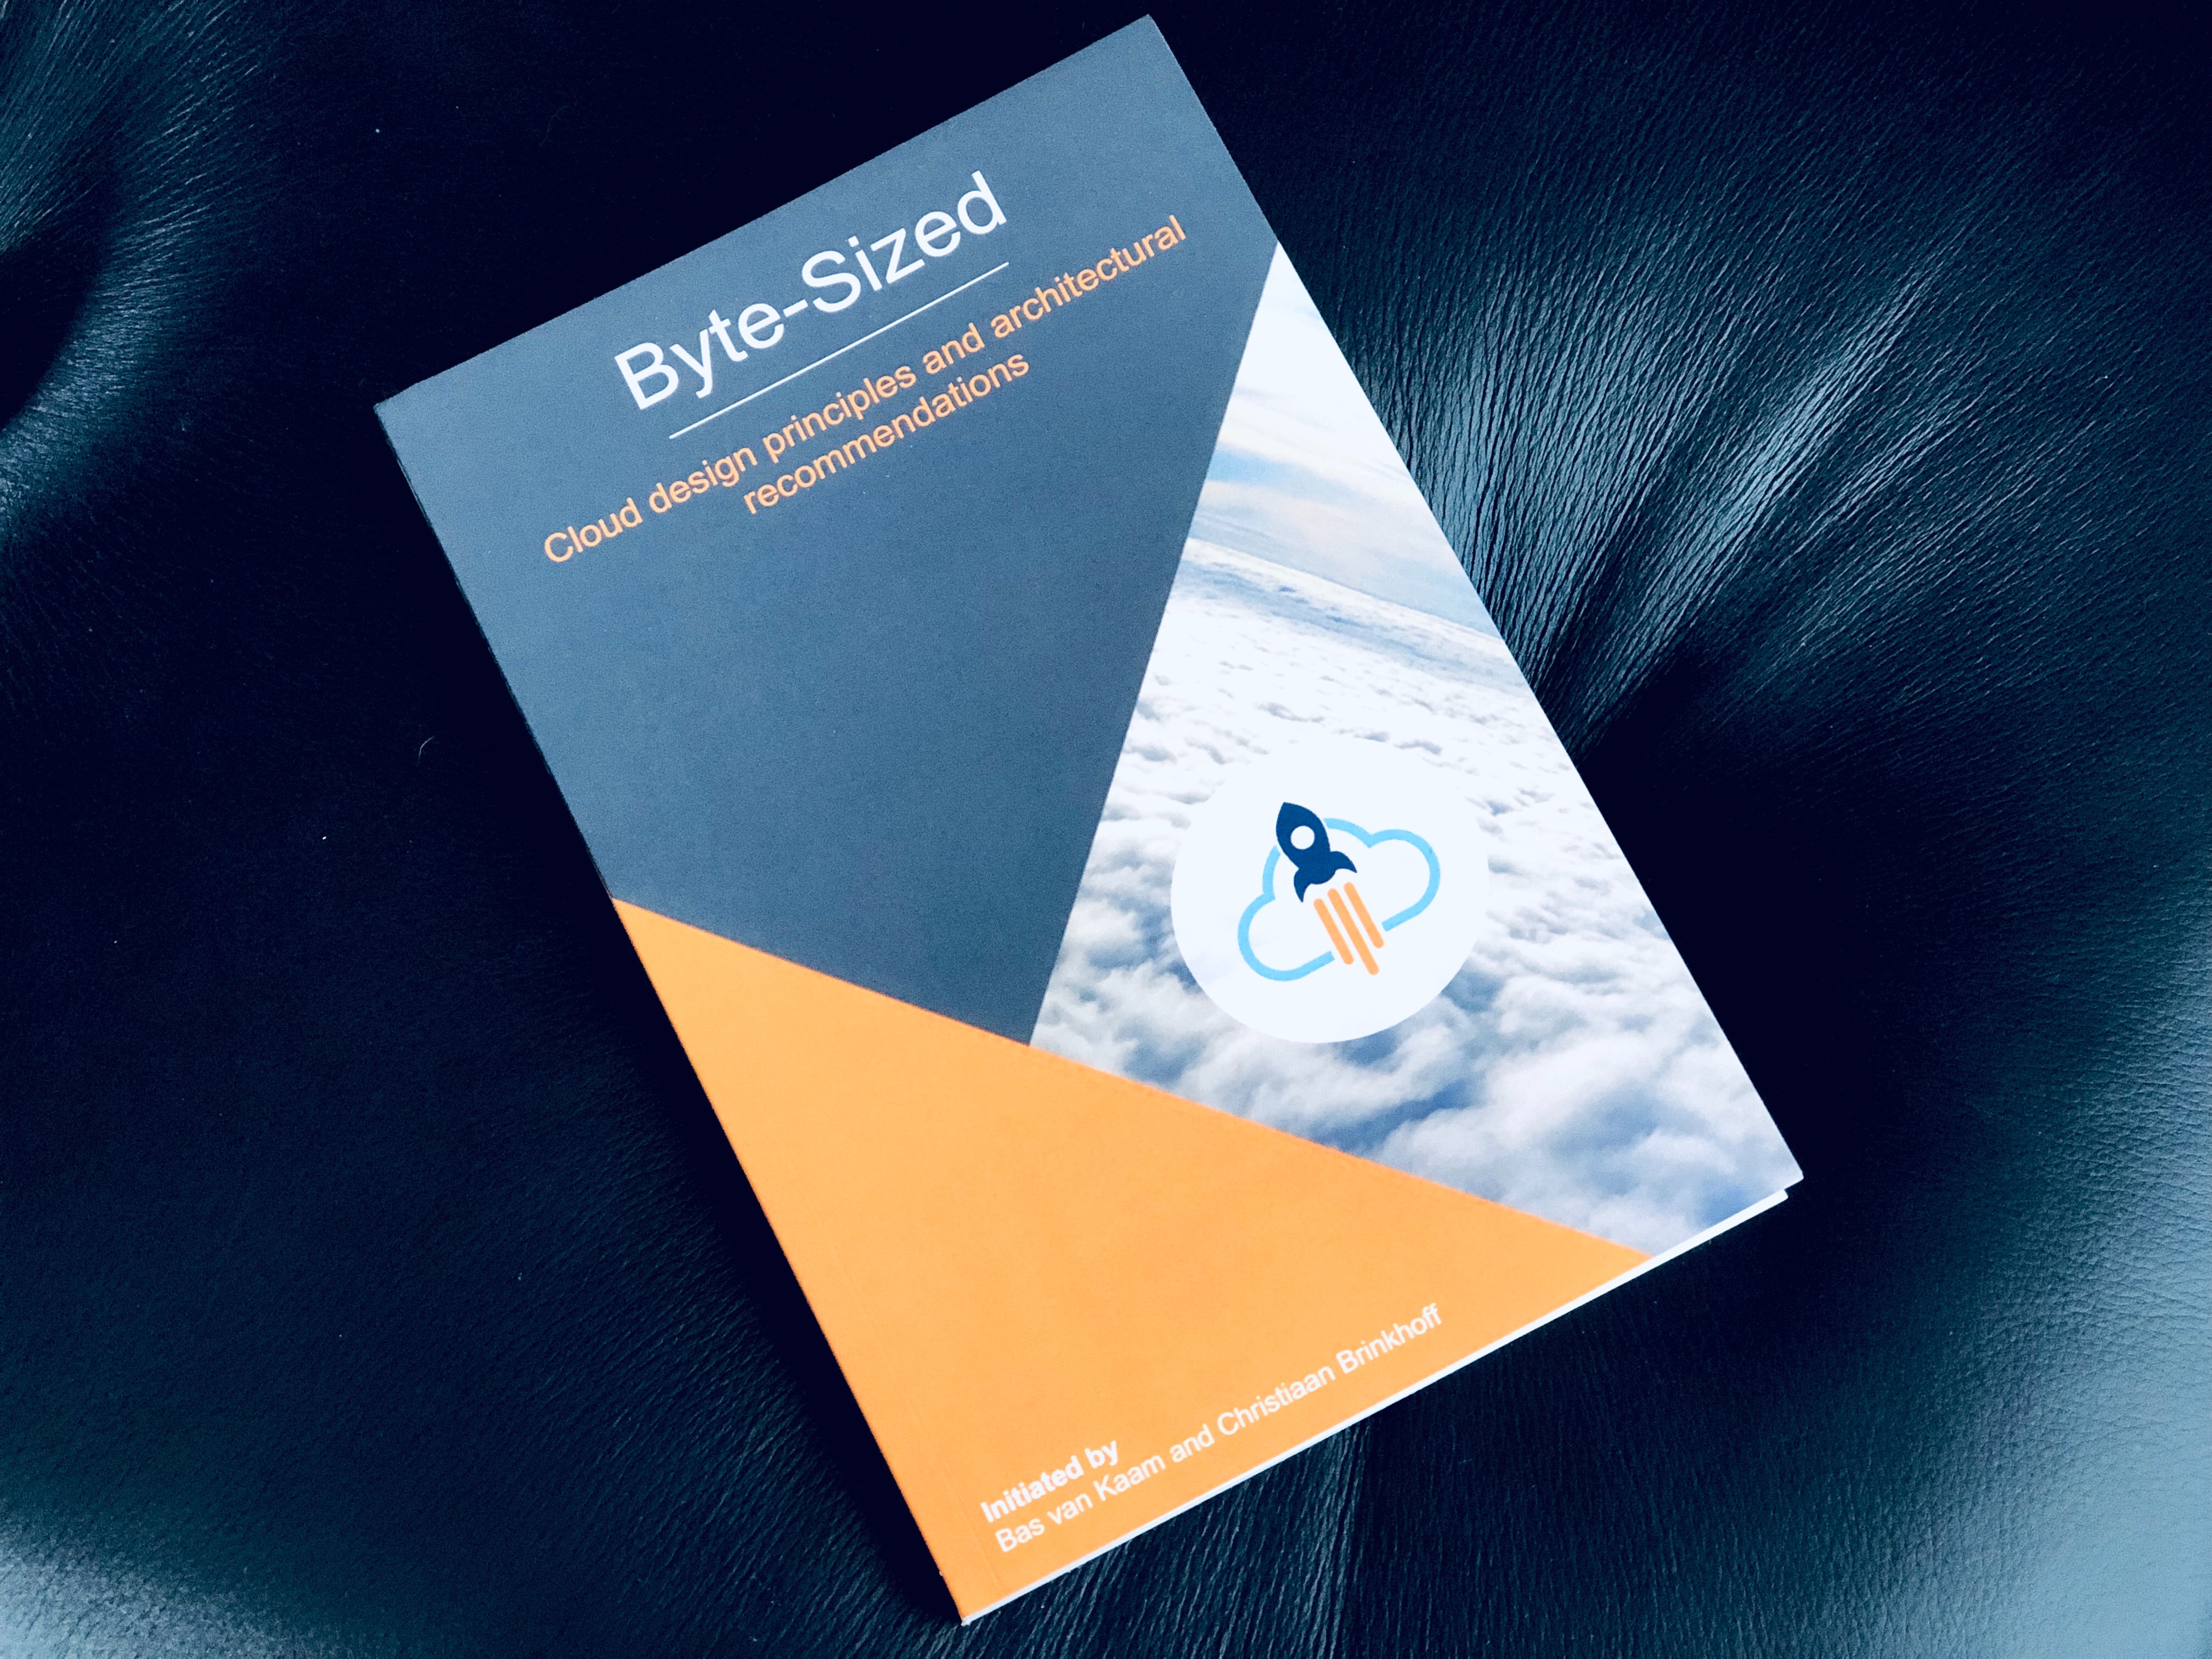
The community-driven paperback book initiated by my friends Bas van Kaam and Christiaan Brinkhoff is available for sale on Amazon. If you haven’t picked...


