Combating Citrix application sprawl using the XenApp SDK, Powershell, IIS, HTML, and a tiny bit of web design
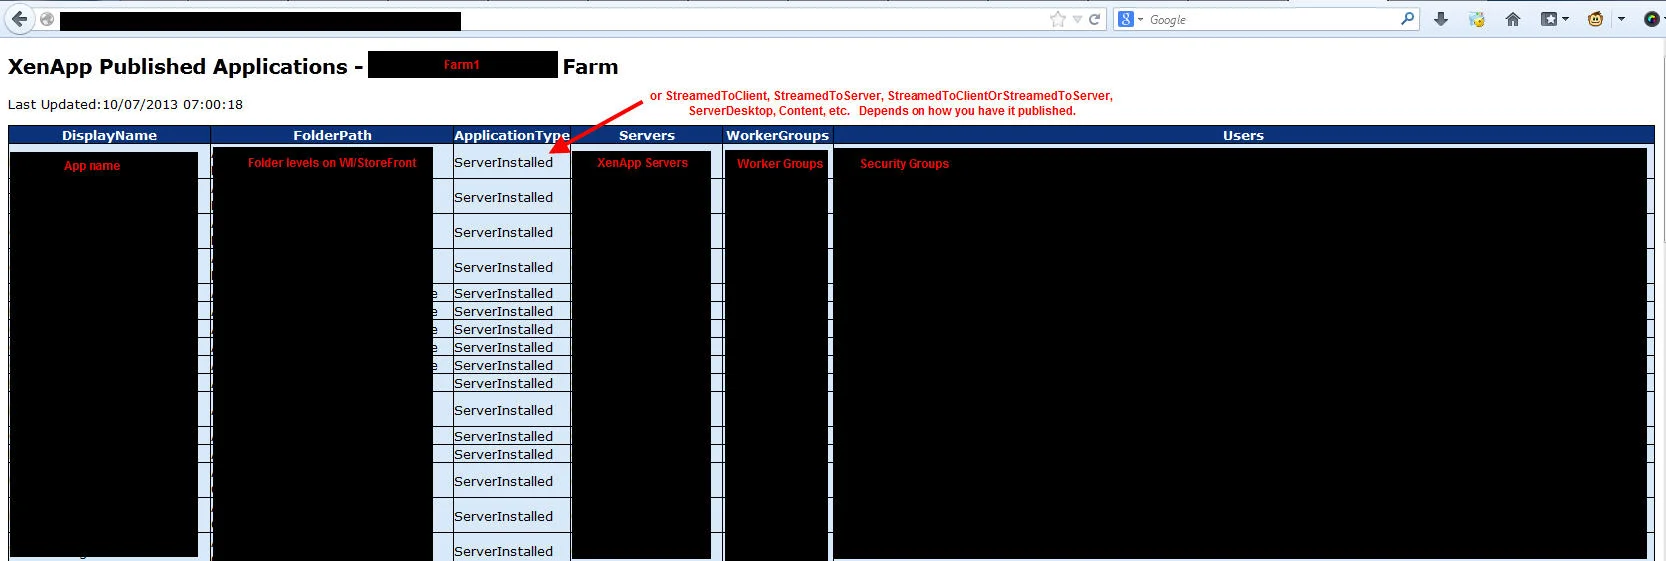
If you've got app sprawl across multiple XenApp farms, here's how I used the XenApp SDK, PowerShell, and IIS to build an automated report showing every published app in one URL.
6 min read