A few years ago I wrote about How to deploy Microsoft Azure MFA & AD Connect with Citrix NetScaler Gateway and mentioned how you should deploy the MFA User Portal and allow your users self service and easy enrollment into the system. I also discussed allowing Azure MFA Authenticator mobile app. The User Portal is pretty straight forward to setup but recently I was asked how I deploy it in the DMZ on separate servers. This is how I always deploy it for companies in production but it’s a little tricky. Luckily I’ve done it serveral times now so let me show you how to do it.
1. Stand up a couple of web servers in the DMZ that will be used for the User Portal. I am going to assume you followed me previous guide and have a working MFA environment. Go to one of your existing internal MFA authentication servers and navigate to:
C:\Program Files\Multi-Factor Authentication Server
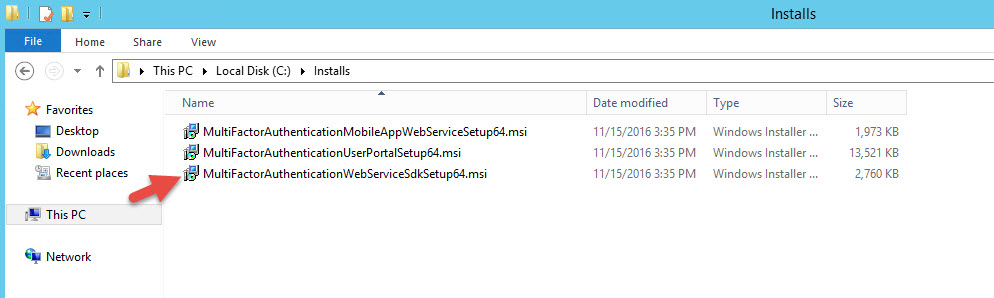
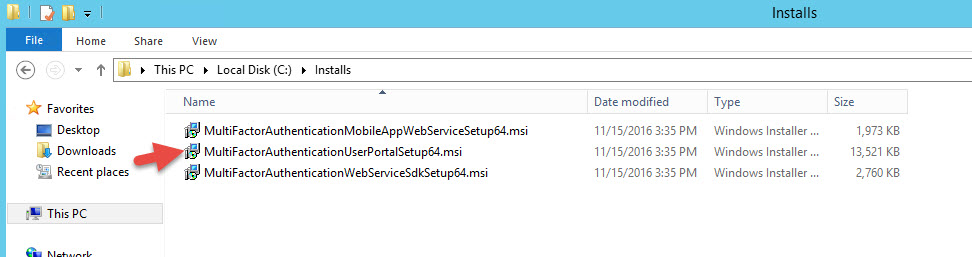
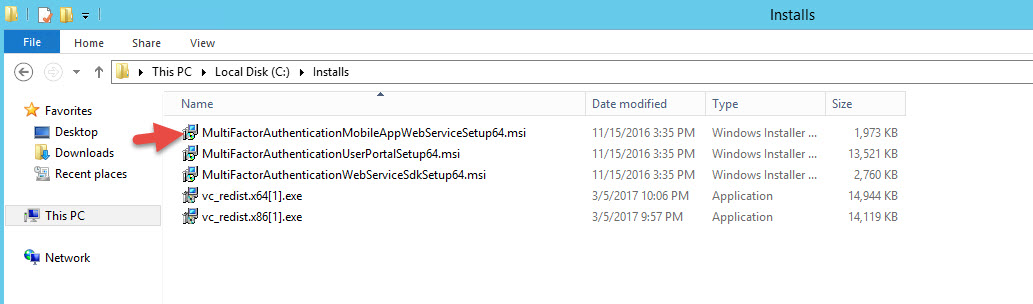
and copy out the following 3 files to your DMZ web servers:

2. Your DMZ web servers do not have to be domain joined obviously. Just login with a local admin or DMZ domain account. We need to install the following pre-reqs:
-IIS role
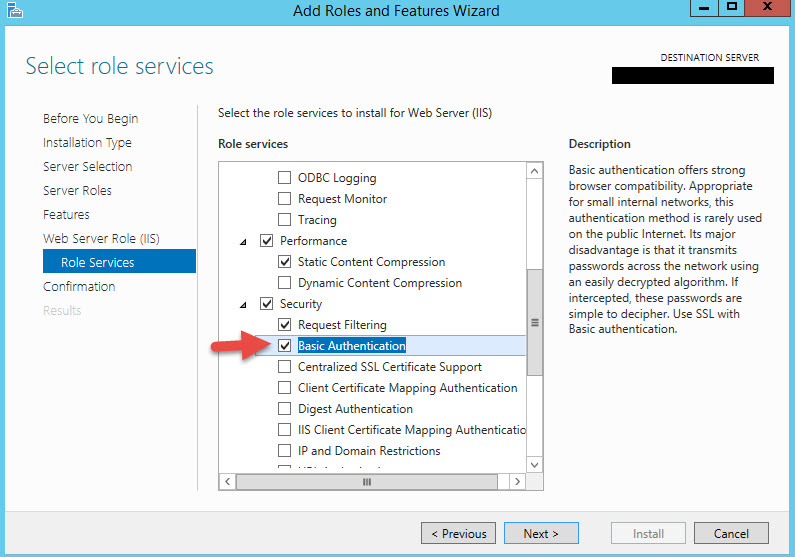
-Basic Authentication
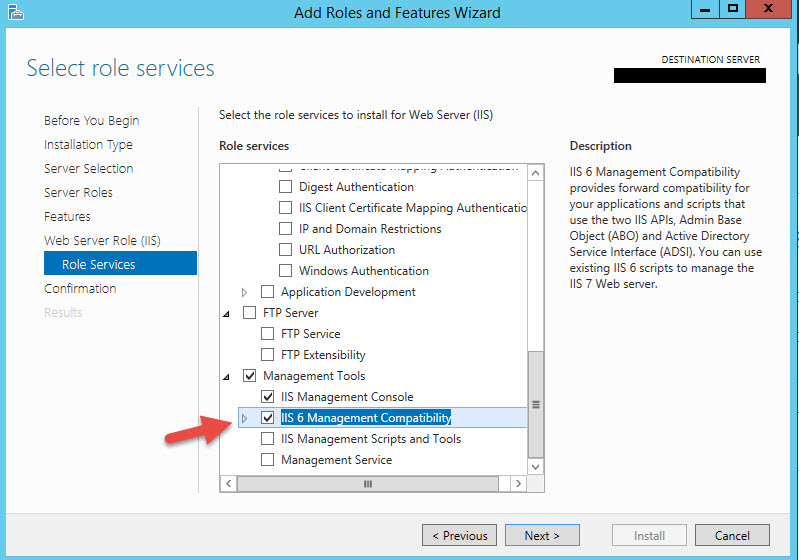
-IIS 6 Management Compatibility
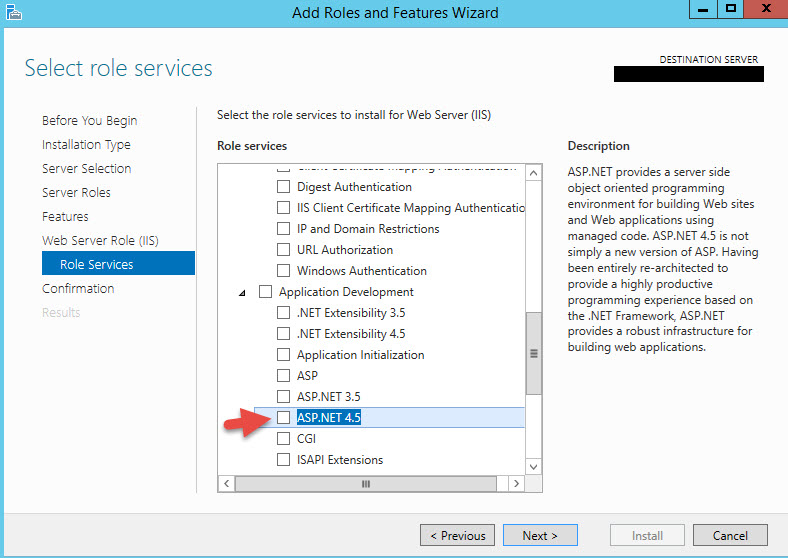
-ASP.NET 4.5
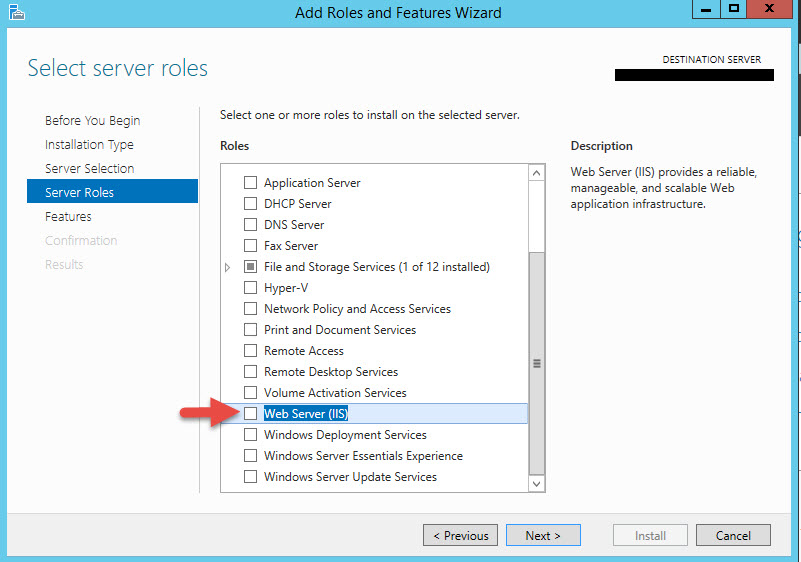
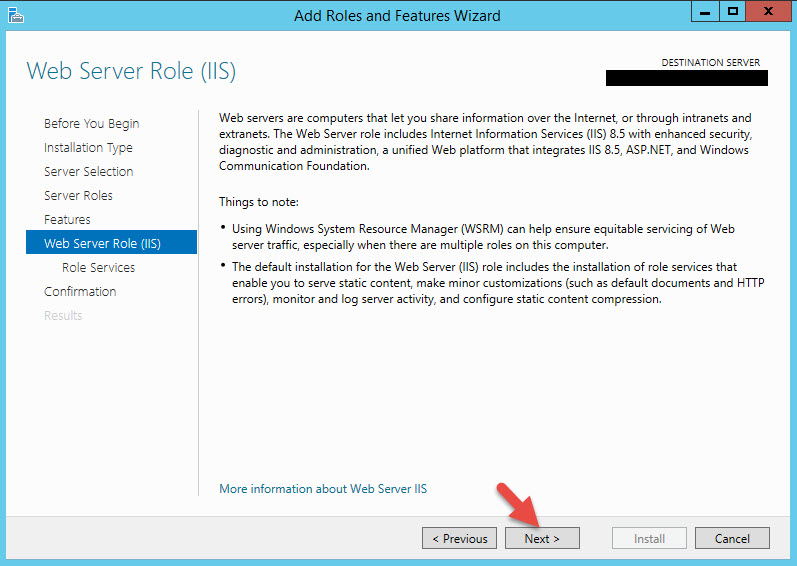
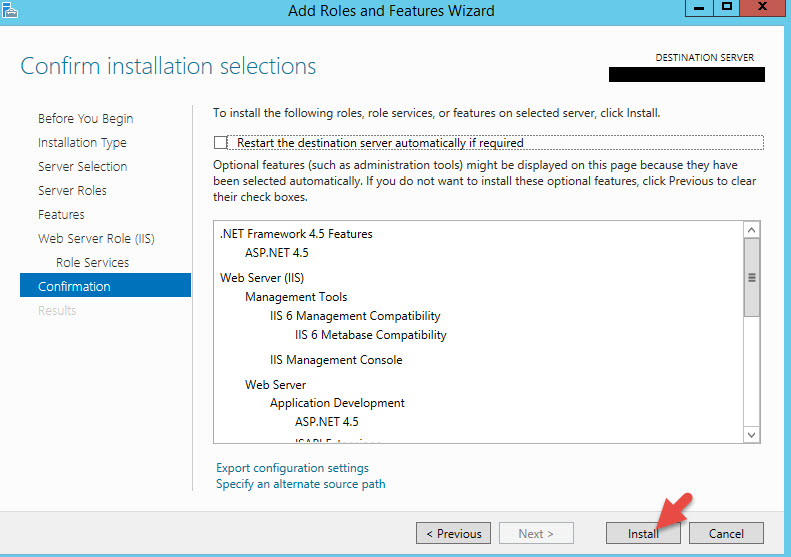
Go to the Server Manager > All Roles and Features Wizard and begin by adding “Web Server (IIS)”:
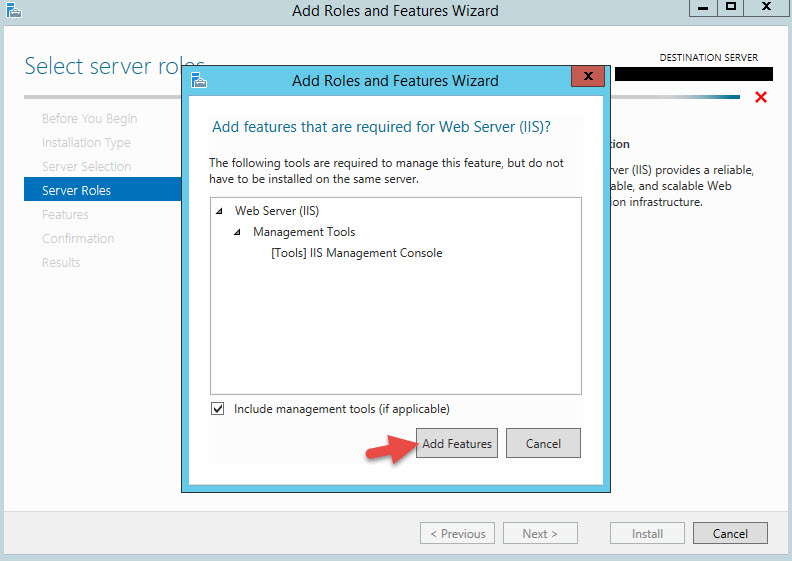
3. Click Add Features
4. Click Next

5. Click Next
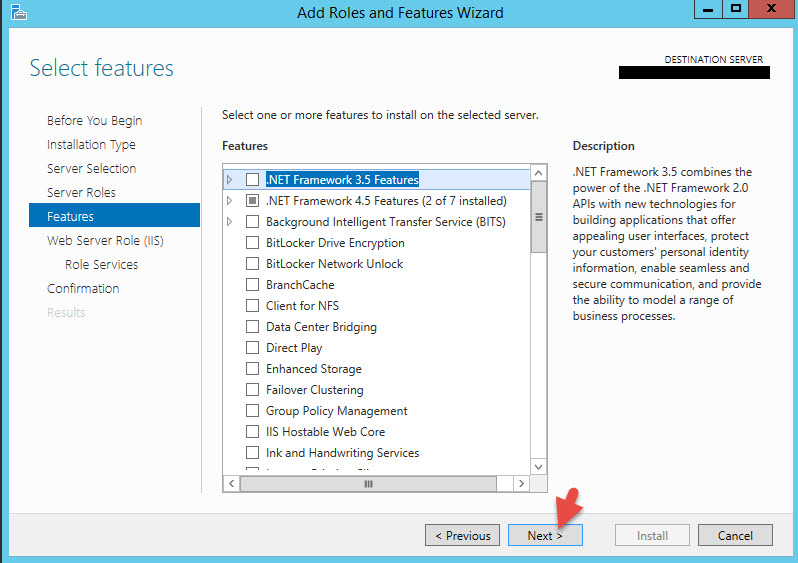
6. Click Next
7. Scroll down and select Basic Authentication first. Do not hit Next yet.
8. Scroll down and select IIS 6 Management Compatibility. Do not hit Next yet.
9. Now expand Application Development and select ASP.NET 4.5
10. Click Add Features

11. Click Next

12. Hit Install
13. Once it’s done, we need to install the Web Service SDK first. Double click on on MultiFactorAuthenticationWebServiceSdkSetup64.msi
14. You might get an error message like this saying “You do not have sufficient privileges to complete the installation for all users of the machine. Log on as administrator and retry this installation.”:
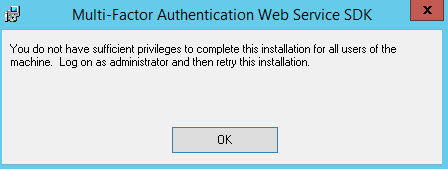
I usually login as a local administrator. Do not try and run an elevated Administrator cmd prompt (right click on cmd, Run as Administrator) and then navigate to the location of the .msi and run something like this command:
msiexec /a MultiFactorAuthenticationWebServiceSdkSetup64.msi
It will install but you’re going to end up having to create Virtual directories and Application Pools in IIS manually. It’s kind of a pain to manually have to go do it so save yourself the headache and login as a local admin so it can do it for you.
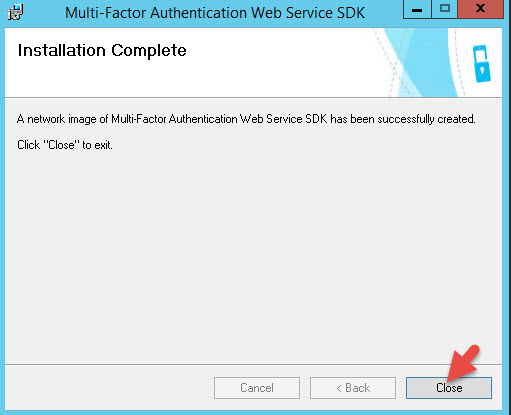
Once it pops up just hit Next.

15. Hit Close
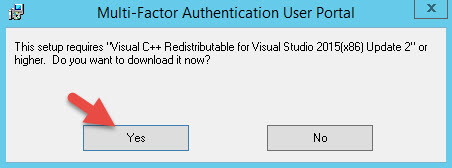
16. Double click on MultiFactorAuthenticationUserPortalSetup64.msi
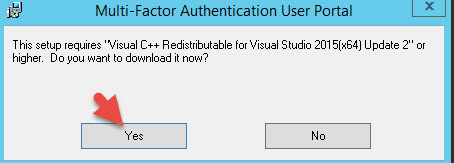
17. It will say “This setup requires “Visual C++ Redistributable for Visual Studio 2015(x86) Update 2″ or higher. Do you want to download it now?”. Hit Yes. It will open in IE by default and if you have ESC mode on it’s going to block it. You may have to disable ESC temporarily and run the .msi again to get to the download page.
18. Hit Save As to download it.
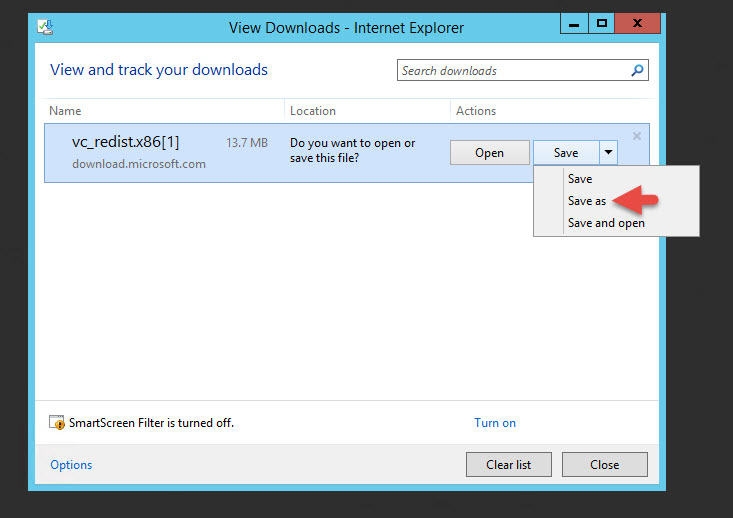
19. You’ll noticed the saved file is missing it’s extension. This happens in every environment I install the User Portal in. The User Portal .msi file is pointing at the wrong redistributable. Just rename and give it the extension .exe to run it.

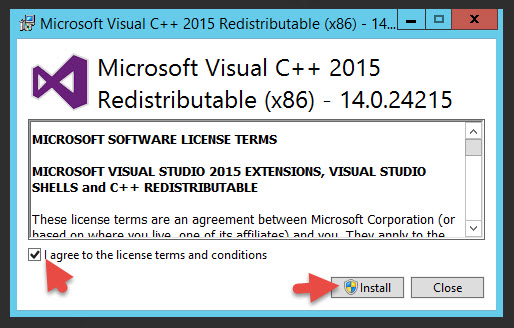
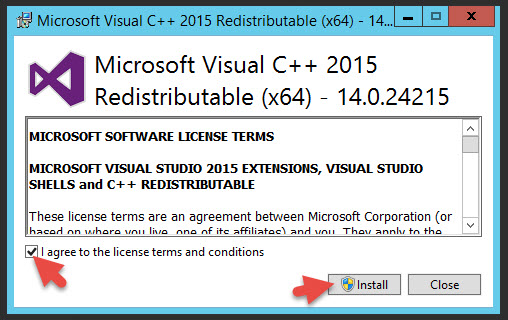
20. This version is 14.0.24215 for x86. Hit I agree and hit Install.
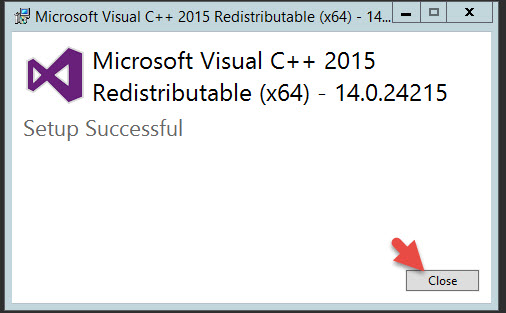
21. Hit Close

22. If you try to install the User Portal again, it will once again complain Visual C++ is not installed but this time the x64 version. Hit Yes.
23. Rename the downloaded file with the .exe extension and run it.
24. Hit Close
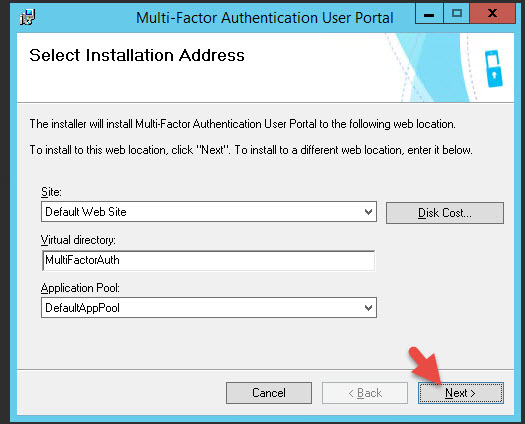
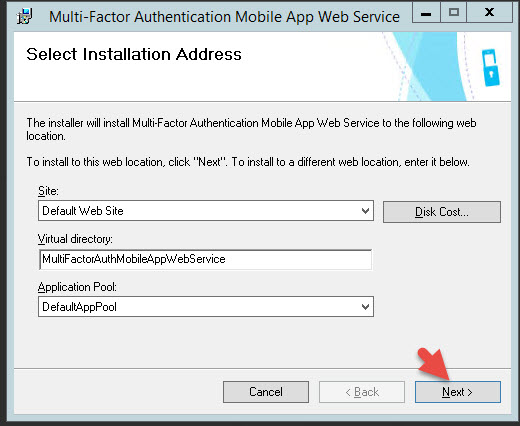
25. Now install the User Portal again. Hit Next in the installer:
26. Hit Close

27. Now we need to install the mobile app web service. If you don’t do this users will not be able to scan the QR code and the Authenticator app won’t work properly. Just double click on MultiFactorAuthenticationMobileAppWebServiceSetup64.msi
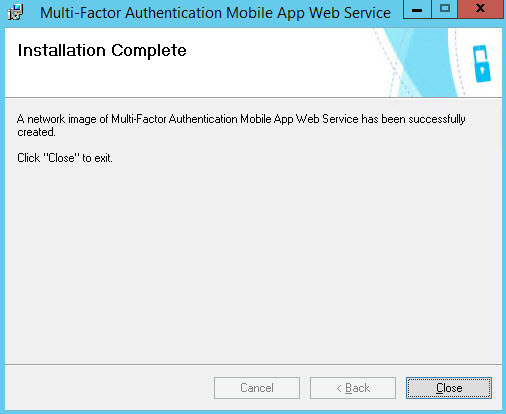
28. Hit Next in the installer.
29. Hit Close
30. Navigate to:
C:\inetpub\wwwroot\MultiFactorAuth
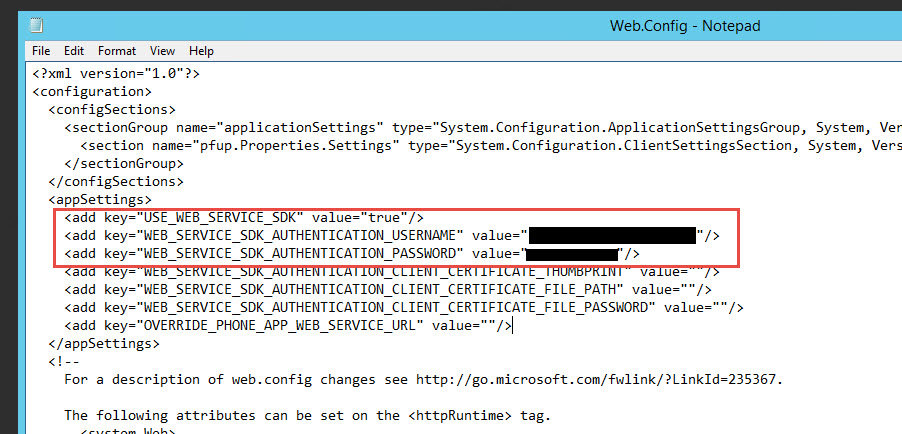
and open up the web.config in Notepad (Run As Administrator). Just must run as admin or you won’t be able to save the web.config later.

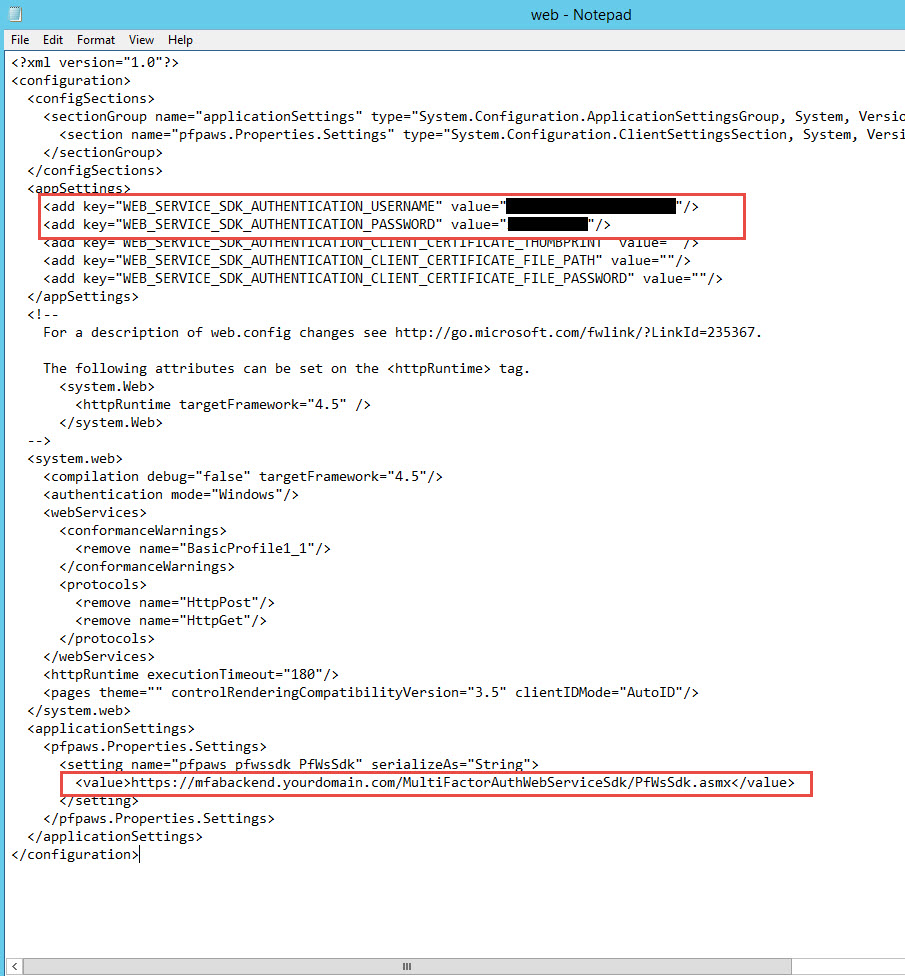
31. Near the top of the web.config set the following 3 lines. We’re going to flip the Web Service SDK to true and give it the domain credentials to access the internal Azure MFA servers. It needs to be an MFA service account used only for this purpose and it must be a member of the “PhoneFactor Admins” security group in AD. Double check and make sure the account is part of this group or nothing will work later and you’ll be wondering why. The communication from the DMZ to internal will be over SSL but yes, the user password is saved in plain text. There are ways to encrypt sections of the web.config but that is a little beyond the scope of this article. If you would like to know how to do this please leave a comment at the bottom of this article and I’ll write some instructions. I’ve done it several times for high security environments successfully.
|
1 2 3 |
<add key="USE_WEB_SERVICE_SDK" value="true"/> <add key="WEB_SERVICE_SDK_AUTHENTICATION_USERNAME" value="yourdomain\svc_mfa_user_portal"/> <add key="WEB_SERVICE_SDK_AUTHENTICATION_PASSWORD" value="yourpassword"/> |
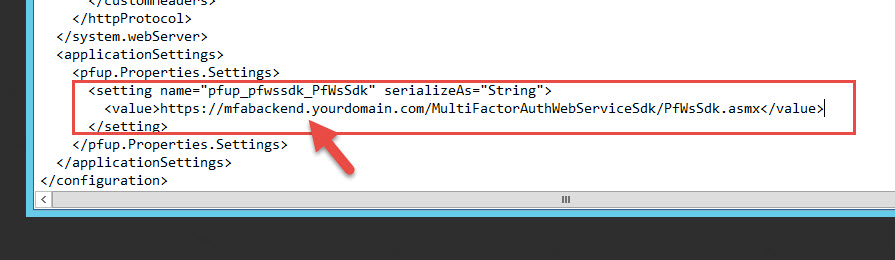
32. Scroll down to the “pfup_pfwssdk_PfWsSdk” setting and you will see the current String is set to:
https://www.contoso.com/MultiFactorAuthWebServiceSdk/PfWsSdk.asmx
just change the domain part to whatever you want to reference your internal MFA authentication servers. I usually call mine:
https://mfabackend.yourdomain.com/MultiFactorAuthWebServiceSdk/PfWsSdk.asmx
and then edit the host file on each web server to point at mfabackend.yourdomain.com which is a load balanced vserver on my DMZ NetScaler that communicates to the internal MFA authentication servers. This way I don’t have to mess with DNS or modify multiple firewall rules since the NetScaler will be doing the talking for me.
33. Save your web config. Sometimes you may need to troubleshoot your configuration in later steps from a browser on your PC rather than on the server itself. To read the actual error messages, I sometimes add this temporarily to disable the custom error messages right before the closing of the system.web section:
|
1 |
<customErrors mode="Off"/> |
DO NOT leave this on or you are exposing everything to the Internet. Use it for temporary troubleshooting only.
Once you are done, you can copy this web.config over to the other web server too. You can overwrite the default one there safely.

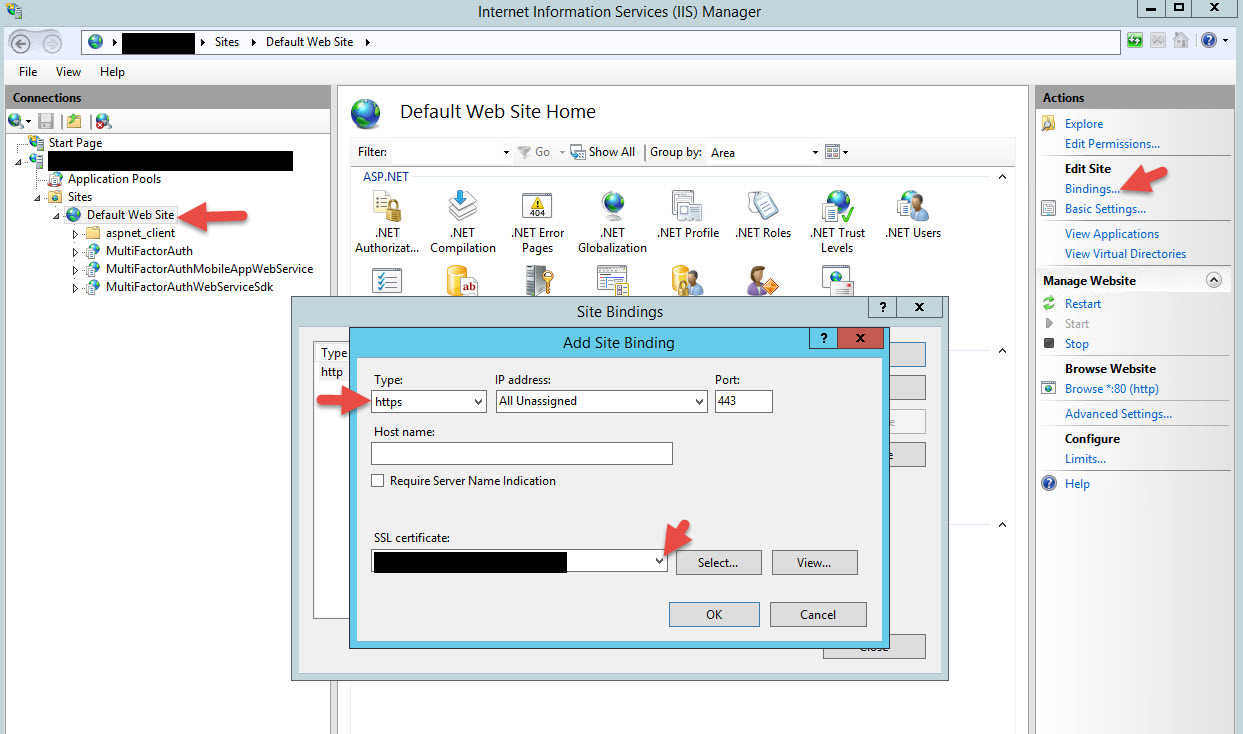
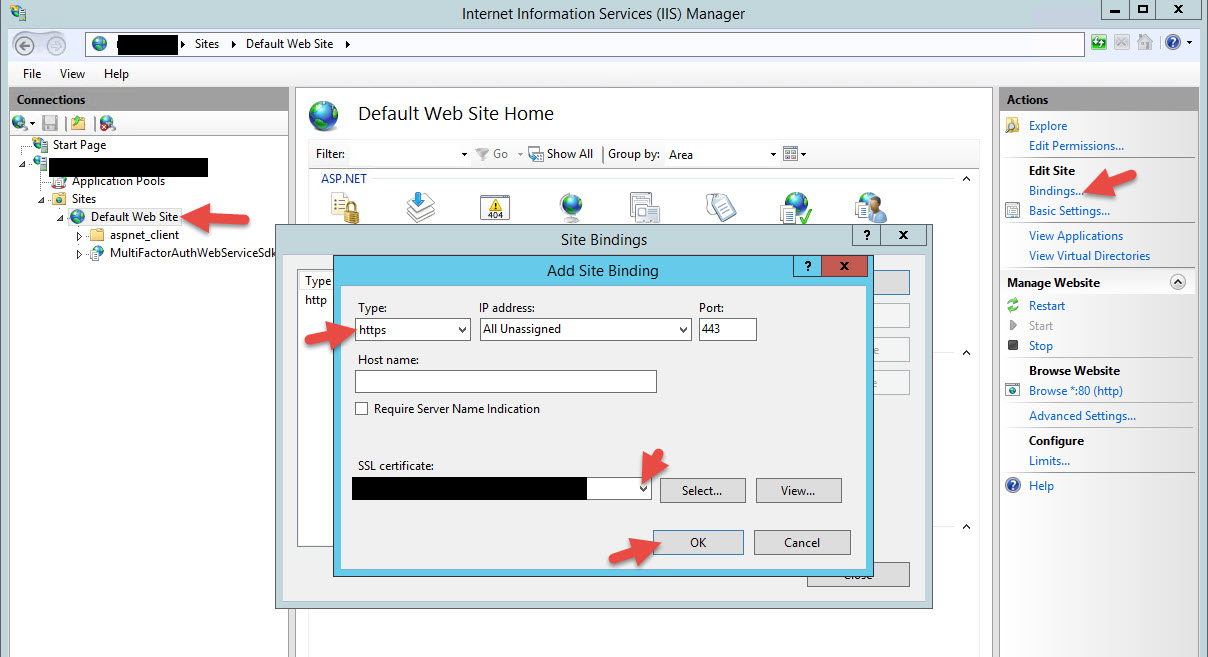
34. Open up IIS Manager and install your SSL certificate for your your MFA User Portal. Bind it for https on the Default Web Site like this. Anything user friendly like register.yourdomain.com, enroll.yourdomain.com, etc. will work fine here. Whatever is easy for users to remember.
35. Now we need edit the web.config for the Mobile App Web Service. Navigate to:
C:\inetpub\wwwroot\MultiFactorAuthMobileAppWebService
and open up this web.config using an elevated Notepad like you did for the User Portal. It will have the same sections, you need to modify. Add the user credentials and edit the URL line again:
https://mfabackend.yourdomain.com/MultiFactorAuthWebServiceSdk/PfWsSdk.asmx
Don’t forget to copy this web.config over to your other web server too.
36. Now log in to each of your internal MFA authentication servers. You will need to install IIS and the pre-reqs again like you did on the web servers:
-IIS role
-Basic Authentication
-IIS 6 Management Compatibility
-ASP.NET 4.5
This is because the DMZ servers need to communicate to the internal MFA auth servers using the SDK.

37. Now login to the current Master internal MFA authentication server and open up the MFA admin console. Click on Web Service SDK and hit “Install Web Service SDK”.

38. Hit Next
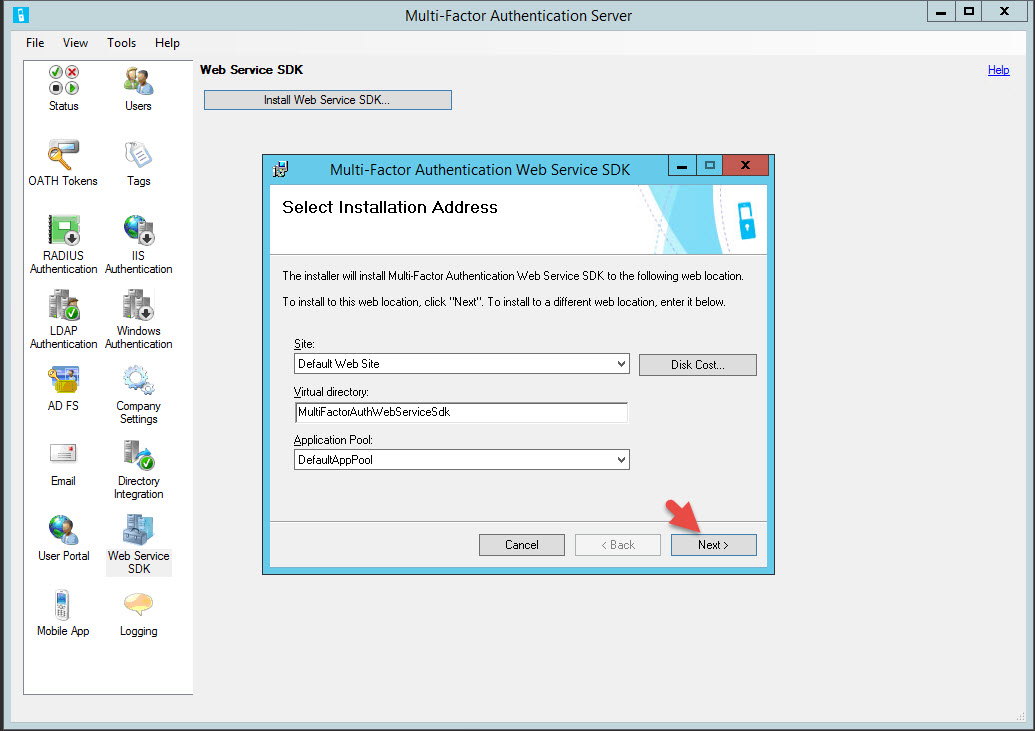
39. Hit Close

Don’t forget to do this on your other authentication server too.
40. Open up IIS Manager and bind an SSL certificate. The NetScaler will be handling mfabackend.yourdomain.com for you but you still want to encrypt the communication from the NetScaler to your MFA authentication servers. Do this on both your authentication servers.
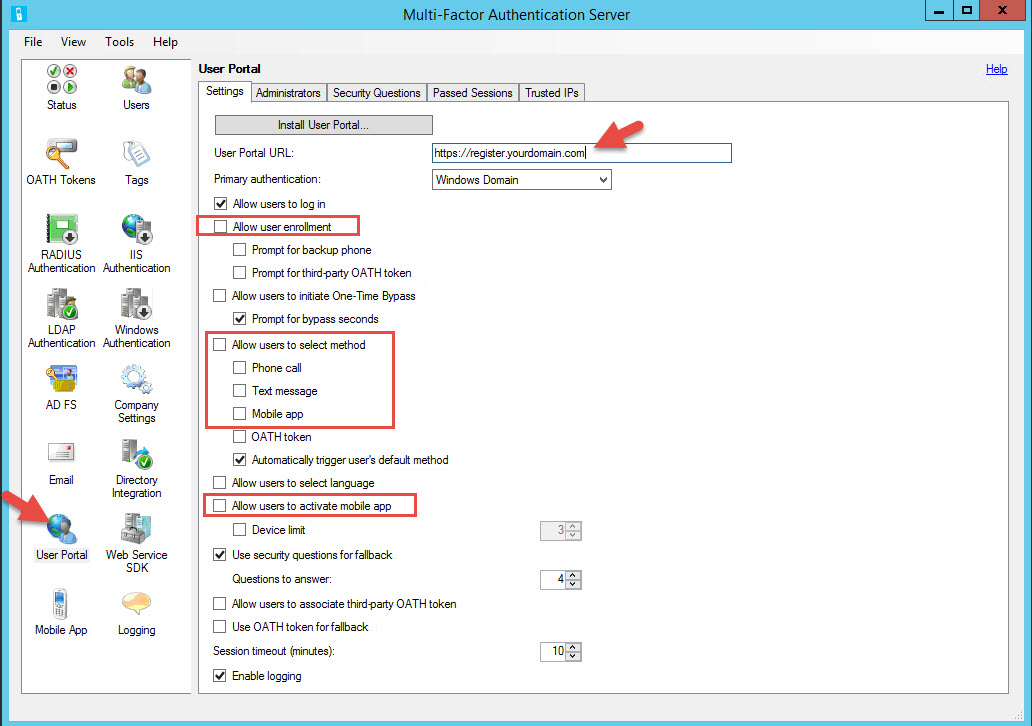
41. Now on the Master server, click on User Portal and type in the URL for the user portal you decided on in step 33. Again, keep it user friendly. You can select the options here that are allowed on the User Portal. The ones that are usually cleared by Security teams and I am requested to enable are:
-Allow user enrollment
-Allow users to select method (phone call, text message, mobile app)
-Allow users to activate mobile app
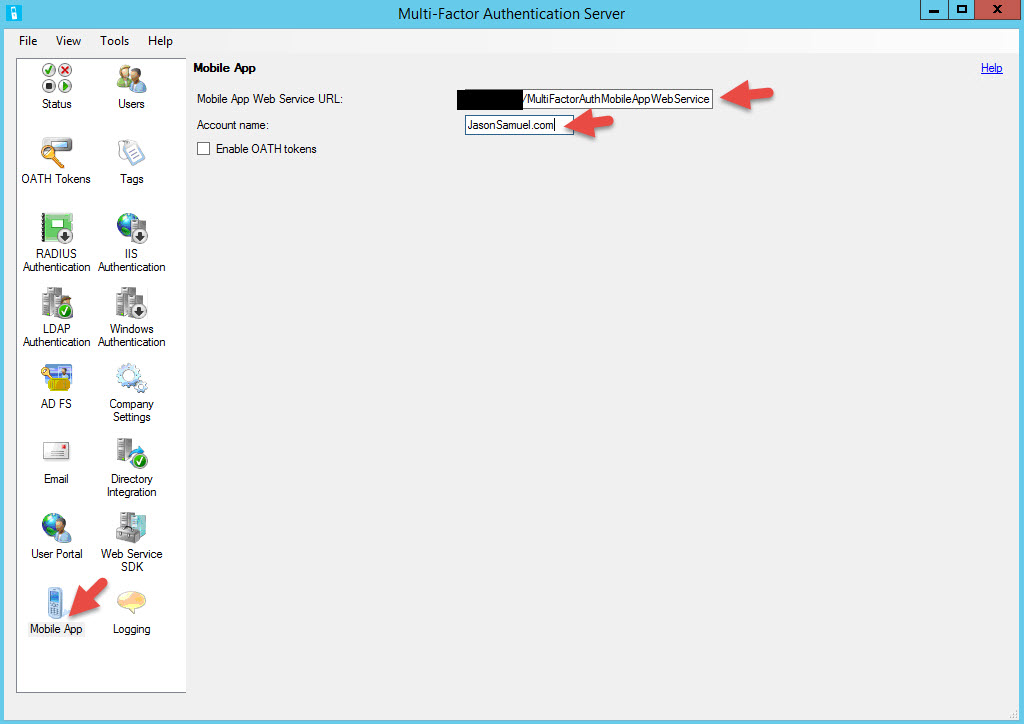
42. Now click on Mobile App and add the URL to the mobile app web service. It will be the same URL as the User Portal but with the directory changed:
https://register.yourdomain.com/MultiFactorAuthMobileAppWebService/
for the Account name, type in the name of your company. This will show up in the Authenticator app to the end users.
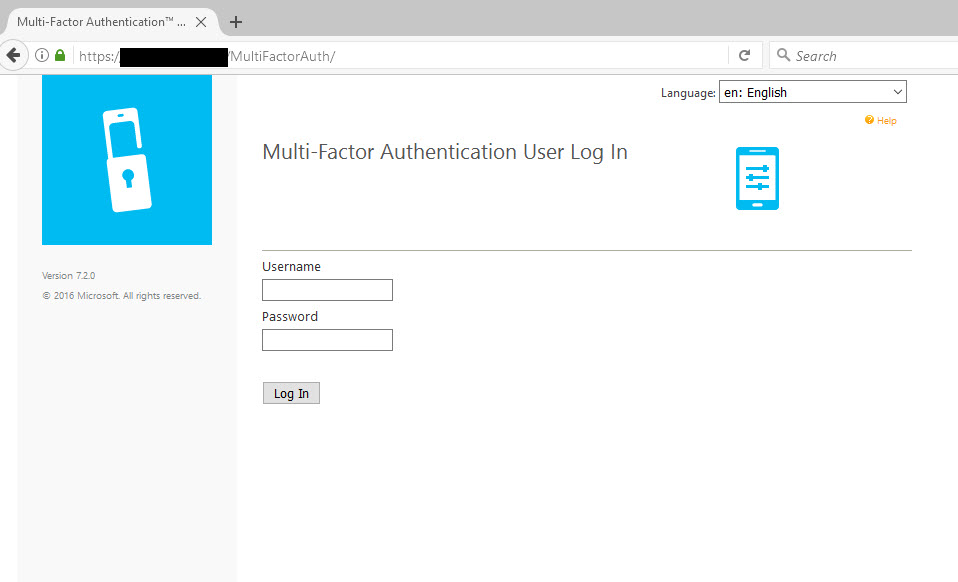
43. Ensure you have DNS records for register.yourdomain.com (or whatever friendly name you chose for the User Portal) and mfabackend.yourdomain.com in place pointed at the appropriate NetScaler vservers or whatever load balancer you are using. Don’t forget that the register.yourdomain.com DNS record needs to available externally too. Again, all this traffic is SSL so your vservers should be on 443. Then you can navigate to https://register.yourdomain.com/MultiFactorAuth/ and you should get the MFA User Portal login page.
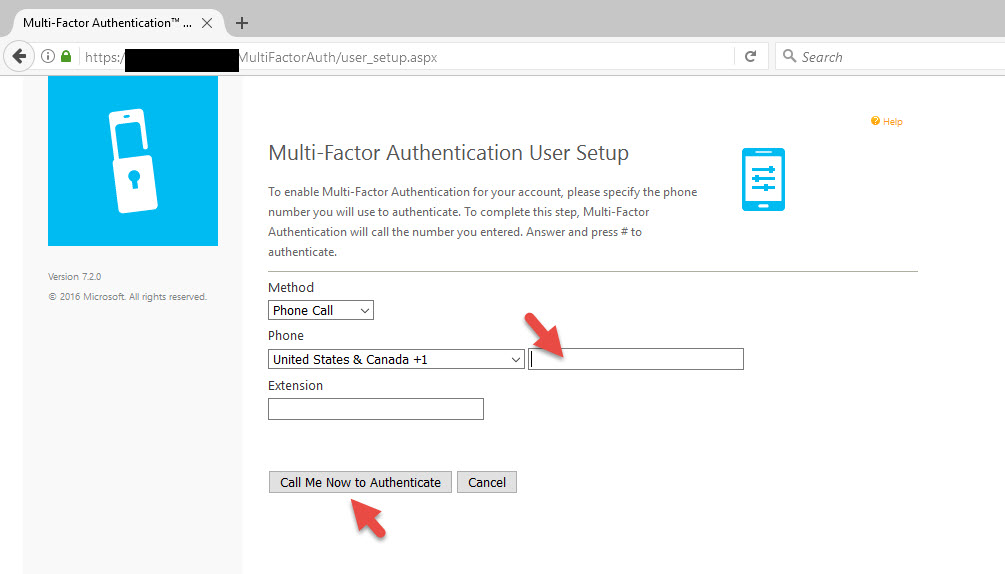
44. I have imported a user without a phone number in AD to show you how enrollment works. If I did import a user with a phone number it would pause and call me to confirm the 2nd factor of authentication but I want to show you how the User Portal can be used as a tool to collect phone numbers and enroll which is a good use case for external vendors, contractors, etc. who HR usually does not have mobile numbers for. When I login as a user without a phone number, I will be asked for the number and it will call me to authenticate.
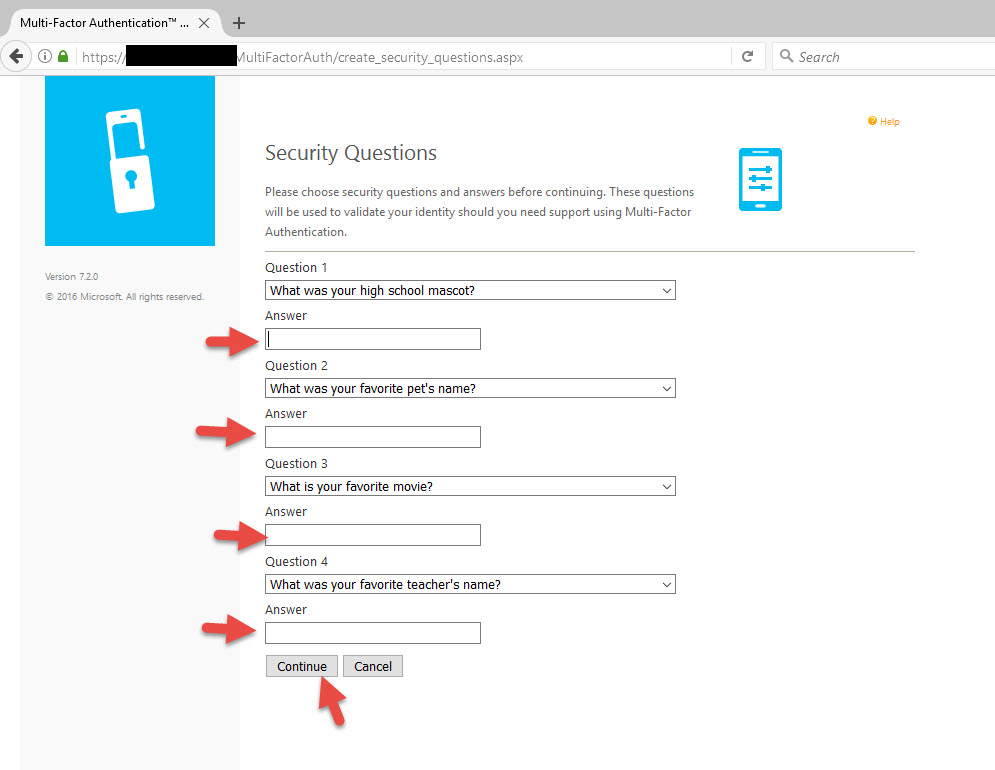
45. On the next screen I will choose my 4 security questions. You can choose the number and types of questions asked or even disable this completely in the User Portal. I like to leave it on to minimize Help Desk calls. The more self service you can give users the better.
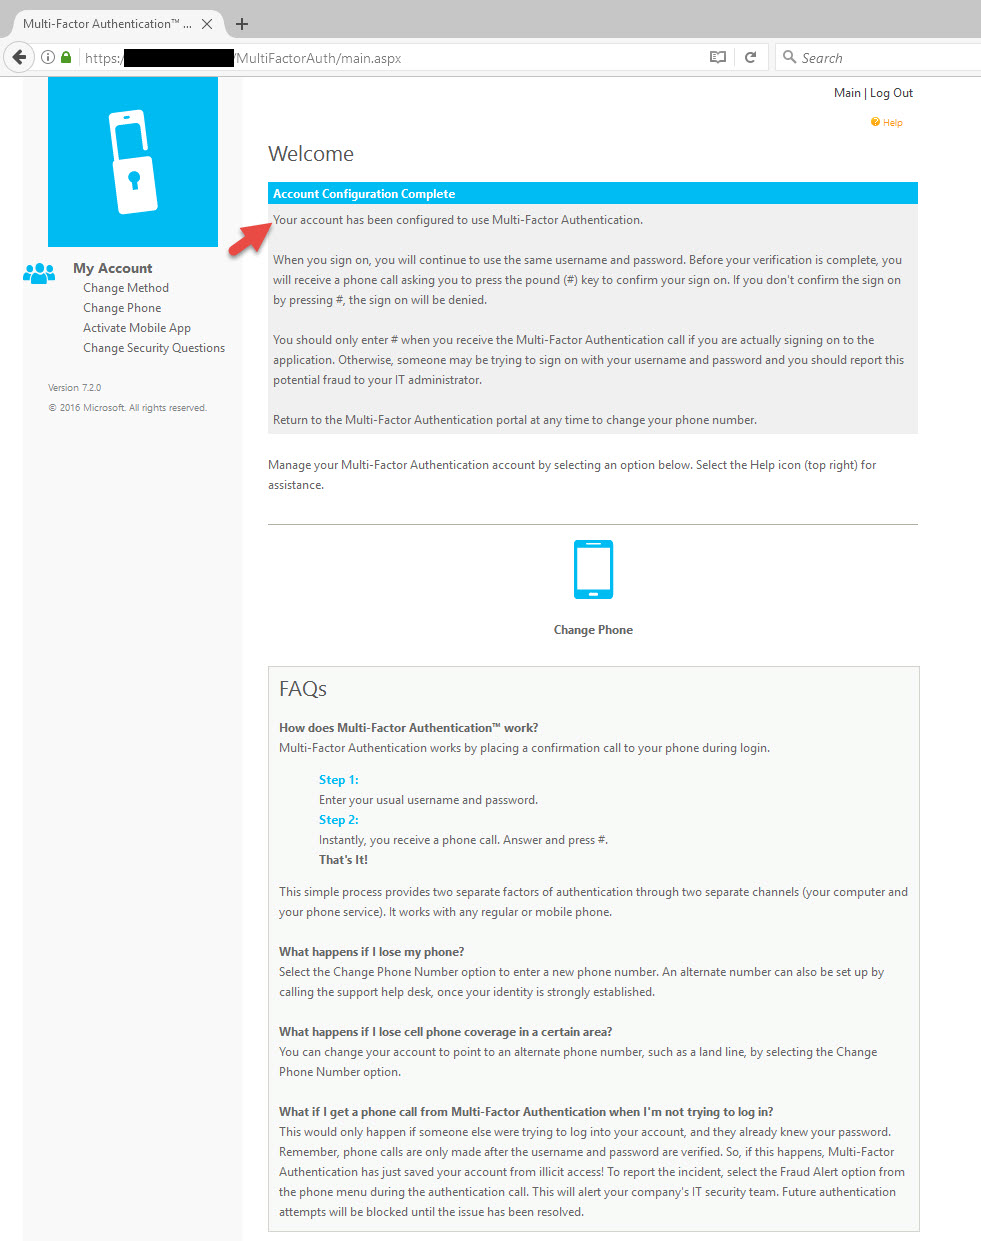
46. Now you’ll be taken to he home page and there will be message at the top confirming your account configuration is complete.
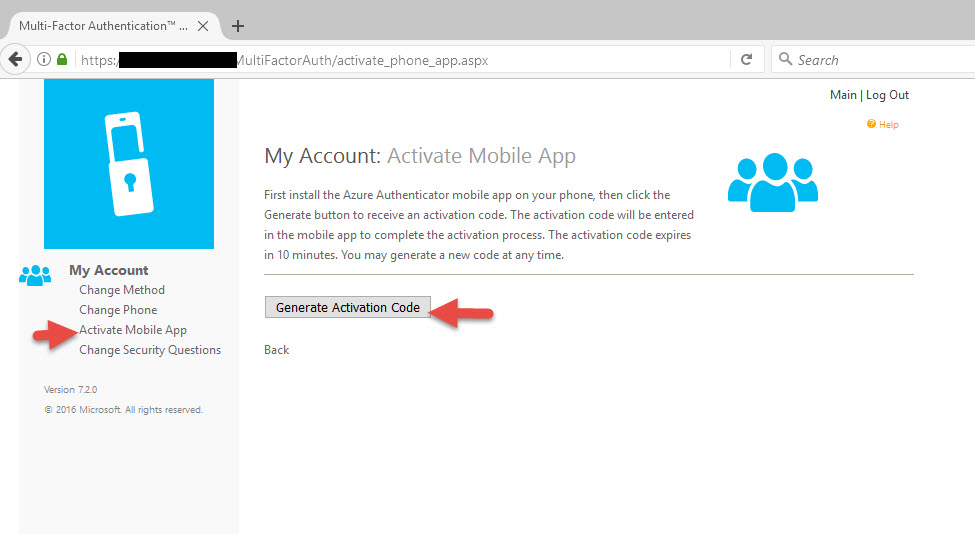
47. Now let’s activate the Authenticator mobile app. Make sure you have downloaded Microsoft Authenticator from your phone’s mobile app store. Click on Acitivate Mobile App and hit Generate Activation Code.
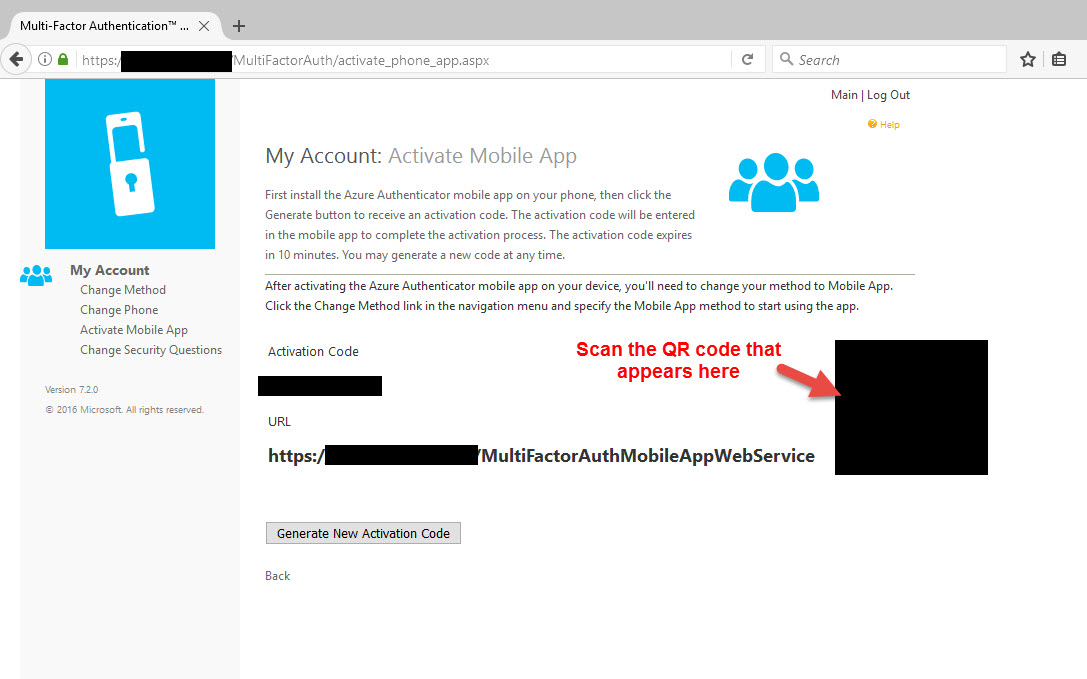
48. This will invoke the mobile SDK and a QR code and activation code will be displayed. Scan this QR code with your phone using the Microsoft Authenticator mobile app. Keep in mind that the URL needs to available externally at this point or the app won’t be able to resolve the URL and it won’t register the account.
49. Now you can go to Change Method and switch your authentication method to Mobile App.

50. Now a couple of things you can fine tune using your NetScaler. When a user navigates to http://register.yourdomain.com it doesn’t automatically switch them over to using https. If they type in https it takes them to the default IIS page instead of the MultiFactorAuth page which can be equally annoying.

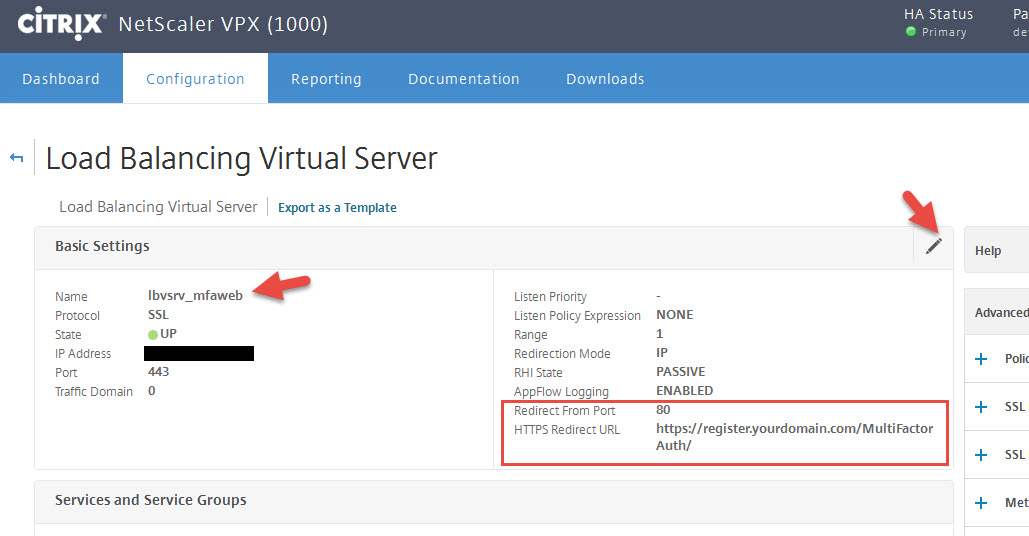
51. To do the http to https redirect, just open up the load balanced vserver for the MFA web servers and add an HTTPS redirect URL from port 80:
https://register.yourdomain.com/MultiFactorAuth/
52. This will get people that type in register.yourdomain.com into their browser bar over to the right URL but will not take care of the users that type in https://register.yourdomain.com. So you need to create and bind a Responder policy to take care of this.
The Responder Action will be a 301 redirect to https://register.yourdomain.com/MultiFactorAuth/:

and the Responder Policy will be:
HTTP.REQ.URL.PATH_AND_QUERY.CONTAINS("MultiFactorAuth").NOT

once you bind this to your MFA web server lb vserver users will no longer be able to see the default IIS page even if they come over SSL.
I hope this guide has helped you. Please leave any questions or comments below.
Jason Samuel is a visionary product leader and trusted advisor with a proven track record of shaping strategy and driving technology innovation. With extensive expertise in enterprise end-user computing, security, cloud, automation, and virtualization technologies, Jason has become a globally recognized authority in the IT industry. His career spans consulting for hundreds of Fortune 500 enterprises across diverse business sectors worldwide, delivering cutting-edge digital solutions from Citrix, Microsoft, VMware, Amazon, Google, and NVIDIA that seamlessly balance security with exceptional user experiences.
Jason’s leadership is amplified by his dedication to knowledge-sharing as an author, speaker, podcaster, and mentor within the global IT and technology community. Recognized with numerous prestigious awards, Jason’s contributions underscore his commitment to advancing technology and empowering organizations to achieve transformative results. Follow him on LinkedIn.
Disclaimer: Views expressed here are his own and do not reflect the views of his employer, past or present, or any organizations he is affiliated with. Content is for informational or personal purposes only.


j.k.
August 17, 2017 at 4:22 PM
If you would like to know how to do this please leave a comment at the bottom of this article and I’ll write some instructions. I’ve done it several times for high security environments successfully.
–> I’d be interested in knowing how to do this.
I also have a question about a situation that is not what this article covered. How would you go about installing MFA Server on an ADFS server — as they both use 443, I’m told their might be a conflict. If there is not, is there a situation where MFAS’ use of 443 may cause a conflict that I’m not articulating – and if so how would you resolve it?
Dave
September 25, 2017 at 7:16 AM
This is a great blog post, way better than Microsoft’s documentation. Thanks a lot!
Ivan
October 3, 2017 at 10:33 AM
Jason, for greater clarity, you should name the portal Userportal or Portal, instead of multifactorauth :). It will reduce confusion.
J.K. installing the MFA server on ADFS has absolutely no bearing on incoming TLS requests. DO NOT install the IIS components as they are not needed and you will not have any issues with http.sys bindings.
Remi
November 22, 2017 at 12:38 AM
Hi mate, I’m having trouble with the responder policy. If I enable it I can access the portal fine, but the App activation via QR code will fail with “Unexpected server response. Make sure that you use the URL of your local authentication service.” I use COOKIEINSERT as a persistence method. Any idea what could cause it? Cheers
Rafael
April 17, 2018 at 6:33 AM
Hi Jason,
Awesome instructions you provided there, much better than found on docs.microsoft.com.
I would be highly interested how to set up the WebSDK authentication without storing the password in web.config file. I tried using the WEB_SERVICE_SDK_AUTHENTICATION_CLIENT_CERTIFICATE option. Unfortunately, not with much success. As mentioned, do you have any further information how to set the config file in a secure way? FYI: I managed to use client auth with the ADFS MFA Adapter… But this one seems different.
Thanks for your reply and help!
Willy
October 3, 2018 at 3:45 AM
Hi Jason:
if you are so kind, could you please share the way to authenticate to the WebSDK without storing the clear text password on the config file ??
Thanks in advance, and awesome article. Congrats!!
lyf
March 2, 2021 at 1:04 PM
one of the greatest article available for setting up MFA user portal on DMZ. Very happy to be here to get to know the steps in detail. Thank you so much.