Today I want to cover the steps it takes to setup a XenApp 7.5 or XenDesktop 7.5 delivery controller for the first time. I want to demonstrate that it’s not all that different from previous versions of XenApp and XenDesktop from a management standpoint. I know a lot of Citrix Admins are hesitant to move to 7.x architecture because of the big changes like FMA but really, there is nothing keeping you from moving forward. I encourage everyone to at least be playing with 7.x architecture in a test lab if you don’t already have it in production or have plans to do so. If you’ve only used previous versions of XenApp in the past, there might be a slight learning curve to some of the concepts and terminology. If you’ve used XenDesktop in the past, this is a cakewalk for you. Download the media from http://www.citrix.com/downloads.html first. It’s a 2.8 GB ISO called “XenApp_and_XenDesktop7_5.iso”.
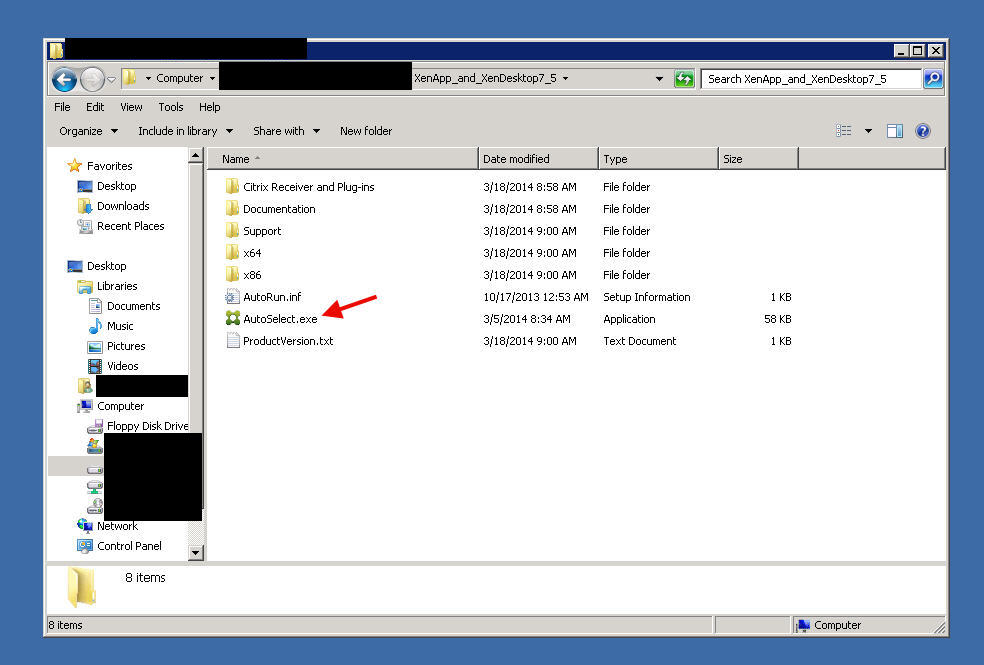
1. Extract the media and and click AutoSelect.exe. Make sure you are logged into the server using a service account that has rights to the SQL server you plan on installing the SQL database to.
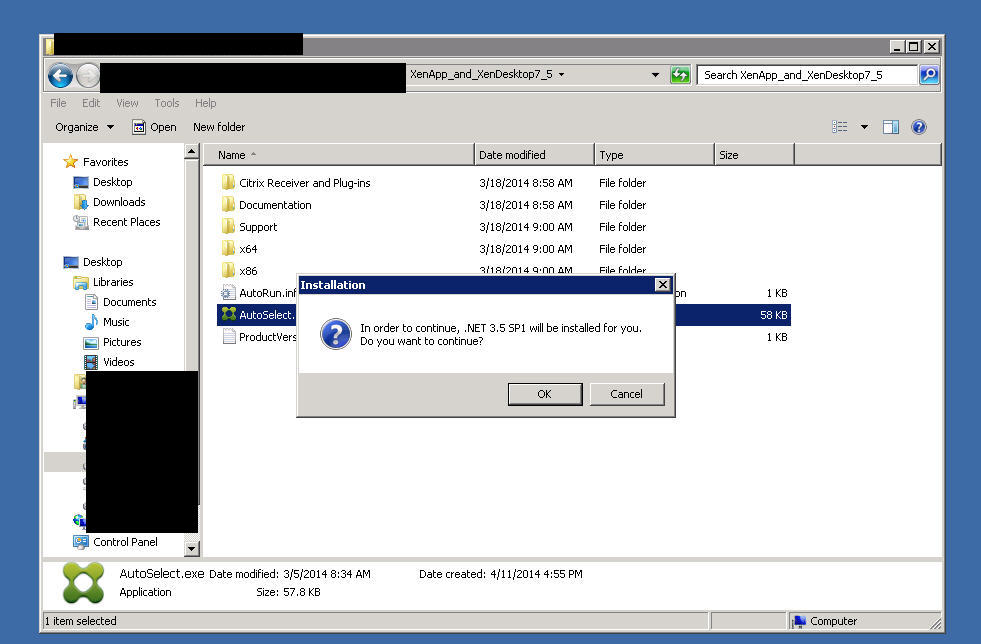
2. Install .NET 3.5 SP1
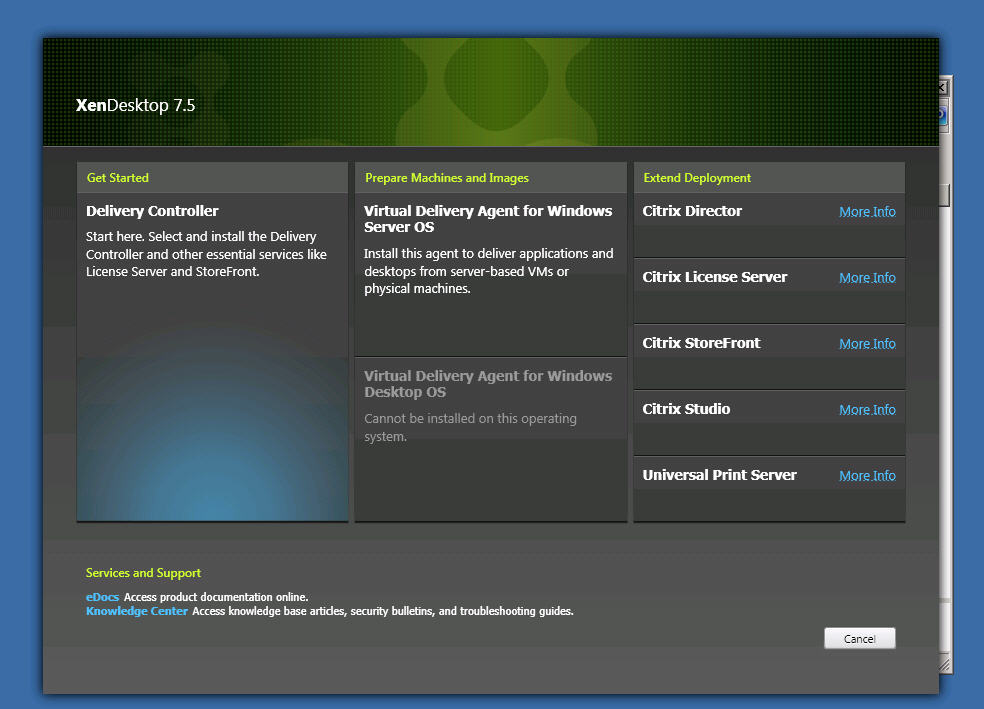
3. Once done you get asked if it should deliver apps only (XenApp) or apps + desktops (XenDesktop). You’ll want to choose XenDesktop in most instances.

4. Click Delivery Controller under the “Get Started” heading. I am assuming you have the Citrix License Server and StoreFront on other dedicated servers.
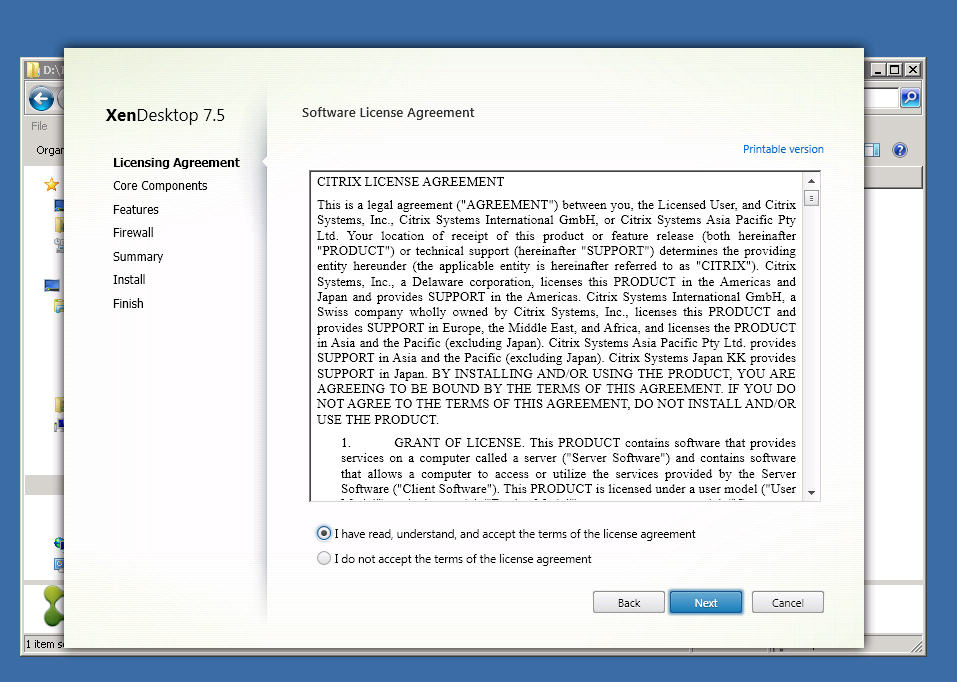
5. Accept the EULA
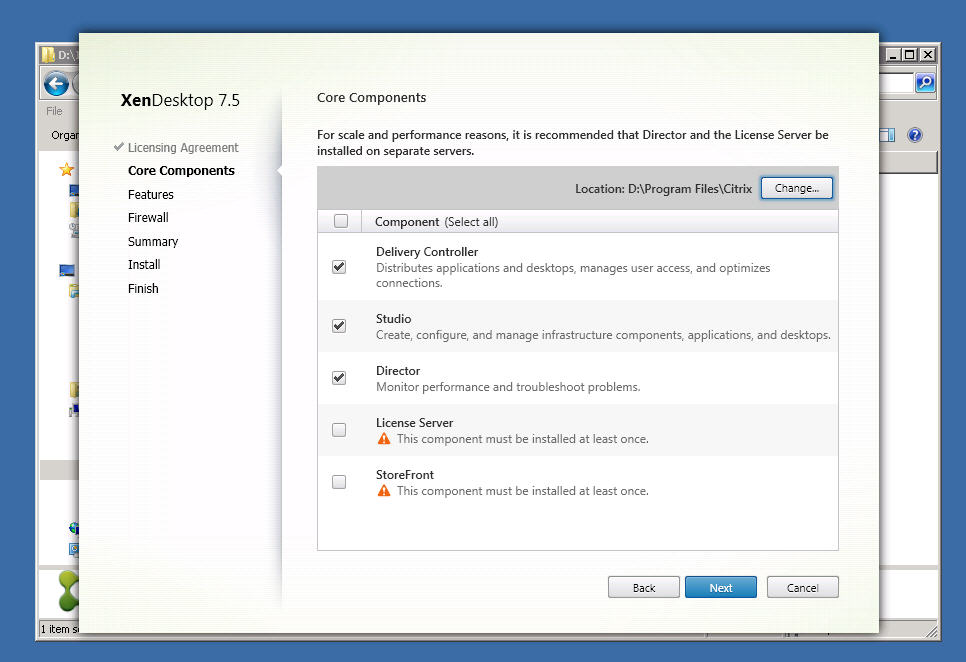
6. Change the location to D: drive unless you want to let it install to the default C: and keep Delivery Controller, Studio, and Director checked. Again, I’m assuming you will have dedicated servers for the License Server and StoreFront roles.
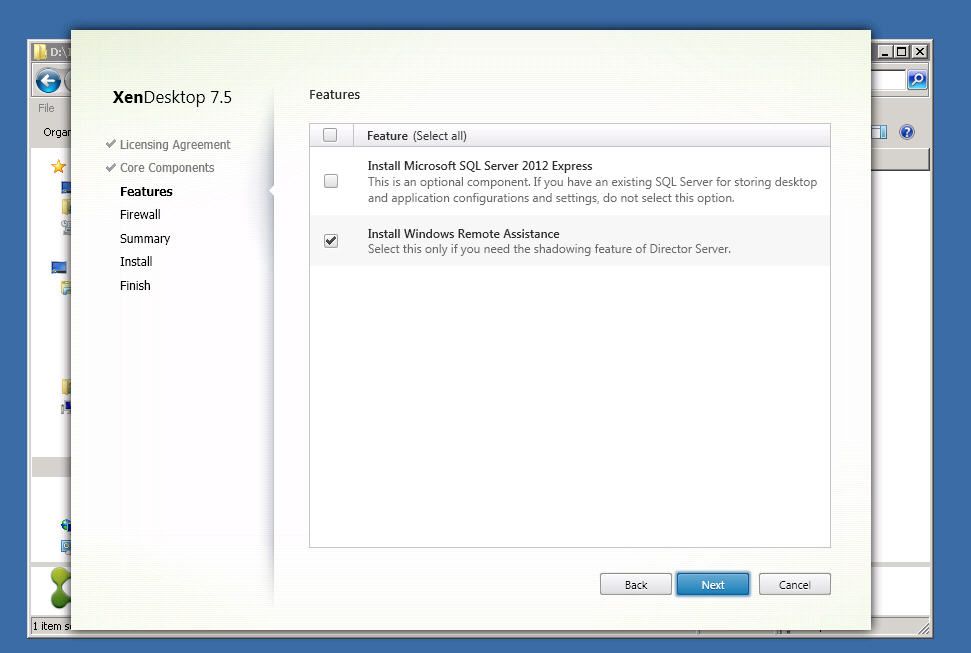
7. Go ahead and leave Remote Assistance checked if you plan on using shadowing
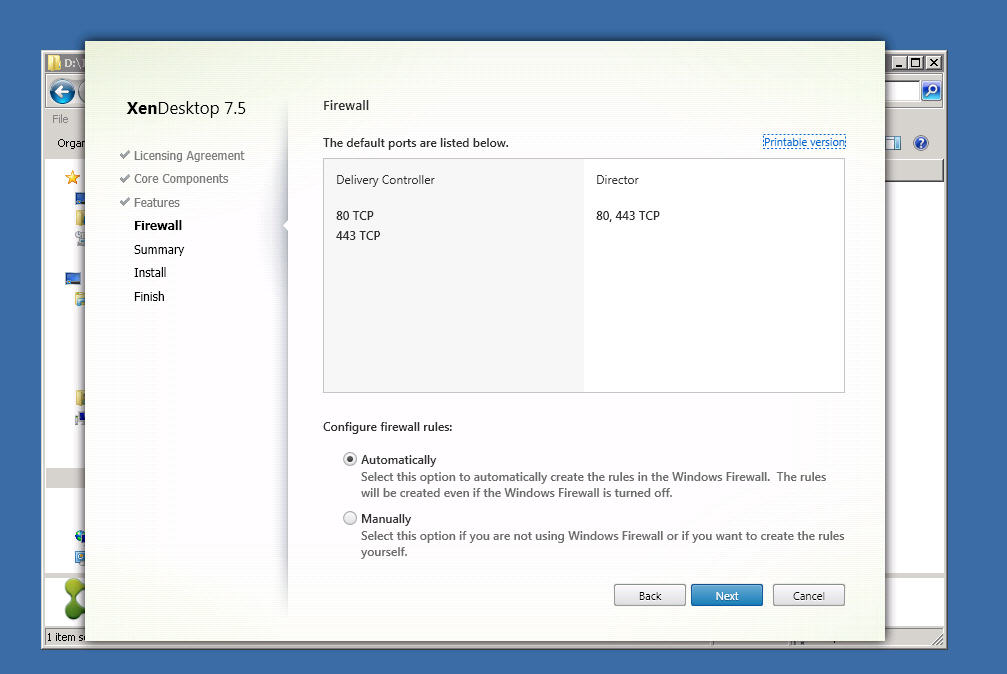
8. Firewall ports 80 and 443 will be used by Delivery Controller and Director. Just leave it to configure the rules automatically on Windows Firewall.
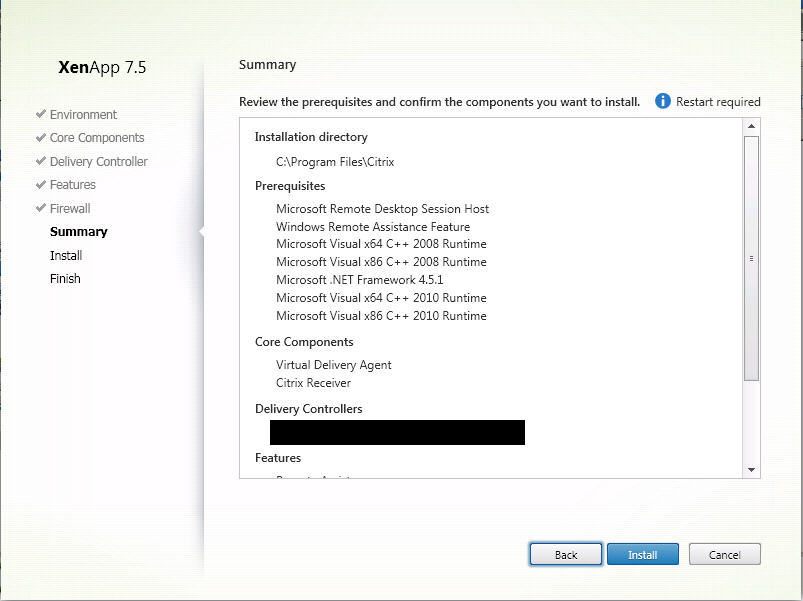
9. Review the summary and hit Install

10. It will begin installing, come back in about 11 min

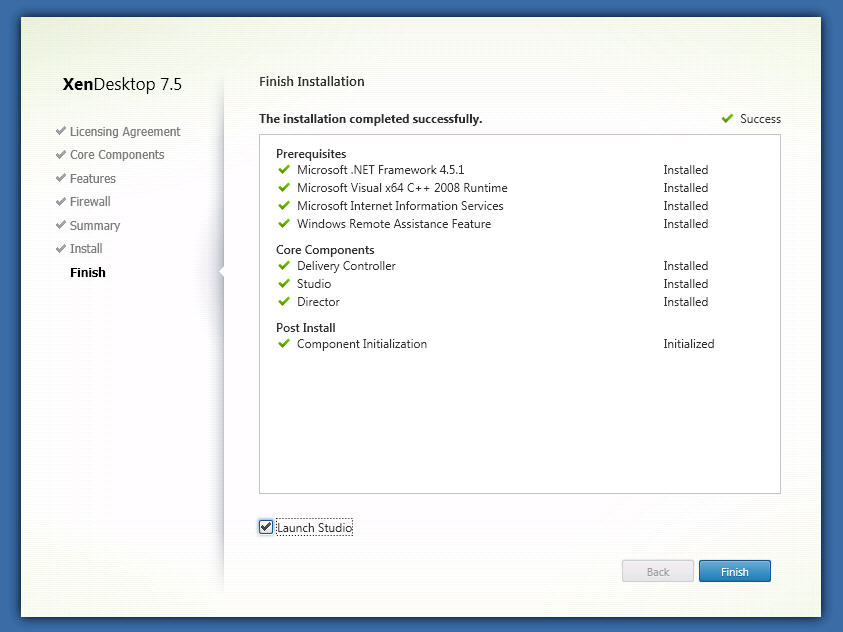
11. Once installed it will look like this, hit Finish to launch Desktop Studio
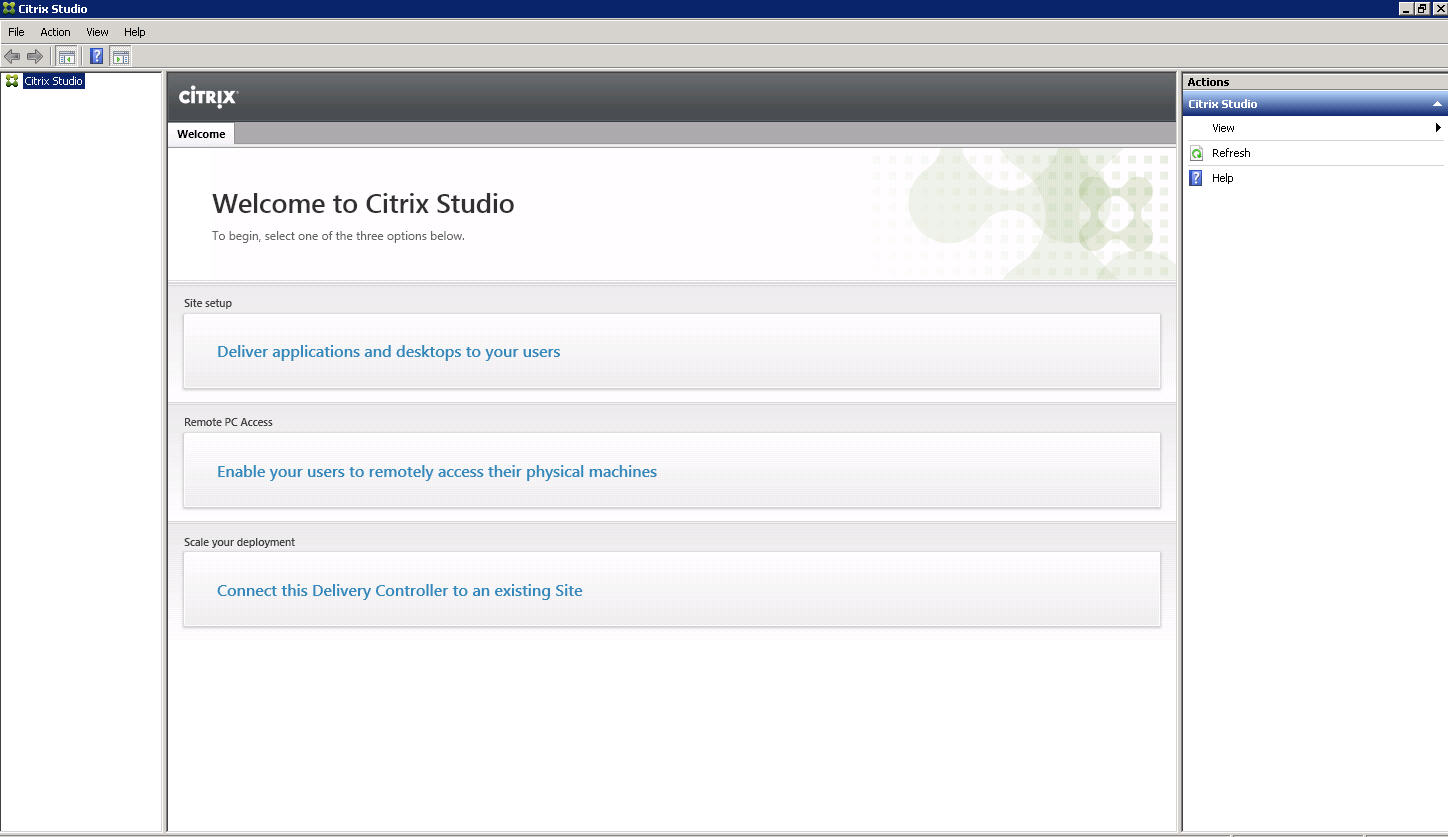
12. Click “Deliver applications and desktops to your users” under the Site Setup heading
13. For a brand new deployment, keep it checked on “A fully configured, production-ready Site (recommended for new users)” and give it a name

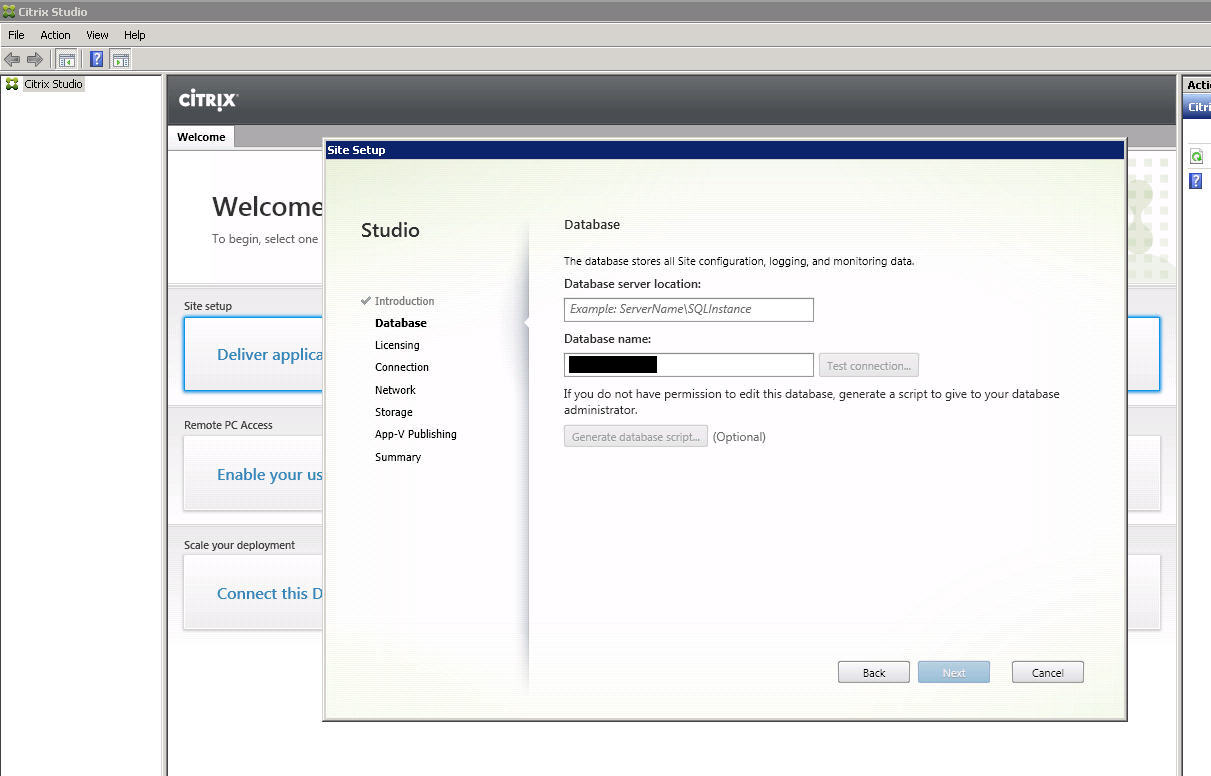
14. Type in a database server and database name. This is where things are a little different from older versions of XenApp such as XenApp 6.5. As long as the service account you are logged in with has SA and DBO rights to the database server, you can just type in the name, hit test connection, then press OK and it will create it for you. If your DBA team doesn’t want to give your service account temporary elevated rights then genreate the datbabase script and give it to them. There will be 2 scripts, one for the regular database and one for the mirror if you plan on mirroring.
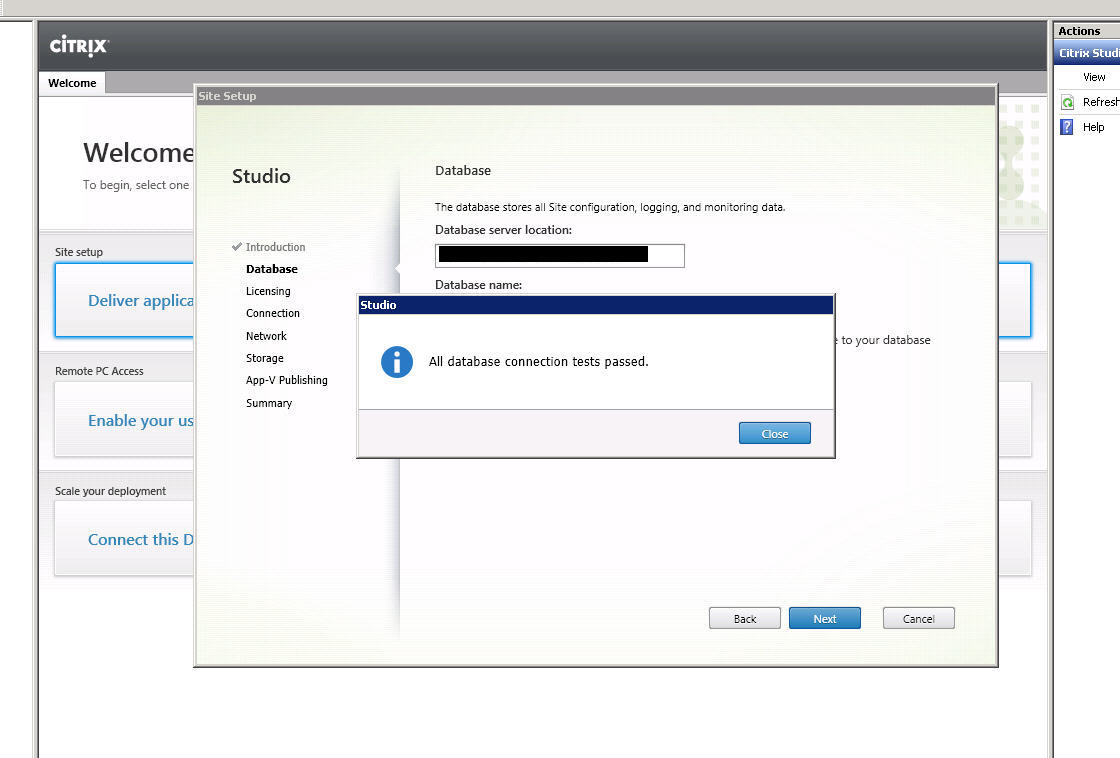
15. Once it verifies the database is there or it has the ability to create the database using the logged in account it will come back and say “All database connection tests passed”.
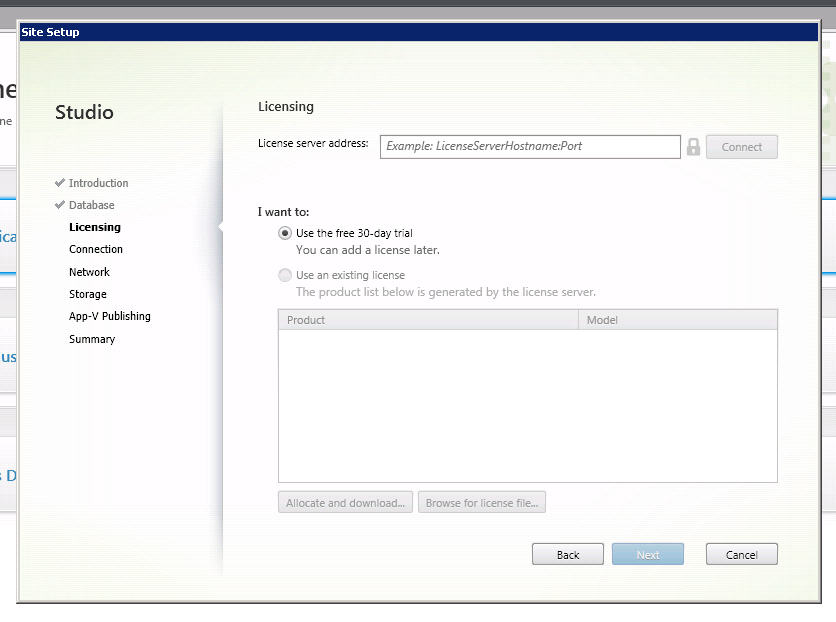
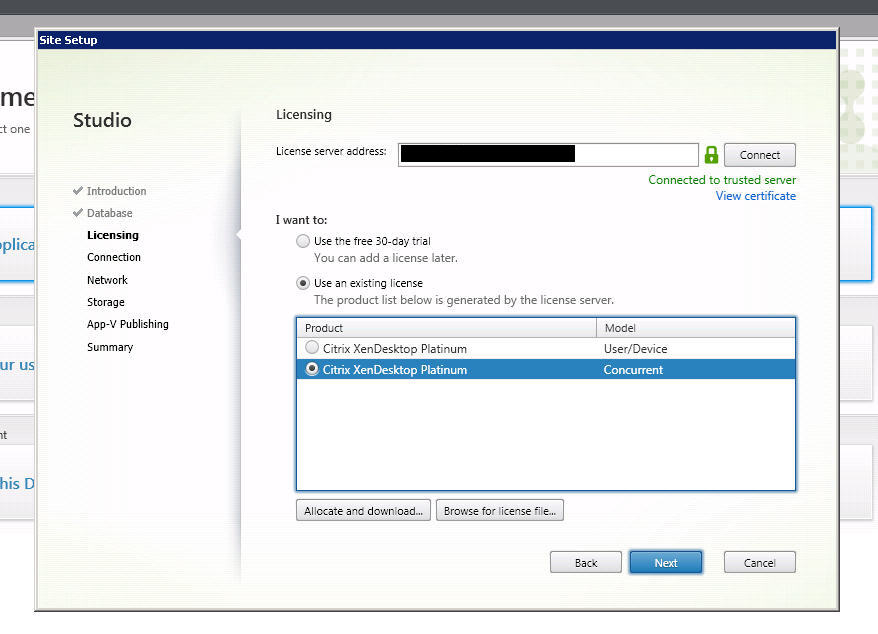
16. Enter a license server name and select an existing license. It may warn you saying your license server is not trusted if you don’t have an SSL cert.
17. Enter your XenSever info if you plan on using PVS, MCS, etc. to spin up VMs. The full list of options here are:
-Citrix XenServer
-Microsoft System Center Virtual Machine Manager
-VMware vSphere
-Citrix CloudPlatform
-Amazon EC2
-Microsoft Configuration Manager Wake on LAN

18. If you have App-V (and you should or at least be considering it) put your App-V management server and publishing server info in.

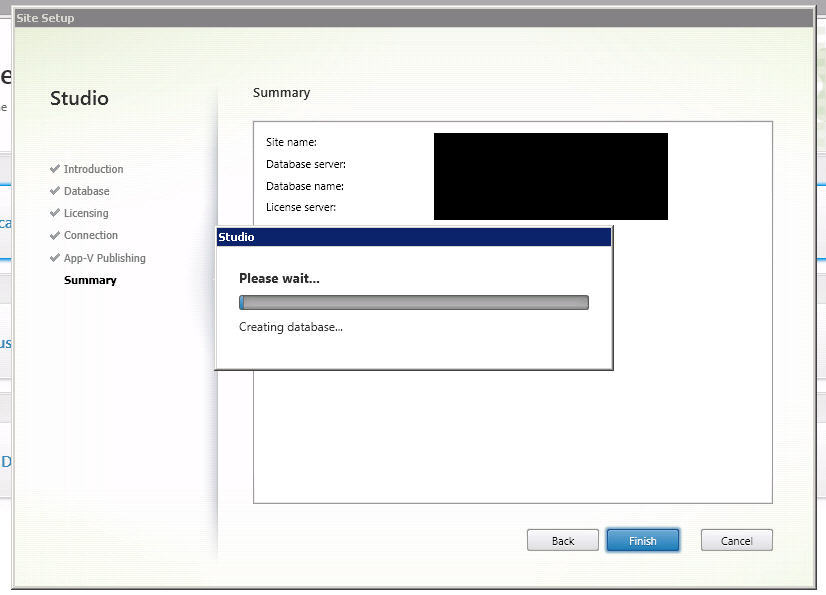
19. Review the summary and hit Finish

20. Now it will create the database, install services, etc. Shouldn’t take very long at all.
21. Run the Test site configuration option to the right
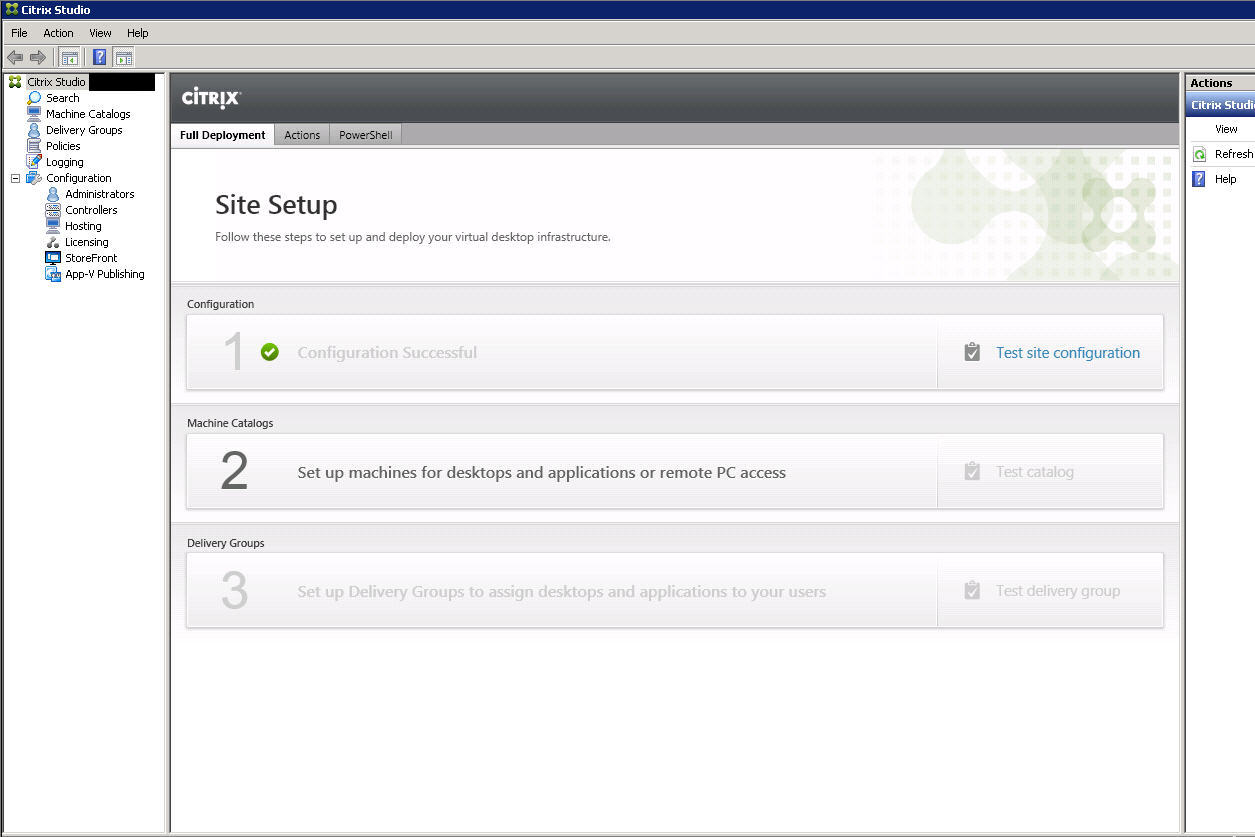
22. It will run through tests and provide an .htm based report of all results.

23. You should hopefully have everything successful

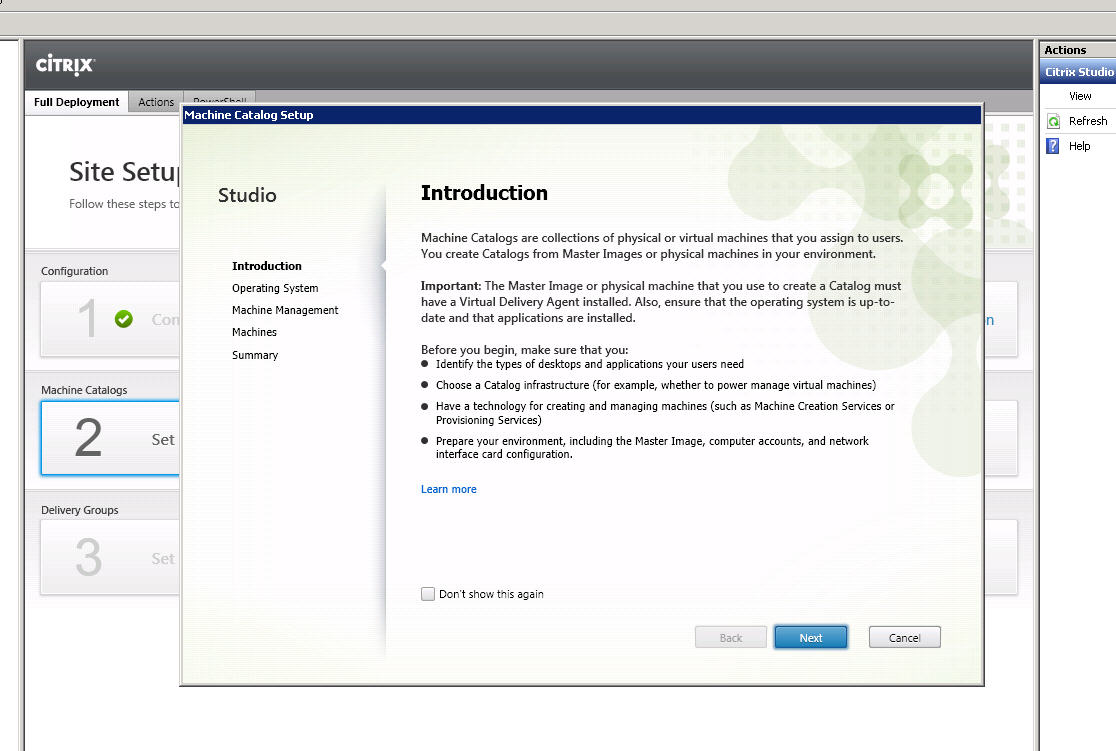
24. Now you’re ready to setup your Machine Catalogs. Click “2 – Set up machines for desktops and applications for remote PC access”. Read over the intro so you have a good understanding of the types of machine catalogs.
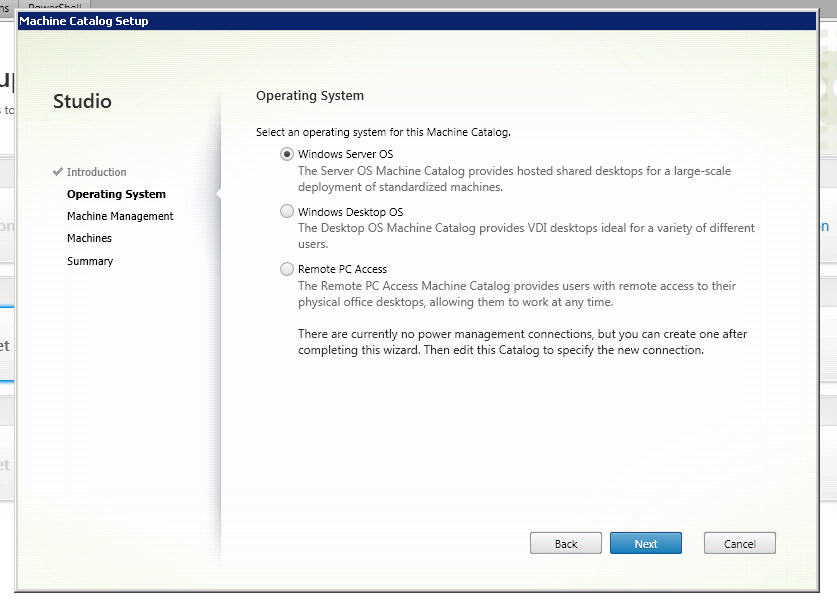
25. Now you get your options for your first catalog:
-Windows Server OS = XenApp
-Windows Desktop OS = XenDesktop/VDI
-Remote PC Access = “Poor Man’s VDI”. For those wanting to get rid of SSL VPN + RDP to their office desktops and instead get users using ICA through SSL ICA proxy (Access Gateway). At least that’s one of the best arguments for it.
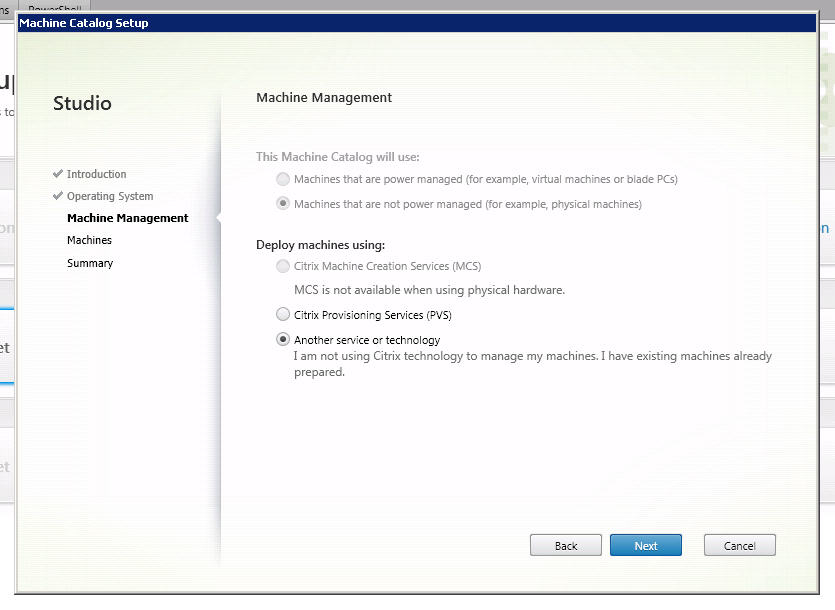
26. During setup I did not enter any XenServer info and skipped the option. So I’ve defaulted to “not power managed” as a result. In this example I’m going to choose “Another service of technology” and use an existing physical server to populate this catalog.
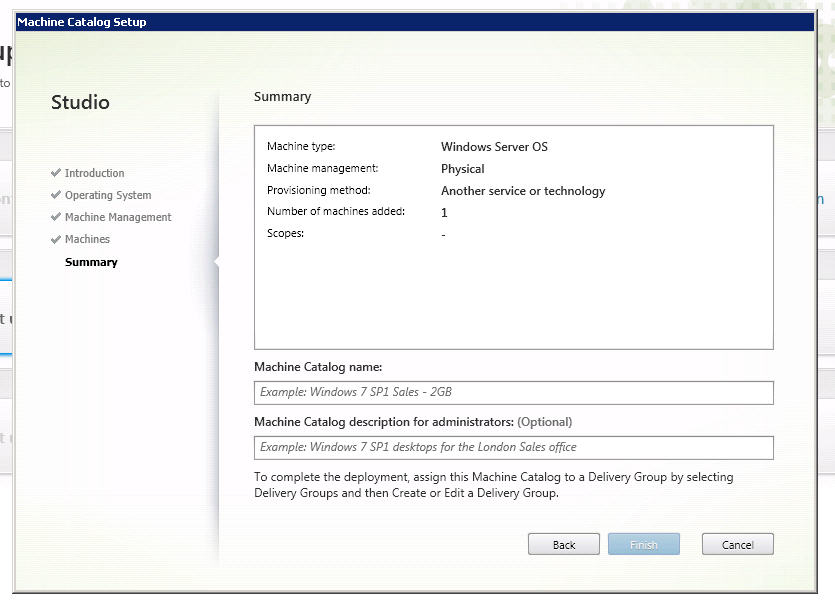
27. Enter the name of the server. For this example I have a brand new Server 2008 R2 server created. It is clean OS with nothing on it yet. Give the Catalog a name and description and hit Finish.

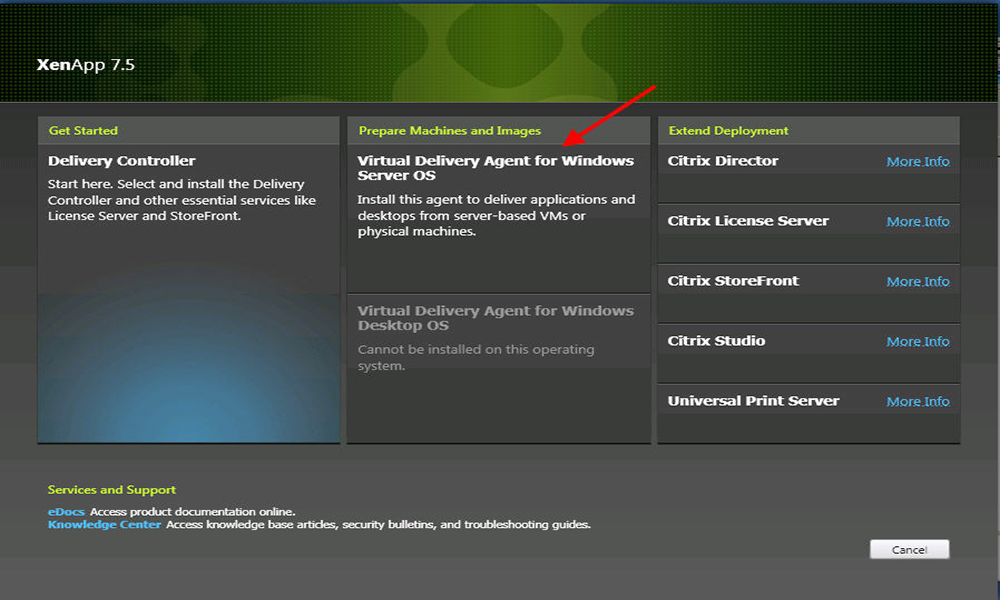
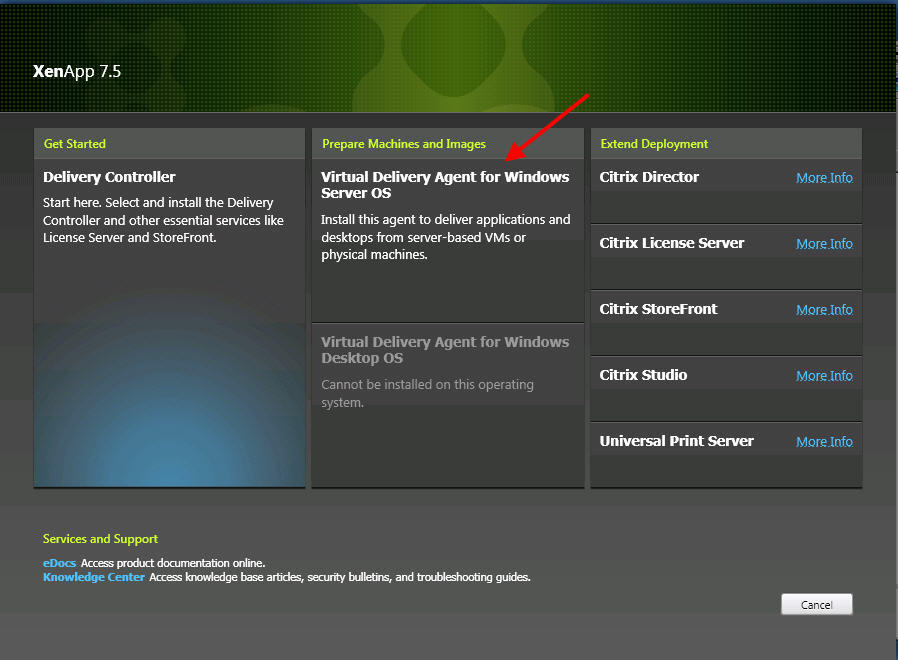
28. RDP into your the server you had added tot he catalog and navgiate to your install media and run AutoSelect.exe again. Choose the XenApp option this time and click the option to install the “Virtual Delivery Agent for Windows Server OS”.
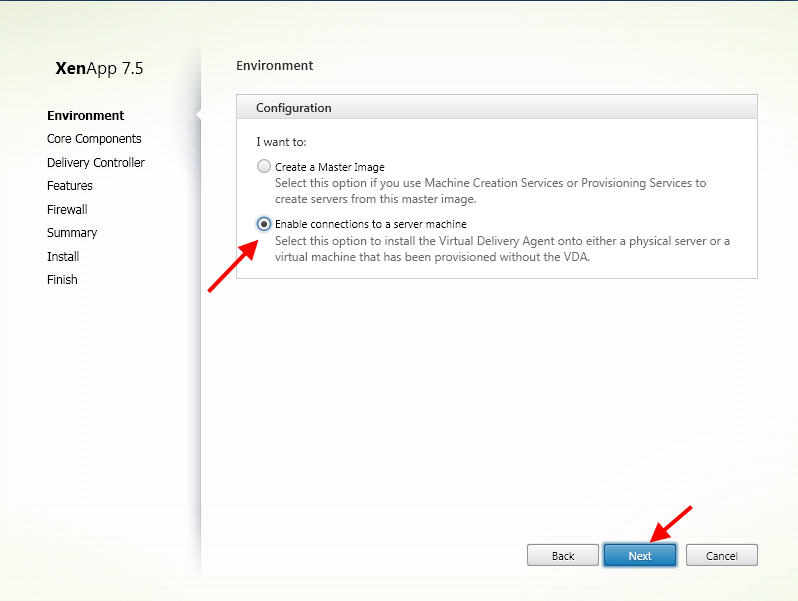
29. Since this is a standalone physical box, I will choose the “Enable connections to a server machine option”:
30. I would leave Citrix Receiver checked. You can change the drive for the install if you need to.

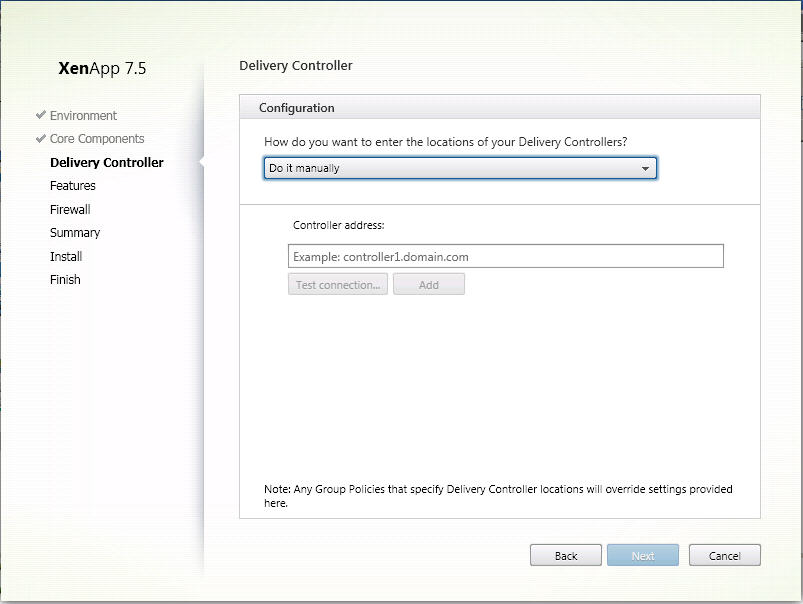
31. Enter your DDC info. Remember, use the FQDN or it won’t work.
32. Leave Remote Assistance and Real Time Audio Transport checked and hit Next

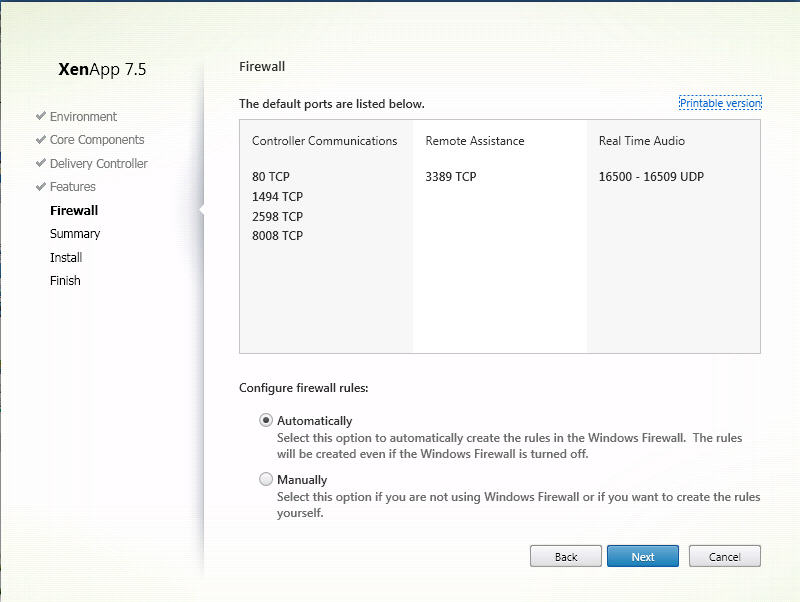
33. Leave the firewall stuff as-is and hit Next
34. Confirm everything is correct and hit Install. You will likely need to reboot right after the first pre-req (RDSH) is installed. If you hit the Close button, it will immediately reboot the box so please be aware of that. I wish it would say Reboot Now instead since that is what it really does and you won’t be caught off guard. Hopefully you don’t have many other things open on the box when it reboots. 🙂

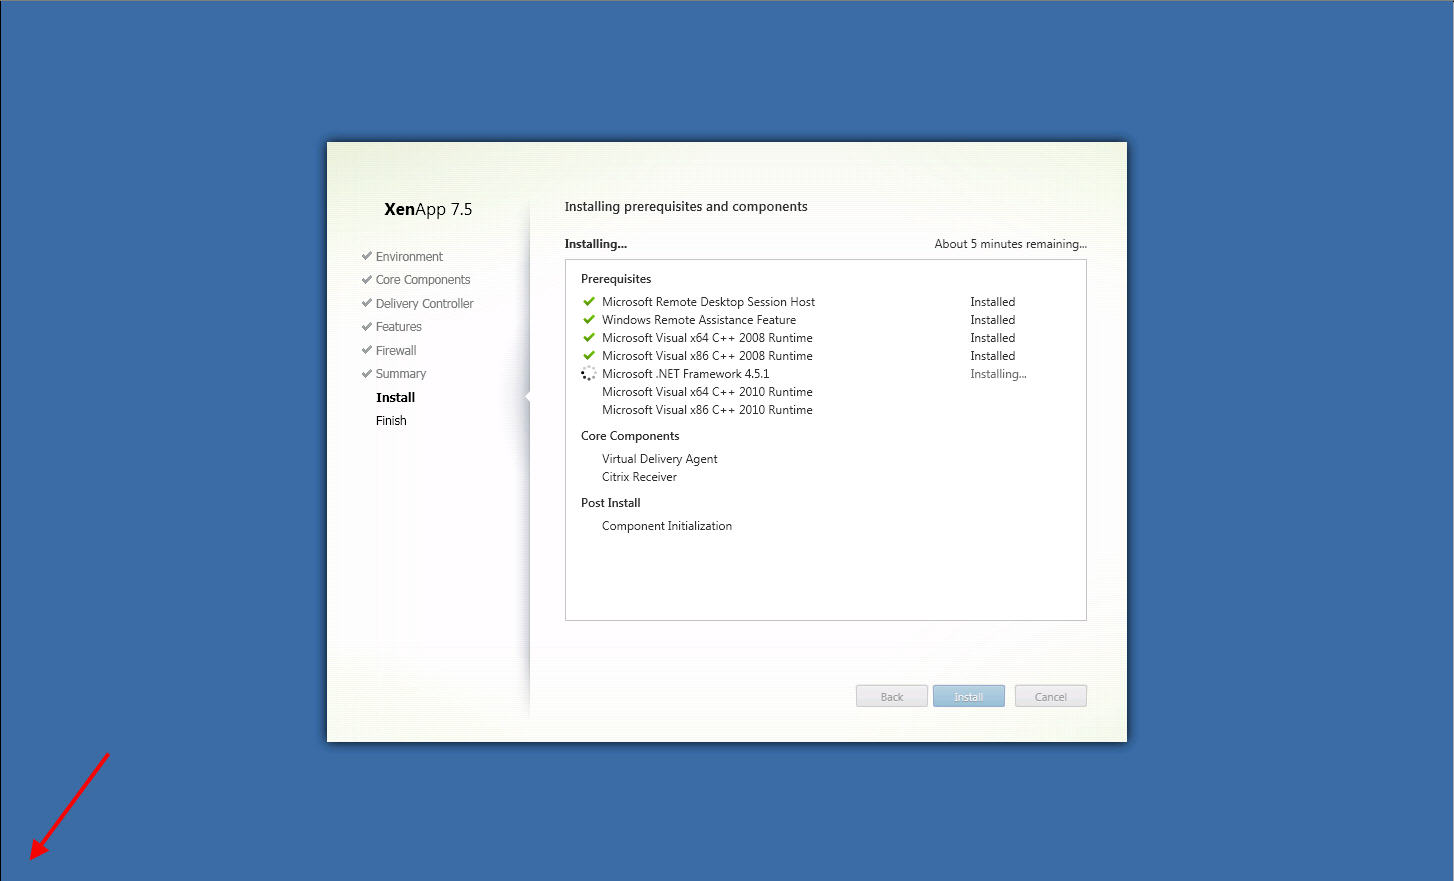
35. Once you’re logged back in it will pick right back up and take about 9 minutes to finish installing. Don’t expect to be able to multi-task and do something else on the box while you wait, the Start menu and desktop are all gone until it’s finished.
36. Hit Finish to restart one more time once it’s done.

37. Once you’re back in check the versions of what it has installed in Programs and Features and make a note in your documentation. Citrix Receiver is 4.1 (14.1.0.0) and the VDA is 7.5.0.4253. This info will come in handy later on when hotfixes and new releases need to be applied to the servers.
![]()
38. Go back to your DDC and you’ll see your server is now in a Registered state in your Machine Catalog:

39. Now click the Citrix Studio root and move on to step 3. You’re going to create and assign an app.

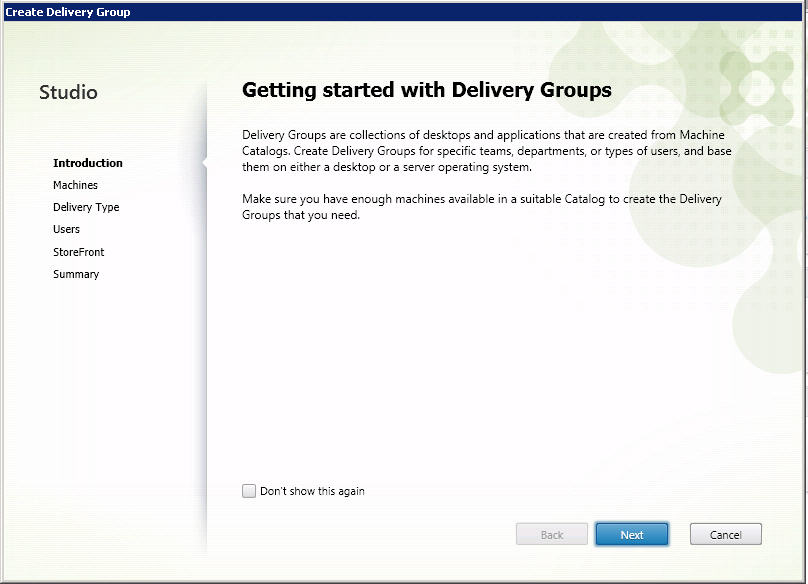
40. First you’ll need to create a Delivery Group
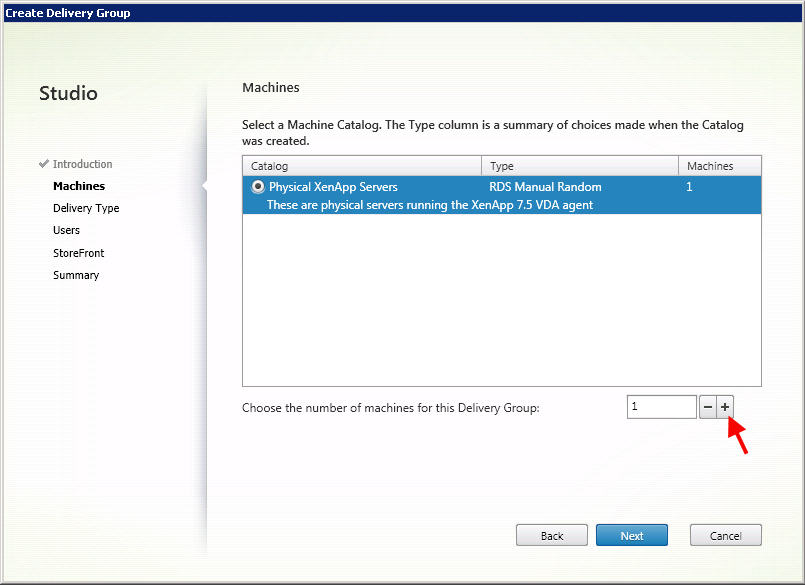
41. It sees my one and only Machine Catalog and I hit the + button to add just the single server to the Delivery Group
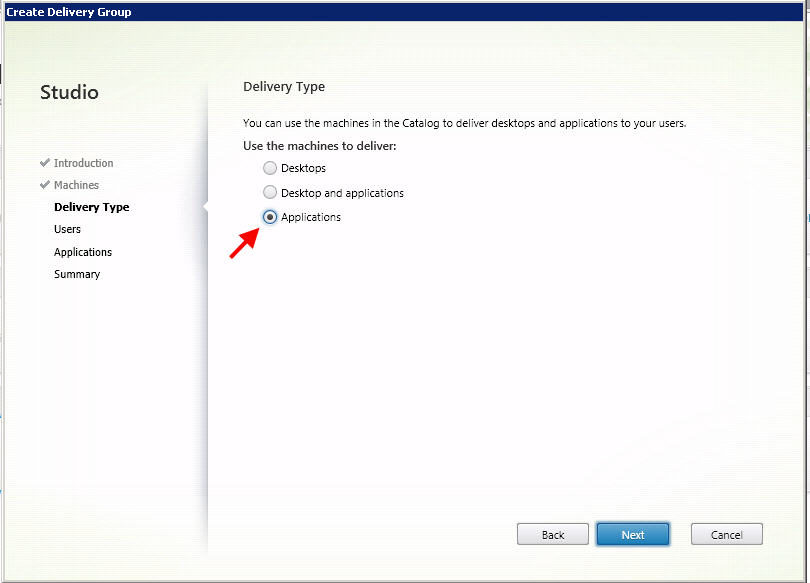
42. Since this server is going to be used exclusively for XenApp applications, I choose the Applications option
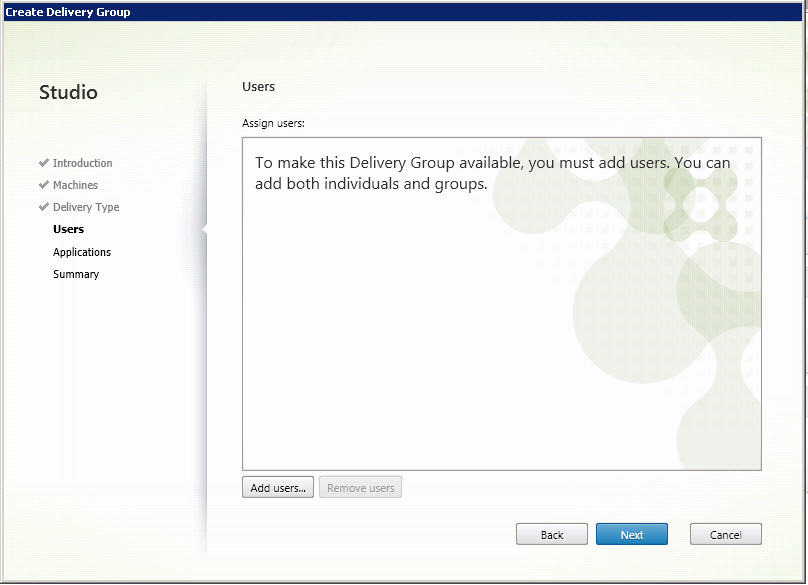
43. Add your user account for testing
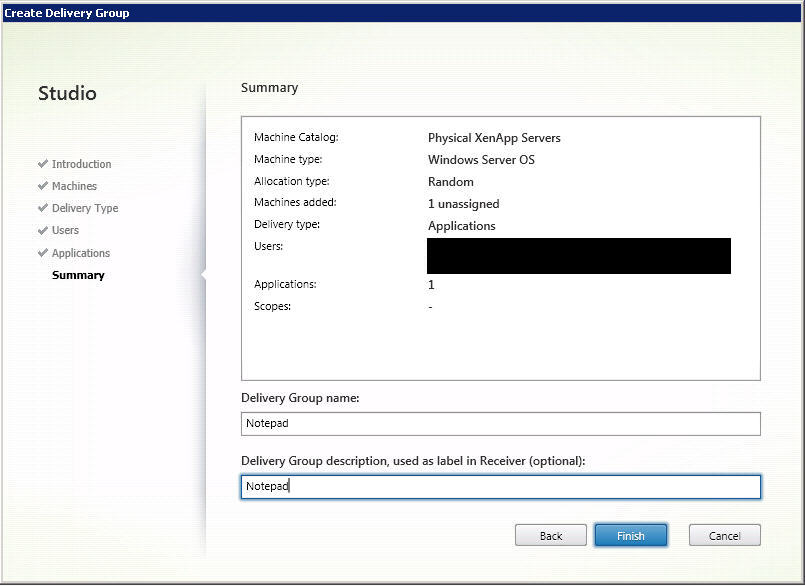
44. The DDC will now enumerate all the apps on the server. I’m going to select trusty old Notepad to publish.

45. Now give the Delivery Group a name and description and hit Finish. For simplicity’s sake I called mine Notepad but follow whatever naming convention you normally use.
46. You’ll be redirected to Common Tasks and you’ll see the Notepad delivery group now. Your app is now published and should be available in StoreFront or Web Interface as long as your new farm is hooked up to it. To make it stand out easily among all your other apps you can even name it “Notepad XA 75” and stick it right in the root.

47. We know StoreFront will work but I just wanted to post this screenshot on Web Interface 5.4 for those of you that really wanted to see XenApp 7.5 on Web Interface 5.4. Launch Notepad and you’ve successfully published your first app on XenApp 7.5! 🙂 Go explore publishing XenDesktop and RemotePC catalogs too. It’s not much different than what you just did.

Don’t forget you need to set your RDS licensing server and licensing method just like old versions of XenApp on any server you have installed the VDA agent on. Hope this guide helps with those new to XenApp and XenDesktop 7.x architecture. It’s nothing to be afraid of, it’s the same trusty XenApp and XenDesktop with a new skin and more features.


Ankita
May 19, 2014 at 9:55 AM
Hey Jason,
Thanks for the amazing post. I was bit struggling with the new product release of XenApp..I wanted to built up standalone environment as I was evaluating the product.
I need one help…I wanted to know how are we accessing the applications and from which machines. I need to use the master image or I can use any Windows desktop OS for the same…I tried with citrix receiver on the delivery controller application. Please put some light on the same
Regards,
Ankita
Joshua Post
June 27, 2014 at 2:54 PM
Thank you! This was very helpful in preparing me for installing my test bed.
Mohan
October 4, 2014 at 2:15 AM
Hi Jason,
I am trying to set up the Citrix XenApp and Desktop Test Lab in VMware workstation 10.0,Previously i didn’t have any Knowledge on installation and configuration of any Citrix ,for installation of 7.5 i am following your KB article i have installed the citrix xenapp& Desktop successfully in server 2012 r2 but while site Configuration in Citrix studio at Connection tab
given the “http://xenserver.citrix.com” as Citrix Server and filled all details and clicked on Next but it throwing “The Name Resolver service Could not found the couldn’t resolved the name given” and i have attached the same error in this mail.
Could you please help on this which server name/Ip i need give in this and please explain what this server will do and how to configure it
I have Two servers in which one server having this Citrix 7.5 installed(Noother server roles are installed) other server is my domain Controller having AD and DNS ,DHCP
roles are installed(i have tried to give this site server ip/name as Cirtix server name in connection Tab but it is also throwing not valid computer)
Please help on this i am trying for this from past one week.
Thanks in Advance…..
pierre
November 6, 2014 at 8:06 AM
You forgot to mention the user needs to set up a vm environment first (hypervisor of some sort) and set up a domain THEN download the ISO above, Just downloading the ISO wont get you a lab.
You’ll also struggle to use it in amazon cloud (for those who have done xenapp in the cloud, xenapp 7 is basically streaming from a vdi)
Tav
March 21, 2015 at 8:54 PM
I am struggling configuring my RDSH in 2012 compared to the old Terminal services. Any suggestions would be greatly appreciated.
Marco
March 27, 2015 at 1:32 PM
hi
I have problems when opening the published applications, says ” can not open the application” .
My environment are two virtual machines (VDA and the other DDC) in Hyper – V .
I dont have installed SCVMM
can you help me ?
Vitthal
April 29, 2015 at 8:07 AM
Hello Friends,
I have installed 2nd delivery controller and its successfully connected to SQL Database and I am able to see both Delivery Controller in Citrix Studio. While configuring store I have given preference to 2nd delivery controller but now I am unable to see my published desktop/apps, it says none of application/desktop is published. If I am giving preference to 1st Delivery controller in Store than I am able to access published desktop and apps. I would like to know steps to add 2nd/additional delivery controller in existing setup.
Amir Ramezani
January 10, 2016 at 4:25 AM
Dir sir,
I have a problem with configure XenDesktop 7.6 on Vmware Workstation 11.
I use Citrix Xen Server connection type for this item and others type like example, when click Next button the below error was appeared that “The supplied address for the compute resource is invalid
In this case, the compute resource is what host your virtual desktops (such as your hypervisor, a server running SCCM, or a cloud-based controlle ”.
Please advise me on this issue
Best Regards,