If you have a need to quickly brand your Netscaler Access Gateway and Web Interface 5.4 with your company colors and logo, it’s pretty easy and can be done in less than 30 minutes if you are under a deadline. It’s easy in StoreFront too, just don’t have one in front of me right now to write about. This is quick and dirty, you can do more work to match them up exactly but I just wanted to knock this out in 30 minutes.
NETSCALER ACCESS GATEWAY
Just download one of these available themes Jeff Sani posted:
http://blogs.citrix.com/2011/04/11/horizon-theme-for-citrix-netscaler/
http://blogs.citrix.com/2012/06/19/symphony-theme-for-citrix-netscaler/
http://blogs.citrix.com/2012/04/19/green-bubble-theme-for-citrix-netscaler/
I chose the Horizon theme because it matches WI 5.4 the closest. Here’s what you need to do to implement it. I did this on a Netscaler running NS 9.3 but 10.x will work too:
1. Download the Horizon.txt script and rename it to Horizon1.sh like Jeff says. Then download Horizon1.gz.
2. Now use WinSCP to copy both to your primary Netscaler to /var/vpn/themes
3. Putty/SSH into the primary Netscaler, enter shell, and navigate to /var/vpn/themes
4. Type:
sh Horizon1.sh
This script by Andre Perry does all the stuff Jeff says in the posts above. Very nice Andre! At this point you have deployed the theme. Now to customize for your company.
5. Just change 3 files on the Netscaler:
/var/vpn/themes/Horizon1/ns_gui/vpn/images/Background.png – your company colors in the background. I usually use 2 colors here. Just play with the height of the colors in Photoshop to adjust and make them line up with the login box the way you want.
logo.jpg – Create it from scratch and drop it in /var/vpn/themes/Horizon1/ns_gui/vpn/images/
index.html – change the following:
|
1 2 |
<table cellspacing="0" cellpadding="0" class="logonBoxWidth"> <tr><td colspan="3" class='headertop'><span class='headerLabel'>NetScaler Access Gateway</span><span class='headertm'><sup>TM</sup></span></td></tr> |
TO
|
1 2 3 4 |
<td> <img src="/vpn/images/logo.jpg"> </td> <table cellspacing="0" cellpadding="0" class="logonBoxWidth"> |
NOTE: If you use 2 factor authentication or allow password changing for expired passwords you will also want to modify the caxtonstyle.css and nsshare.js files.
6. Now make sure to copy all 3 of these files to the flash (where everything is currently running from) here:
/netscaler/ns_gui/vpn/images/Background.png
/netscaler/ns_gui/vpn/images/logo.jpg
/netscaler/ns_gui/vpn/index.html
7. Refresh the Access Gateway page and your changes should appear there. Sometimes you may need to clear your cache. I use FireFox which is pretty good about it and I didn’t have to clear anything. If you need to adjust anything, go ahead and do so now. Just remember, after a reboot of your Netscaler anything you put in Flash at the paths in step 6 above will revert. Stuff gets copied over from the /var folder in step 5 above. So make sure you put your files there as well to prevent this.
8. Now login to your secondary Netscaler and perform all the same steps. None of this stuff gets synched between devices.
Here is how my final product looks:

WEB INTERFACE
Andrew Morgan has an excellent post here that goes pretty in depth:
http://andrewmorgan.ie/2011/08/30/decrapifying-the-citrix-web-interface-5-4/
I needed something quick so I just modified 4 things under c:\inetpub\wwwroot\Citrix\XenApp\media:
1. CitrixXenApp.png and CitrixXenApp.gif – I changed this to my company logo
2. HorizonBgTop.png – I went with solid white in Photoshop with this one
3. HorizonBgBottom.png – I went with solid blue in Photoshop with this one
4. HeaderGradient.png – Did a gradient in Photoshop using two of my company’s colors. This appears once you login along the top.
This located under c:\inetpub\wwwroot\Citrix\XenApp\app_data\include:
5. fullStyle.inc – I changed this to rip out that ugly HDX logo:
|
1 2 3 |
.horizonPage #hdxLogo { display: none; } |
and this to give me a solid white background along the bottom:
|
1 2 3 |
.horizonPage { background: #ffffff url("../media/HorizonBgBottom.png") repeat-x left 325px; } |
And this under c:\Program Files (x86)\Citrix\Web Interface\5.4.0\languages:
6. accessplatform_strings.properties – I customized the text in this. While playing with it I noticed it does support HTML just fine so I did this:
|
1 |
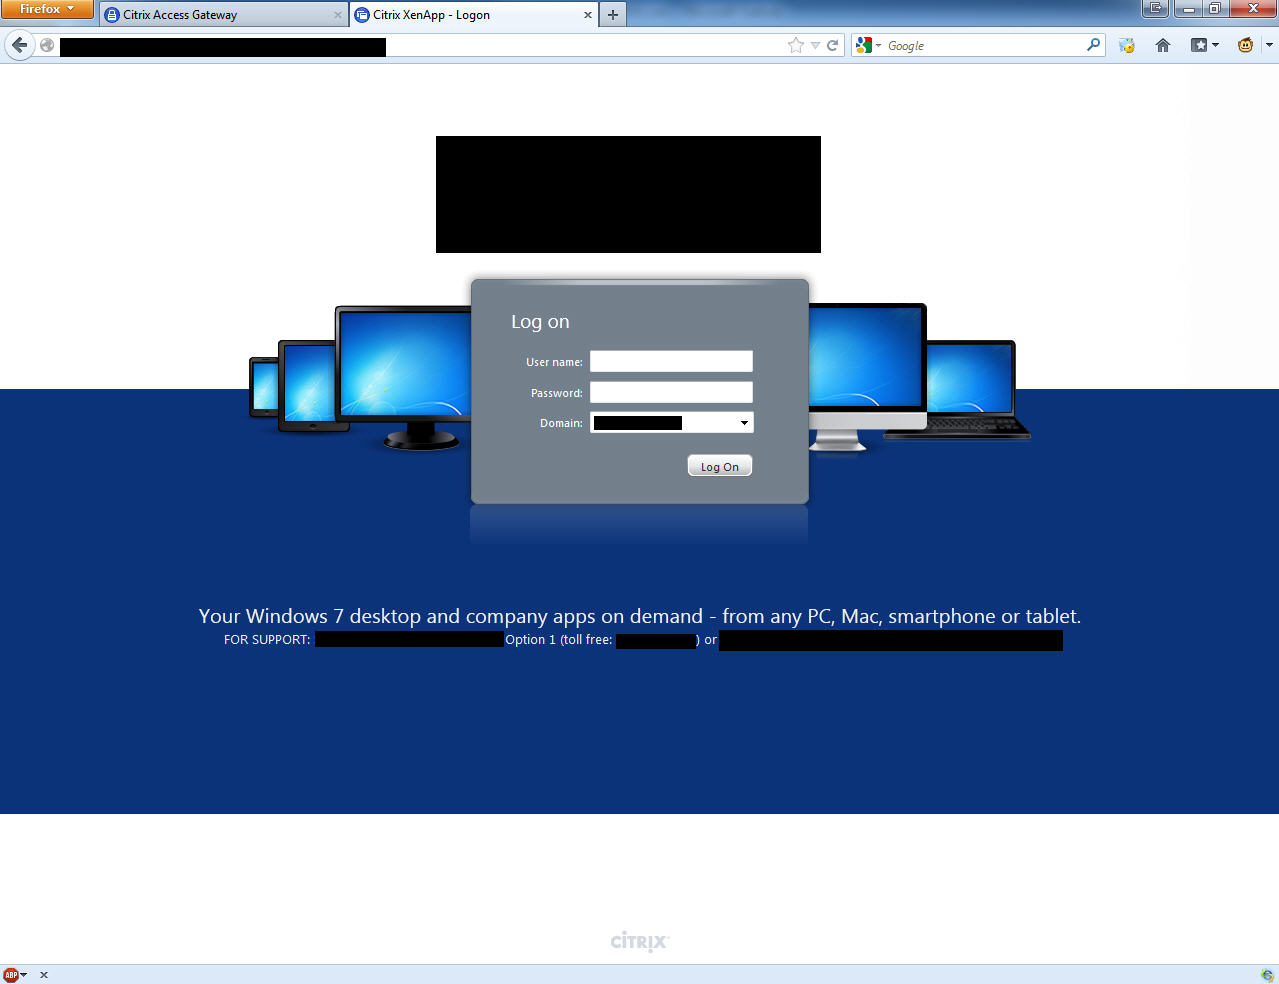
HorizonTagline=Your Windows 7 desktop and company apps on demand - from any PC, Mac, smartphone or tablet.<br><font size="2">FOR SUPPORT: Help Desk at xxx-xxx-xxxx, Option 1 (toll free: xxx-xxx-xxxx) or xxxxxxx@xxxxx.com.</f> |
Done, upload all your files and you have a pretty nice simple company branded Web Interface. You should change the “loggedoff” images that are greyed over to match when you get some time or you’ll see the default images there greyed over instead.
Here is how my final product looks:


Sanuel
November 20, 2013 at 9:08 AM
hello,
am getting the error below when trying to implement the horizon 1 theme
root@HQ# cd /var/vpn/themes
root@HQ# sh Horizon1.sh
Horizon1.sh: Downloading skin archive ‘Horizon1.gz’ to /tmp
Horizon1.sh: Extracting skin archive ‘/tmp/Horizon1.gz’
gzip: stdin: unexpected end of file
tar: Child returned status 1
tar: Error exit delayed from previous errors
root@HQ#
Don Russell
April 28, 2014 at 3:14 PM
@Sanuel
I got them same error attempting to implement the Symphony2.sh theme. Any suggestions.
Jason Samuel
May 1, 2014 at 6:05 PM
Hi guys,
The Green Bubbles theme and the ability to set a custom theme is now built into the GUI of the Netscaler main release as of firmware 10.1. You don’t need the script anymore. Let’s say you want to use Horizon like in my example.
1. Download the Horizon theme, unzip to your hard drive, and customize the files.
2. Putty in, enter shell, and run the following
/var/ns_gui_custom; cd /netscaler; tar -cvzf /var/ns_gui_custom/customtheme.tar.gz ns_gui/*This will create a folder called “
/var/ns_gui_custom/” and inside you will find a file called “customtheme.tar.gz“. This is a compressed copy of the currently running default skin. WinSCP it down to your PC and unzip it.3. Overwite the default skin files with the ones you have modified from the Horizon theme. Then upload it into “
/var/ns_gui_custom/” so your full path to the files will be “/var/ns_gui_custom/ns_gui“. All the other directories like admin_ui, epa, images, themes, vpn, vpns will all be under here. Also zip up the ns_gui folder on your PC and rename it “customtheme.tar.gz” and upload it into “/var/ns_gui_custom/” folder.4. Login to the Netscaler GUI and go to Netscaler Gateway > Global Settings > Change global settings > Client Experience tab > UI Theme dropdown box. You will see Default, Green Bubble, and Custom as your options. Set it to Custom. The Netscaler will decompress the files in “
customtheme.tar.gz” to the new ns_gui folder when you do this.5. Now reboot the Netscaler and verify your new theme persists.
Hope this makes sense. More info here: http://support.citrix.com/proddocs/topic/netscaler-gateway-101/ng-connect-custom-theme-page-tsk.html
Jason