Citrix Cloud
Every month it seems more and more organizations are embracing modern passwordless strong authentication in their end-user computing environments. Just in the last 3...
Hi, what are you looking for?
Every month it seems more and more organizations are embracing modern passwordless strong authentication in their end-user computing environments. Just in the last 3...
A few months ago I was invited to speak at the FIDO Alliance‘s inaugural Authenticate conference by Citrix and the FIDO Alliance. A big...
FIDO2 is as groundbreaking for the Internet as HTTP going to HTTPS many years ago in my opinion. Right now there is a consortium...
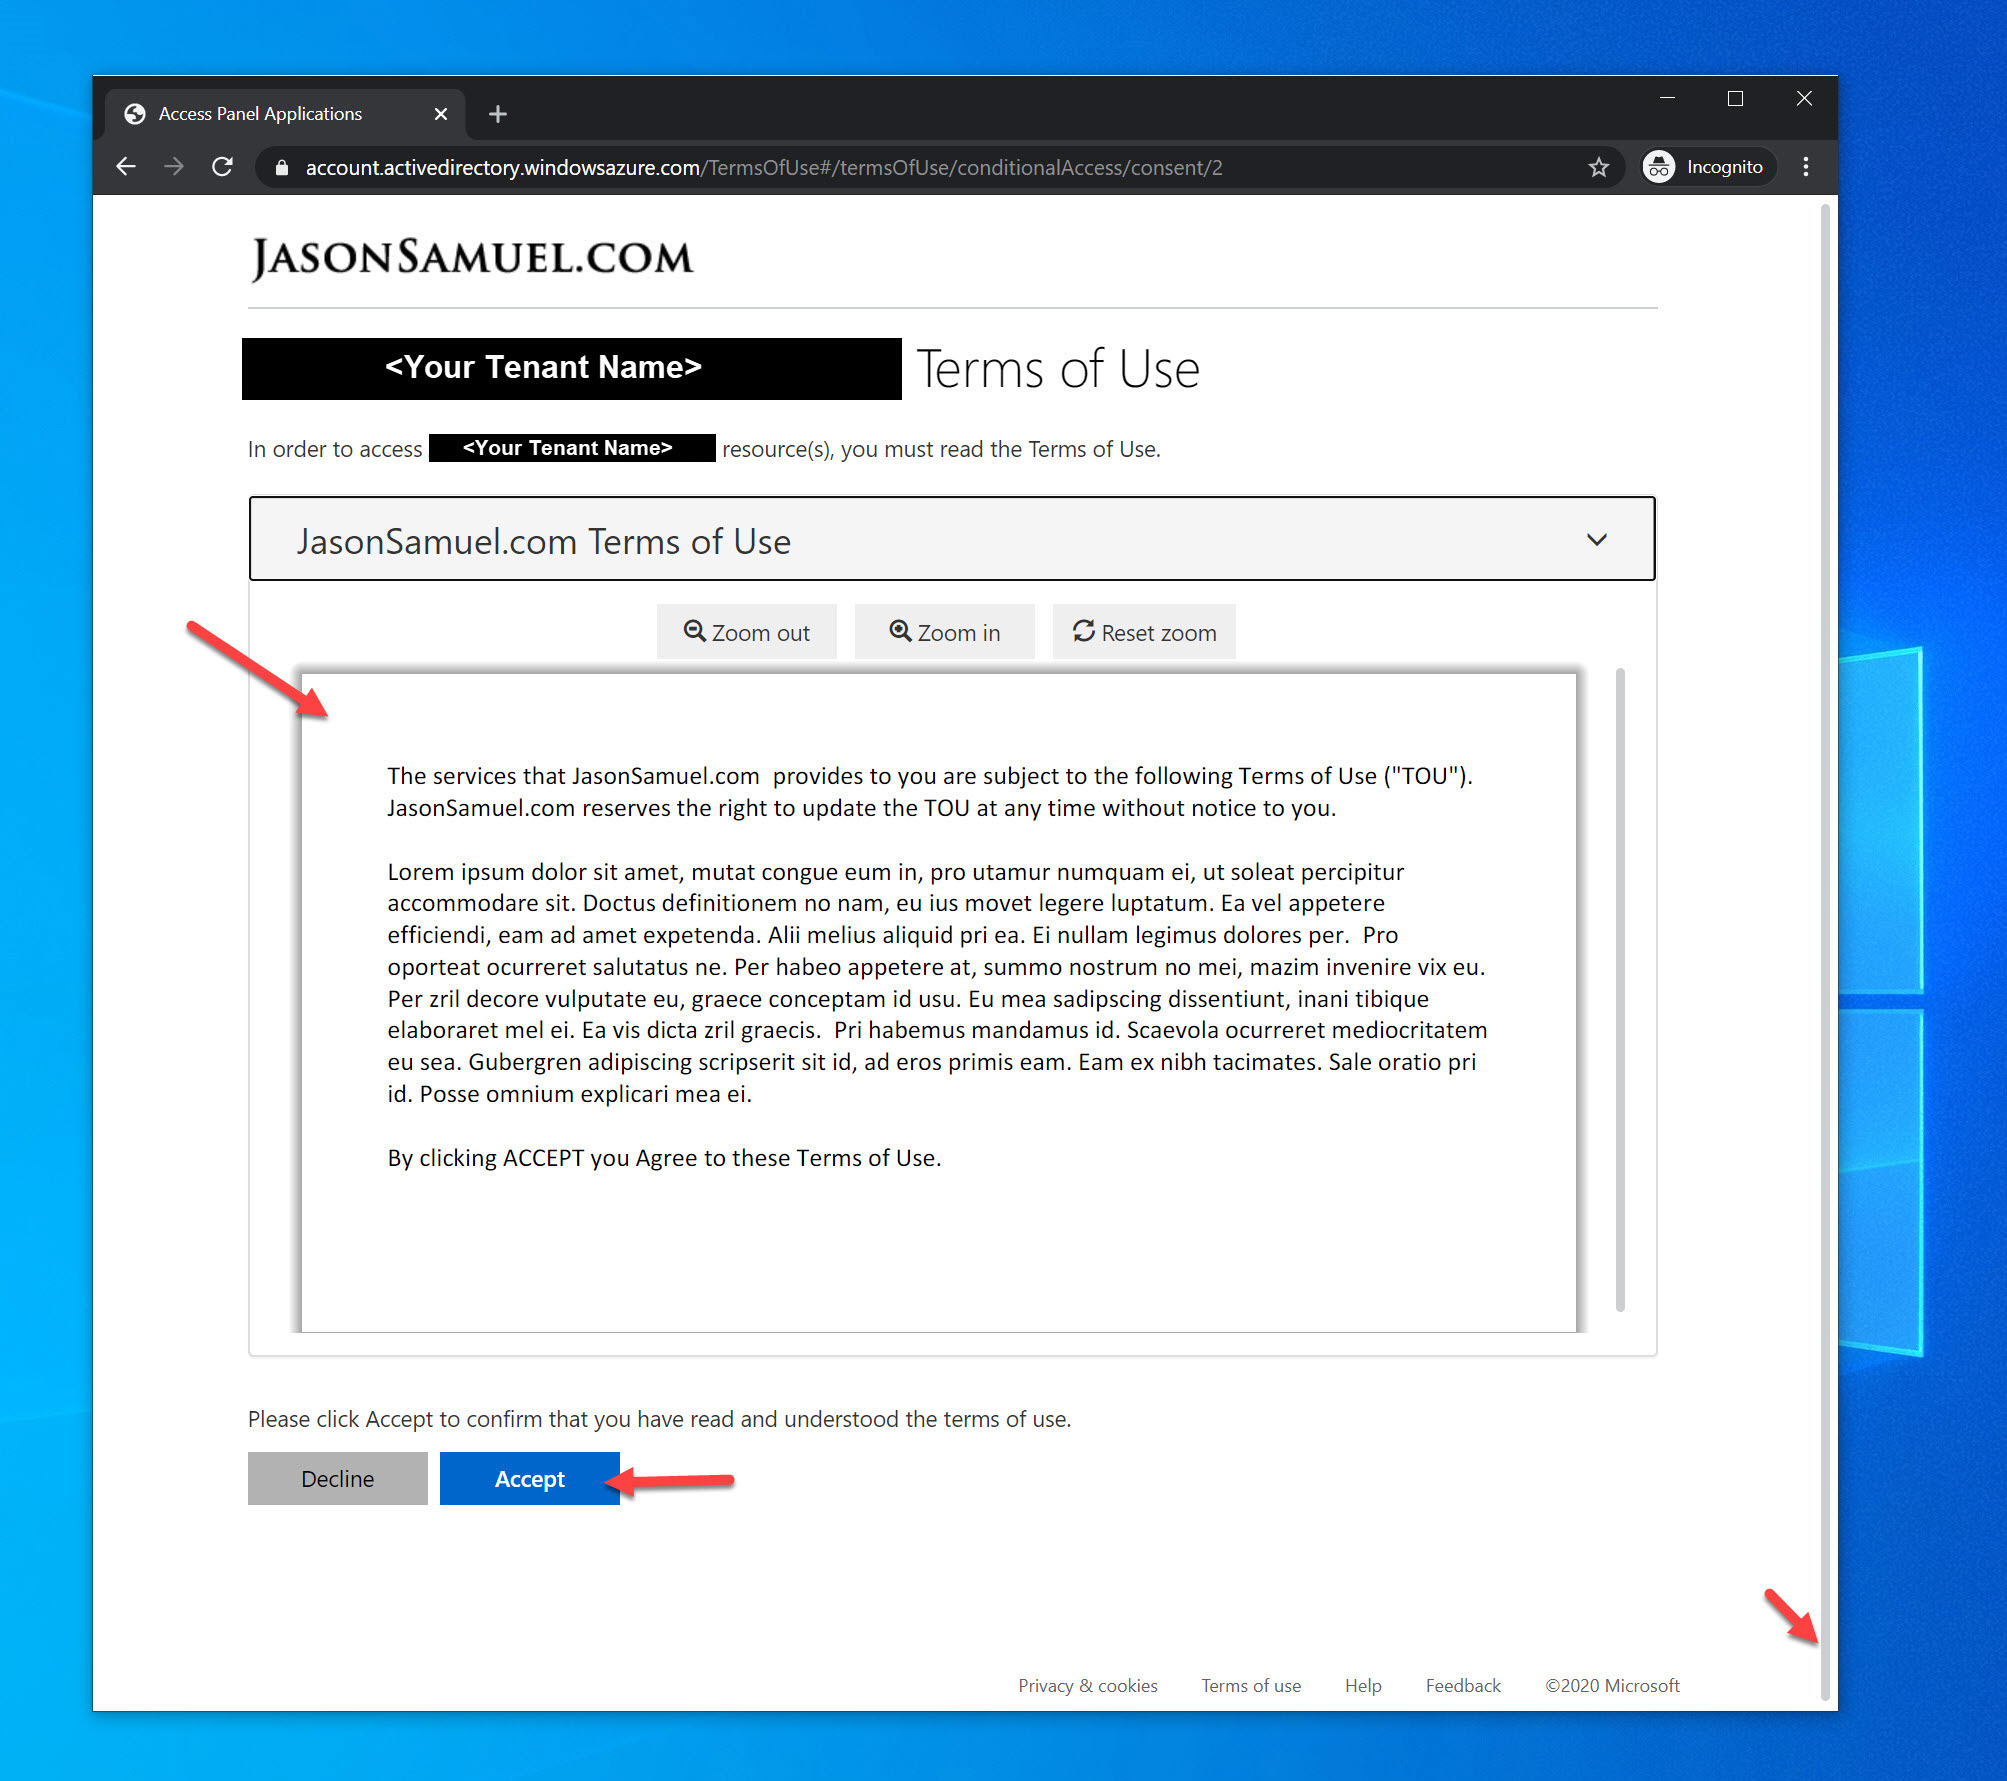
EUC and Security Engineers have always had the capability to add a EULA to Citrix StoreFront and/or Citrix NetScaler Gateway (aka Citrix Gateway) for...

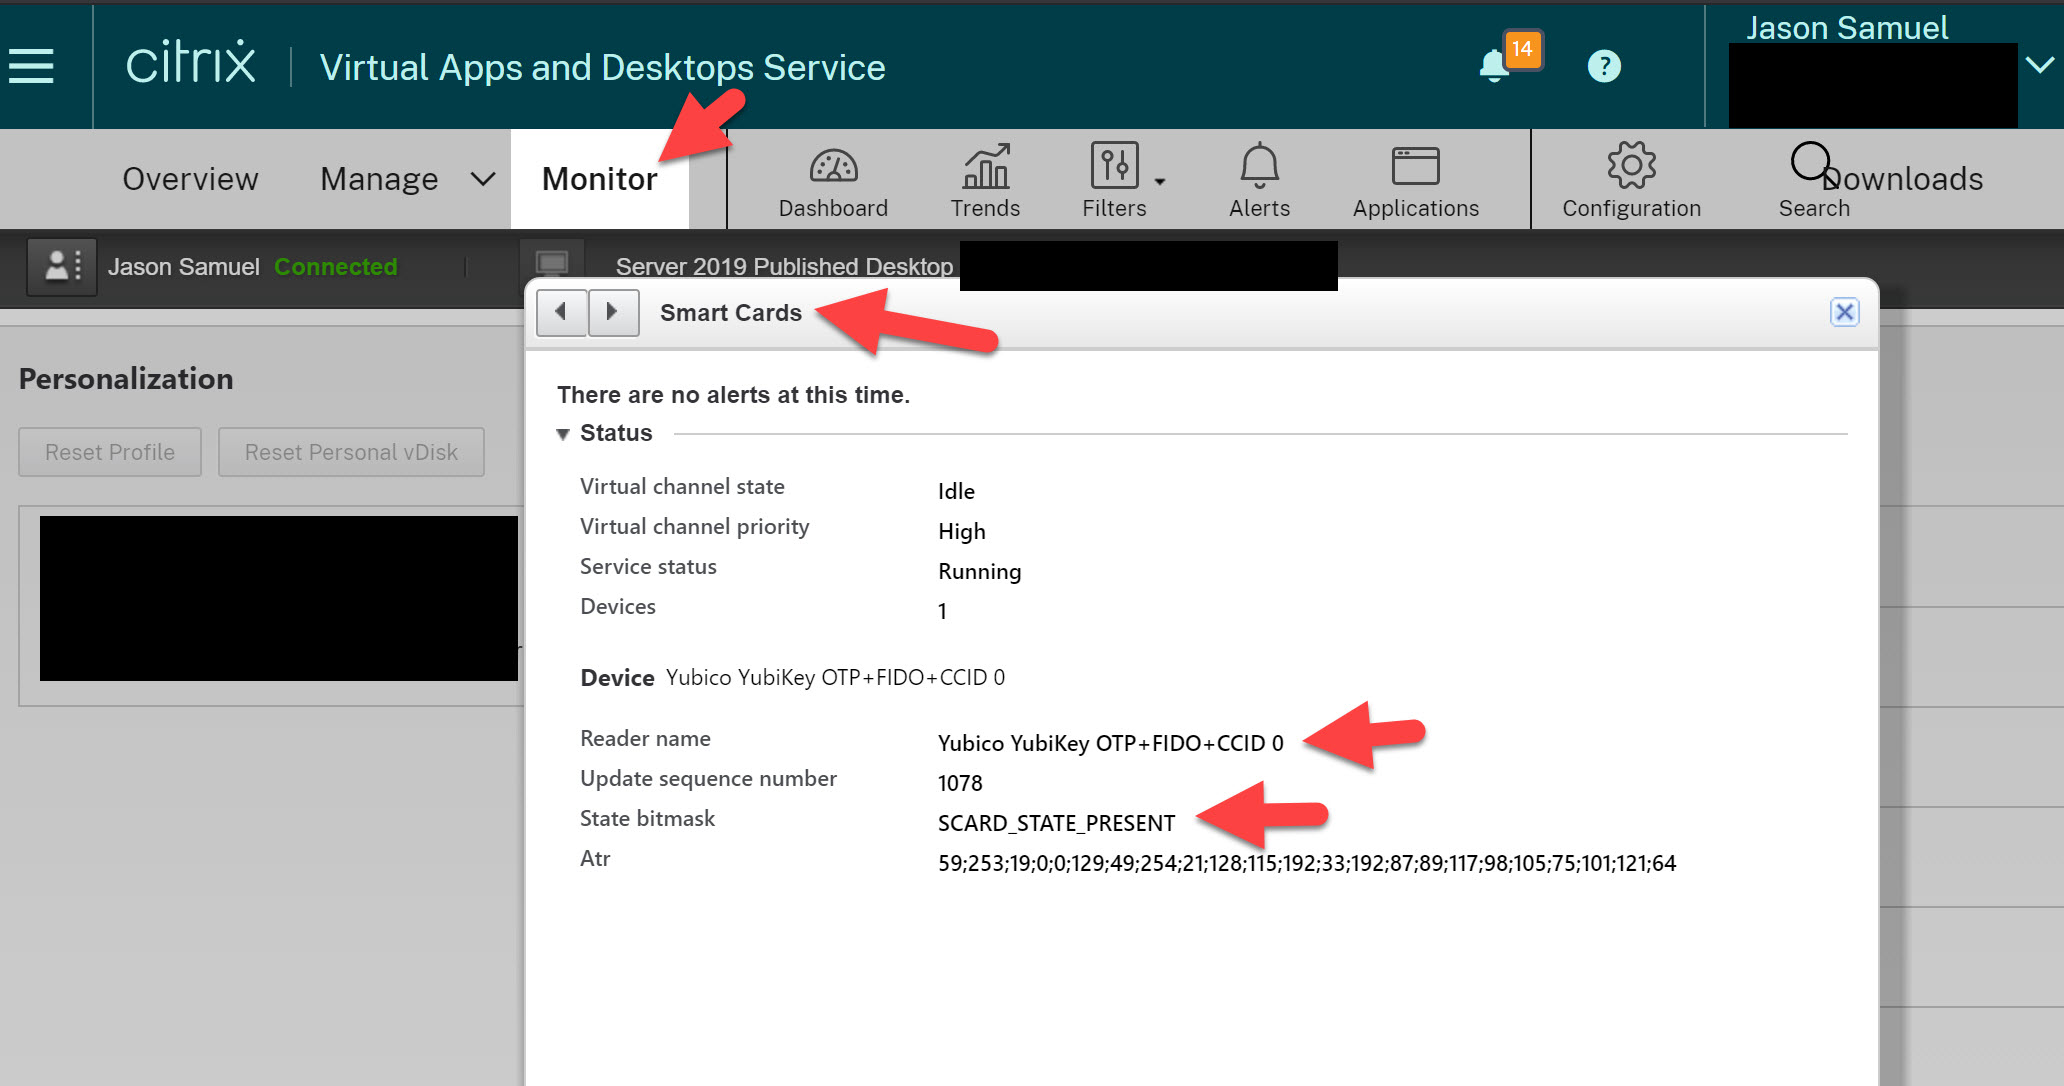
You can use FIDO2 hardware security keys plugged into your physical desktop over the Citrix HDX remoting protocol for use with virtualized Windows Desktop...


